Mount Moosilauke Hike, White Mountains, Hiking New Hampshire

The summer is in full-swing in our household. I am sure each of you have your own way to kick off summer. Our family it starts with the first family hike of the season. This year we started with Mount Moosilauke.

Mount Moosilauke is found on the western most part of the White Mountains in Brenton, New Hampshire. There are multiple paths up to her bald summit that gives you a wonderful 360 view of the land below and other mountain ranges. That is as long as it is a clear day, if not enjoy the workout and plan to come back on a clear day.

Here’s a quick link from Wikipedia about Moosilauke .

We travelled up the Gorge Brook Trail to the summit. It is the steeper trail and a more direct route from the Ravine Lodge.  If you want a nice walk up and down take the Snapper Trail and Carriage Road.  The summit is worth the climb, but those two paths are not too hard on the legs. The Beaver Brook Trail per topology maps and word-of-mouth is steeper and more problematic because of cascades.  We have not taken that path, but will be later this summer.

The loop (see below) is about 8 miles or for those that need to be exact is it 7.9 miles.

Mount Moosilauke
Scanned from pg. 35 “AMC’s Best Day Hikes in the White Mountains” by Robert N. Buchsaum


The Gorge Brook Trail and Snapper Trail to Carriage Road start in the same location and follow the same trail for a bit then the Gorge Brook Trail breaks to the right while the Snapper trail continues straight forward.

You will have some brook crossings with log bridges over most of them are before you turn right to travel up the Gorge Brook Trail.  The only concern is that some of the hand rails are loose, so don’t lean on them too hard.

Bridge Crossing
Bridge Crossing

Shortly, after making the turn onto Gorge Brook Trail, a gentleman coming down the mountain was so excited to see that we were carrying our daughter up the mountain. He had to take a picture of us to show his wife. He did not think she would believe him when he told her that he passed a family carrying a toddler up the mountain. He snapped a picture, wished a safe and great hike and we were on our way. It’s amazes me how unique the hiking/climbing/mountaineering family is always friendly, helpful and well wishing.

We enjoyed the Gorge Brook trail until we were slightly below the “Last Sure Water” (see trail map above), which is at elevation 3,300 feet the path is ‘out’ for certain hikers. I think it is about half a football field south of the sign. It looks like the path was lost to a land slide or tree going down or some combo of both. My husband made it across the path using a rock jutting out from the side. I think anyone that is not carrying a toddler or heavy weight shouldn’t have any issue with the cross.

Here is the sign for “Last Sure Water” and the near by Memorial of Ross McKenney Frost

Last Sure Water
Last Sure Water


Memorial
Ross McKenney Forest Memorial

I made it passed the land slide area by climbing up and around. My safety means the safety for our daughter, so that was an easy decision.  My husband did double back to check the area near the land slide to make sure the trees were in place in case I lost my footing. Unless, there is an extremely hard rain before hand traveling up the path 10 to 20 paces and crossing over a downed tree will do.

There was a couple behind us that caught up to us at the landslide point.  They looked like they were in their mid to later twenty. My husband let them know it was passable, but to use caution. The female asked, why I was up off the path.  My husband just simply said, ‘Well she carrying our daughter up the mountain.’  The woman gave the look of wonder and passed the landslide like my husband and the male went up and around like me. Until, the Dartmouth Outing Club fixes the path do what you think is best and safety for you.

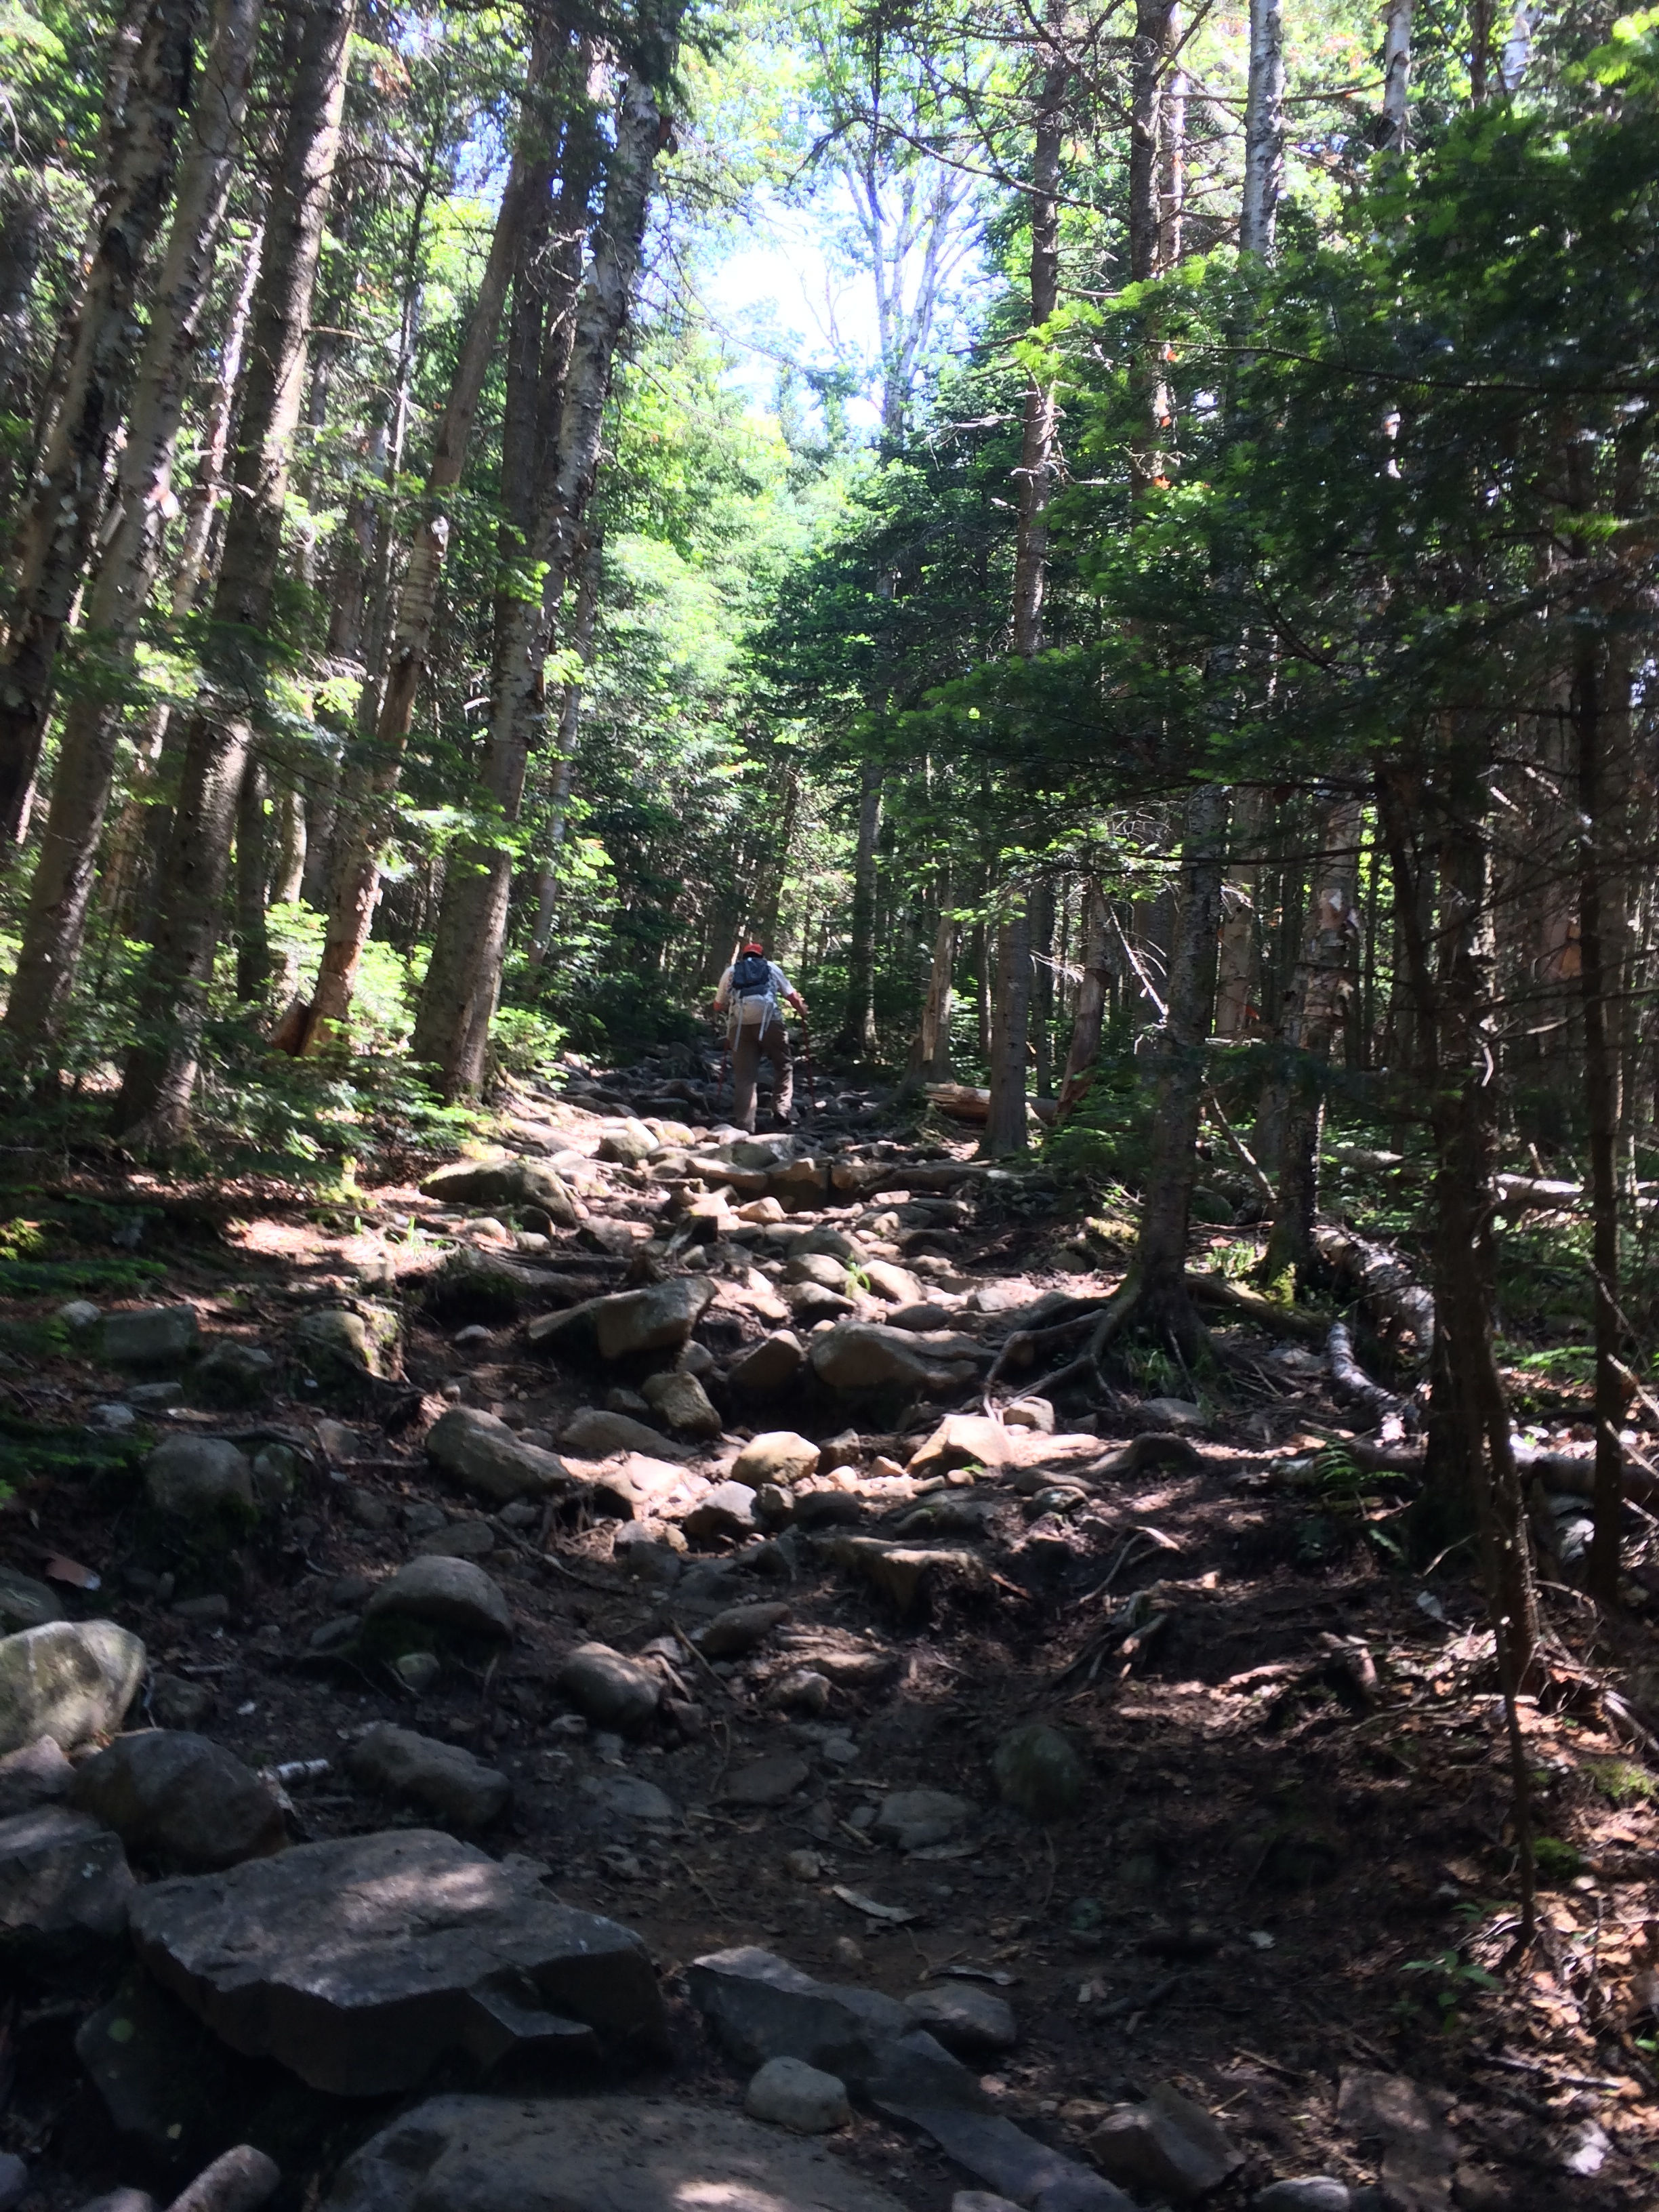
Shortly, after the “Last Sure Water”  marker you will face the harder part of the trail that most say is strenuous or extremely strenuous. I would suggest a quick rest before carrying on. There is plenty of room at this spot for whatever you need. What lies ahead is a bit more work than what you just completed. There are not many good spots like this one until you make it to a clearing area near the summit. The incline increases greatly with a rocky path for about a mile or so. During this time, my suggestion is to keep moving, stay focused and take your breaks when you need them. You are only 1,500 and change to the summit and it is so worth it. You will do a small handful of switchbacks to help with the incline but most of it is rock.

One of the incline rock pathway…

Rocky Incline to Summit

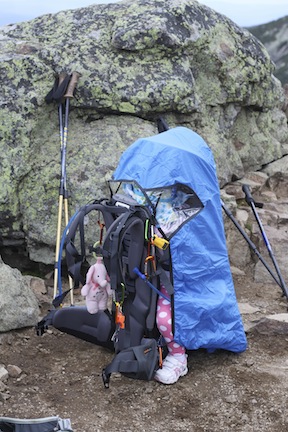
Our quick break moment captured:

Quick Break
Quick Break

If you have not summited up the Gorge Brook Trail don’t be fooled by the bald area that is not the summit. This is a great area to break if you need to, but keep in mind that the summit is just through the alpine shrubs and up a little bit.

Follow the cairns to the alpine shrub and just keep walking until the next clearing … look up a bit and you will see the summit. Yes, you are that close.

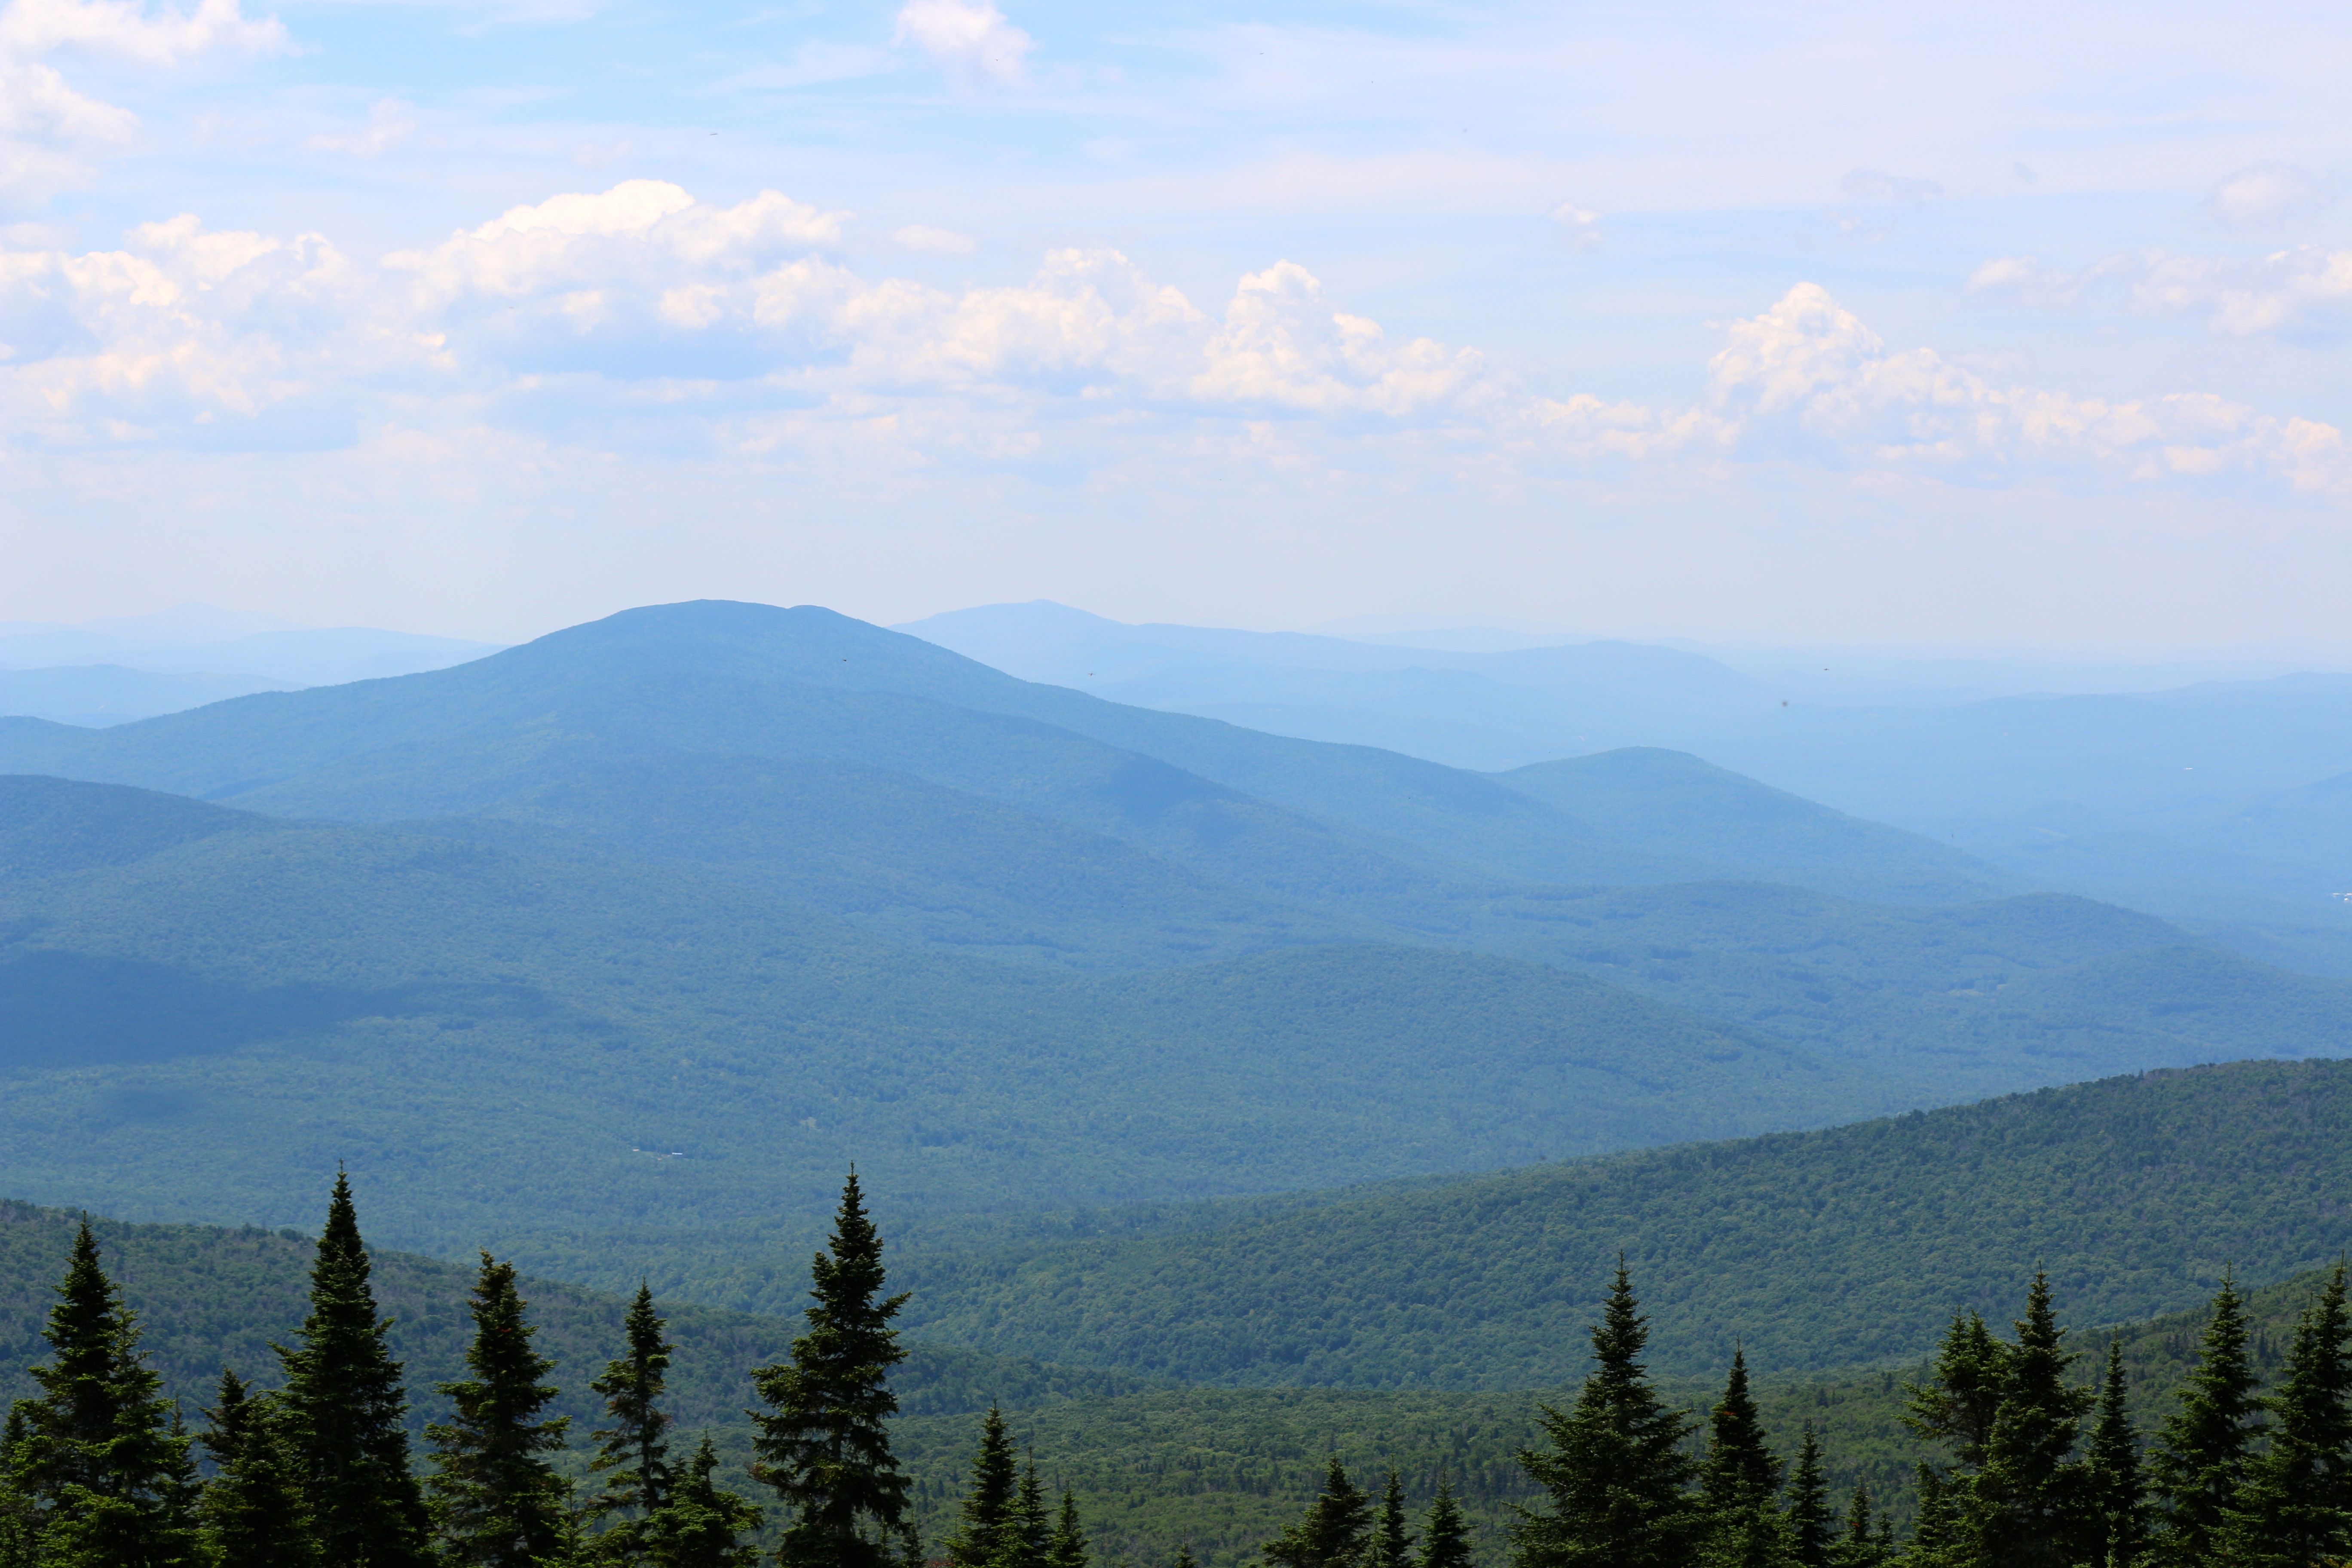
Here are views from close to the summit.

close to the summit
Close to the summit on a switch back
Close to summit 3
Close to the summit
Close to summit
Close to summit

It maybe about a quarter-mile from breaking the alpine shrub to the summit. There are numerous places to rest, have lunch and recoup before the climb down.  Many people do camp at the top of this mountain. Enjoy your accomplishment, the views and take it all in. Most people travel down the Gorge Brook Tail. We passed 4 groups and 3 singles going down the Gorge from summit after taking the Snapper/Carriage trail up. One group did the Gorge Brook trail up and down.

We like the work hard upfront, rest and then take an easy path down. Keep in mind, I am traveling down  and up with now 45-55 lbs on my back and it moves around. Controlling down on a steep decline on tired legs takes a lot both mentally and physically. I know I can do it, but I am not one to do so when there is a safer way.

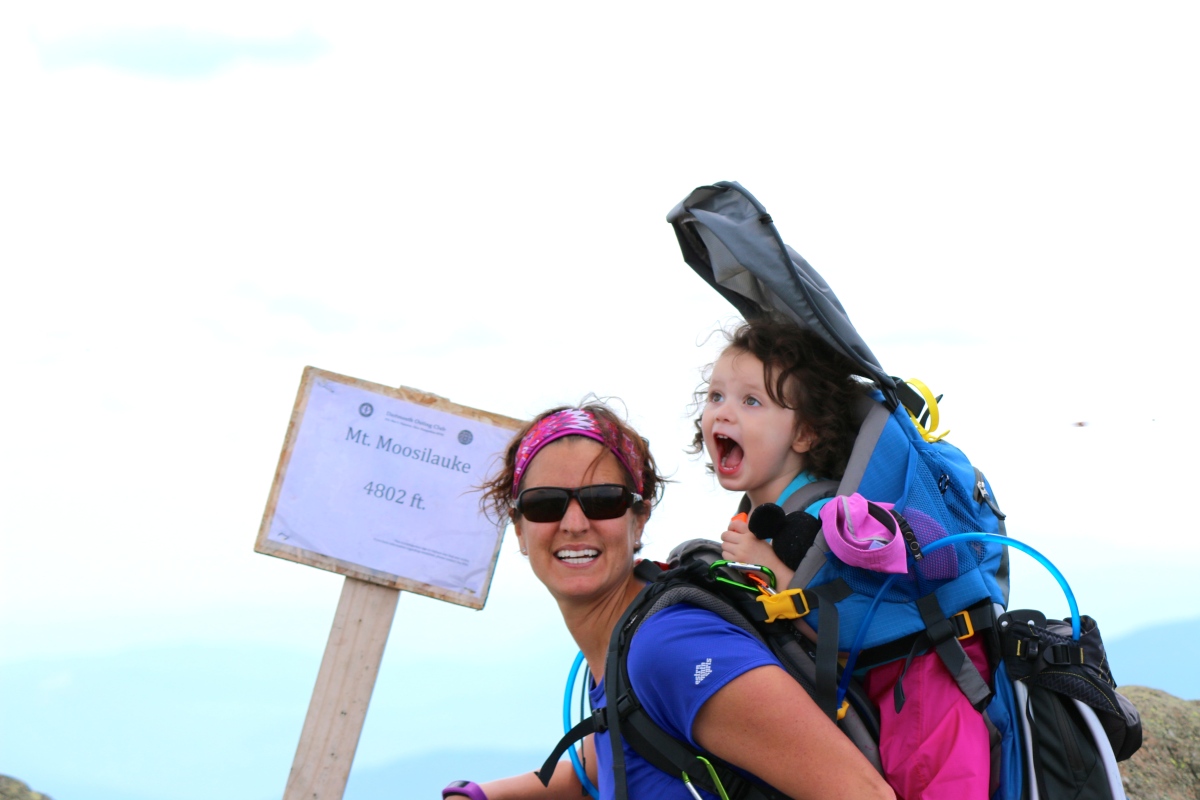
Here are some images from the summit, which was pretty busy with hikers enjoying their lunches and rest. The night campers had left, we saw a few coming down while we were going up.

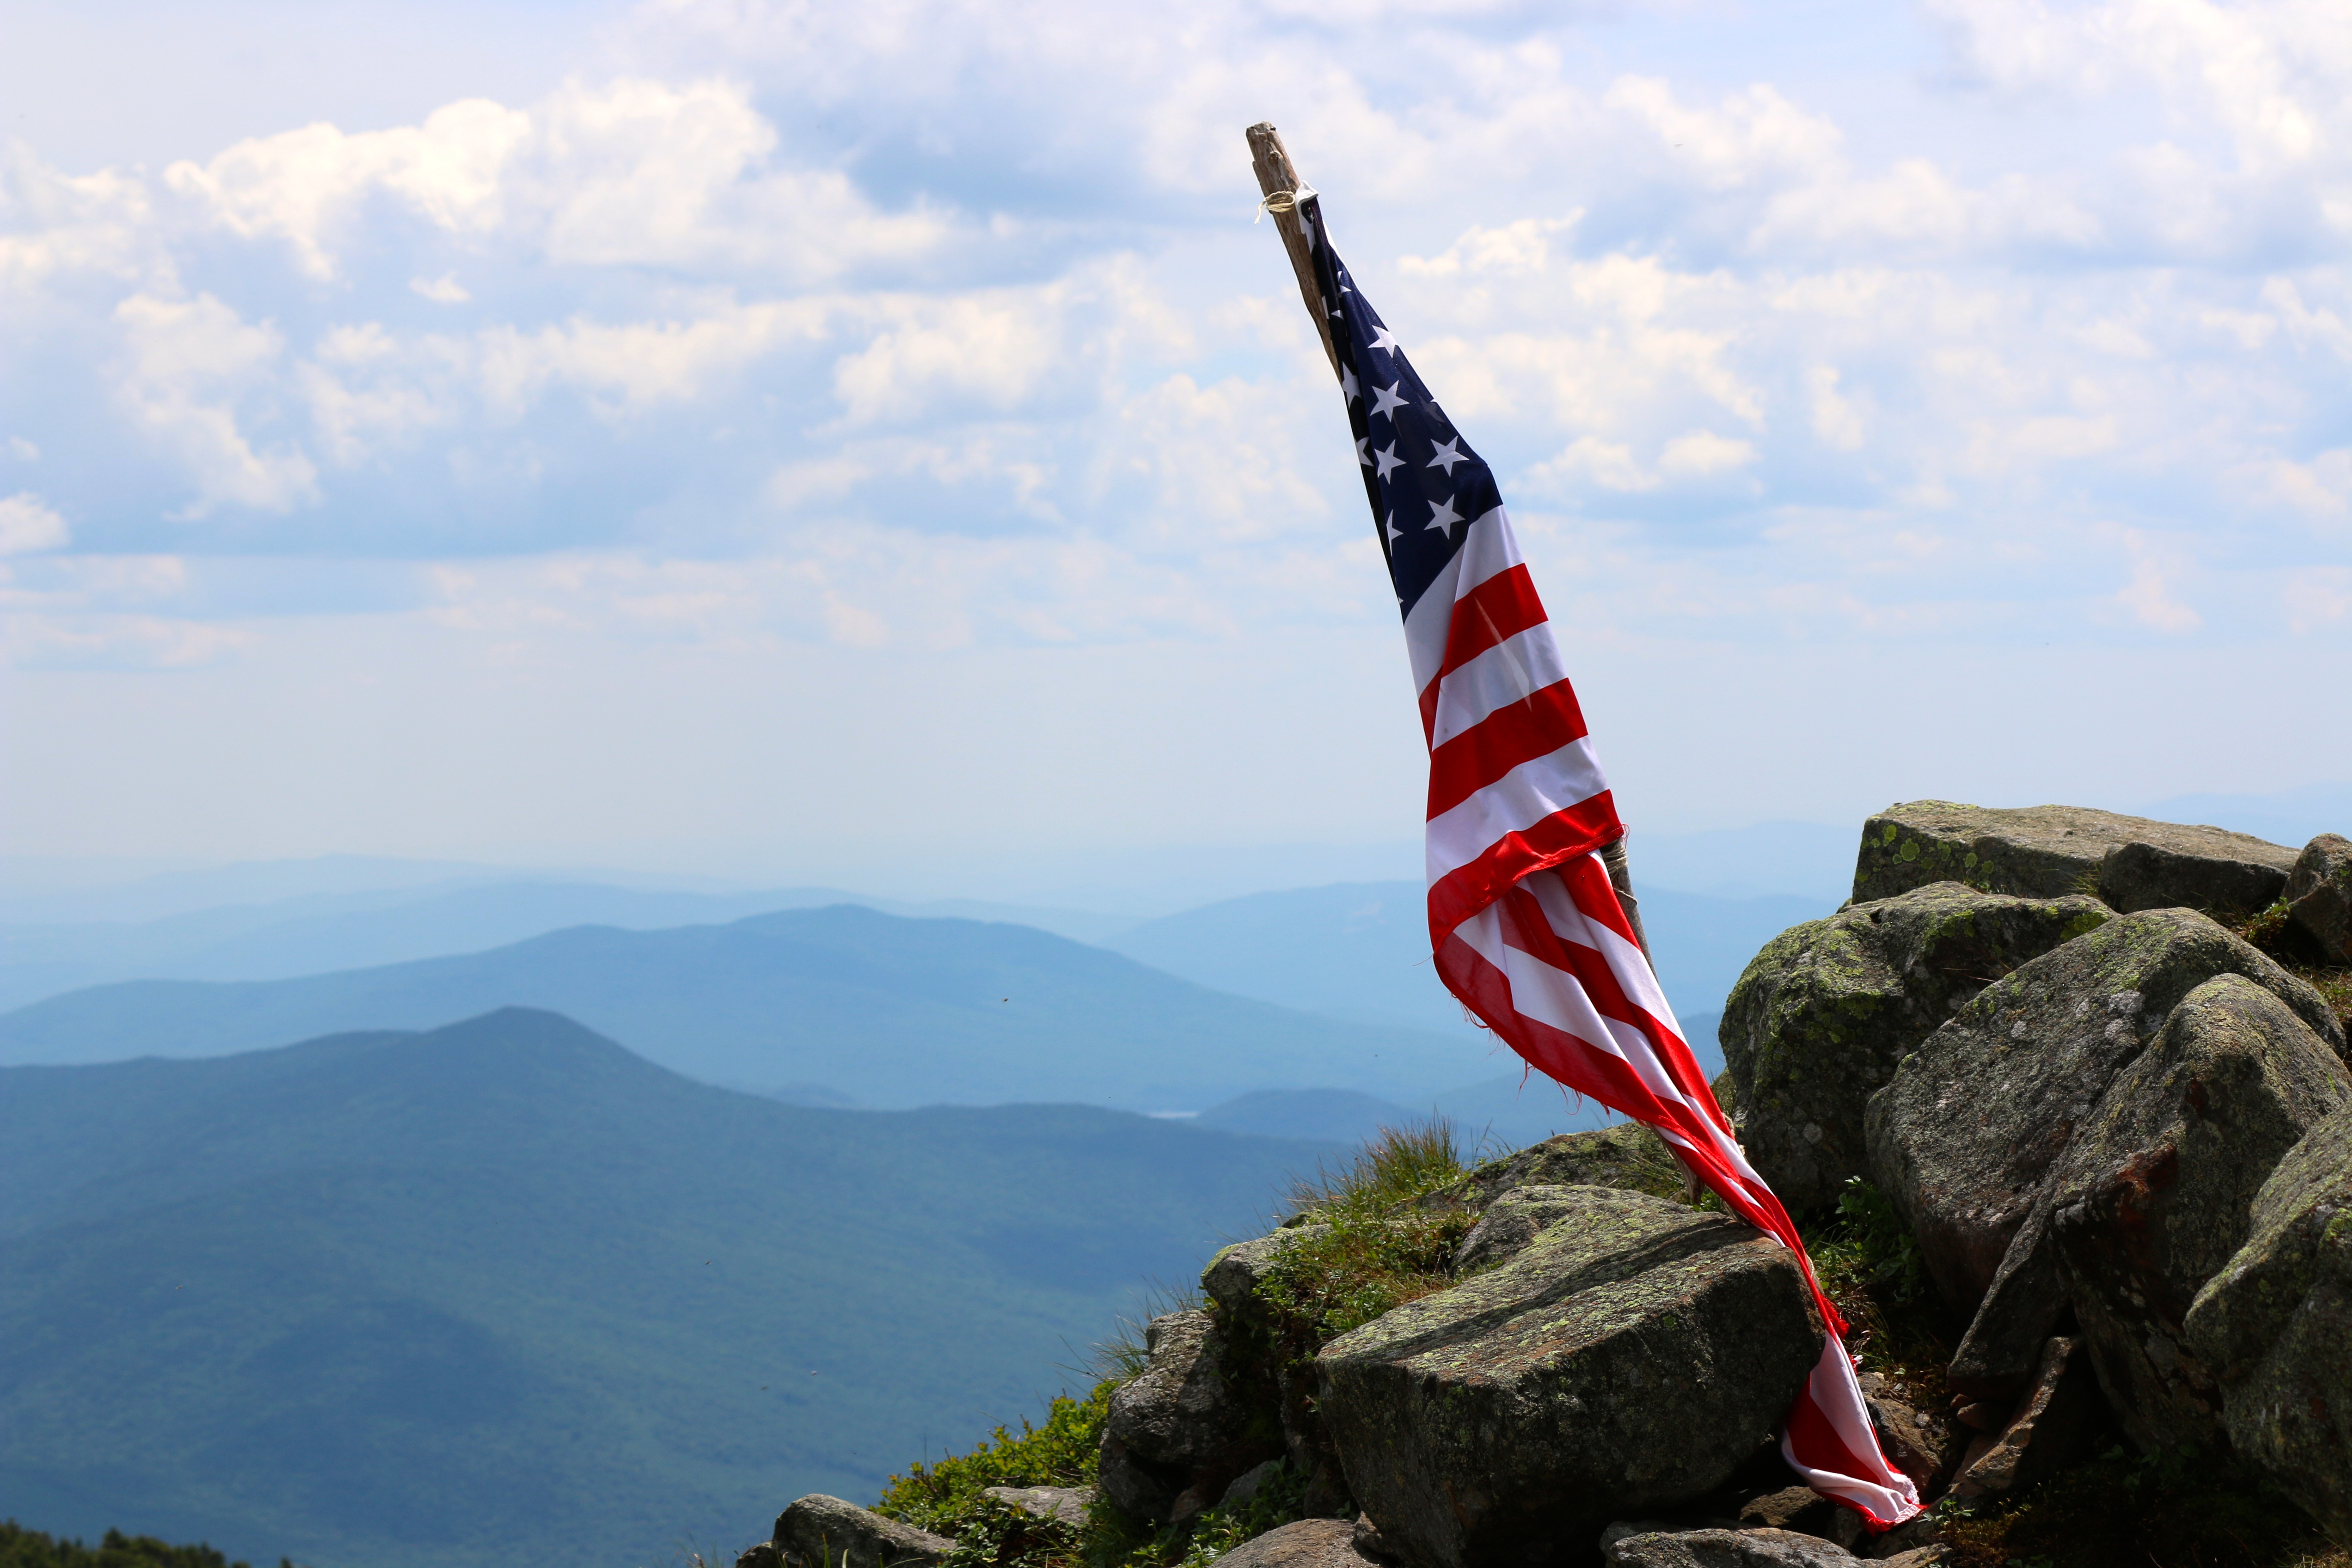
We were informed that the summit sign was stolen and the college would be replacing it. Until then you will see the simple paper stuck to the wood. The flag was being carried back down the mountain that day.

Here are some views from the summit.

IMG_0258
Place holder until new summit post comes
IMG_4940
Summit View
IMG_0279
Happy camper at the summit
IMG_0266
Out walking around on the summit
IMG_0262
Old Glory @ the summit
IMG_4941
Panoramic Shot of the summit

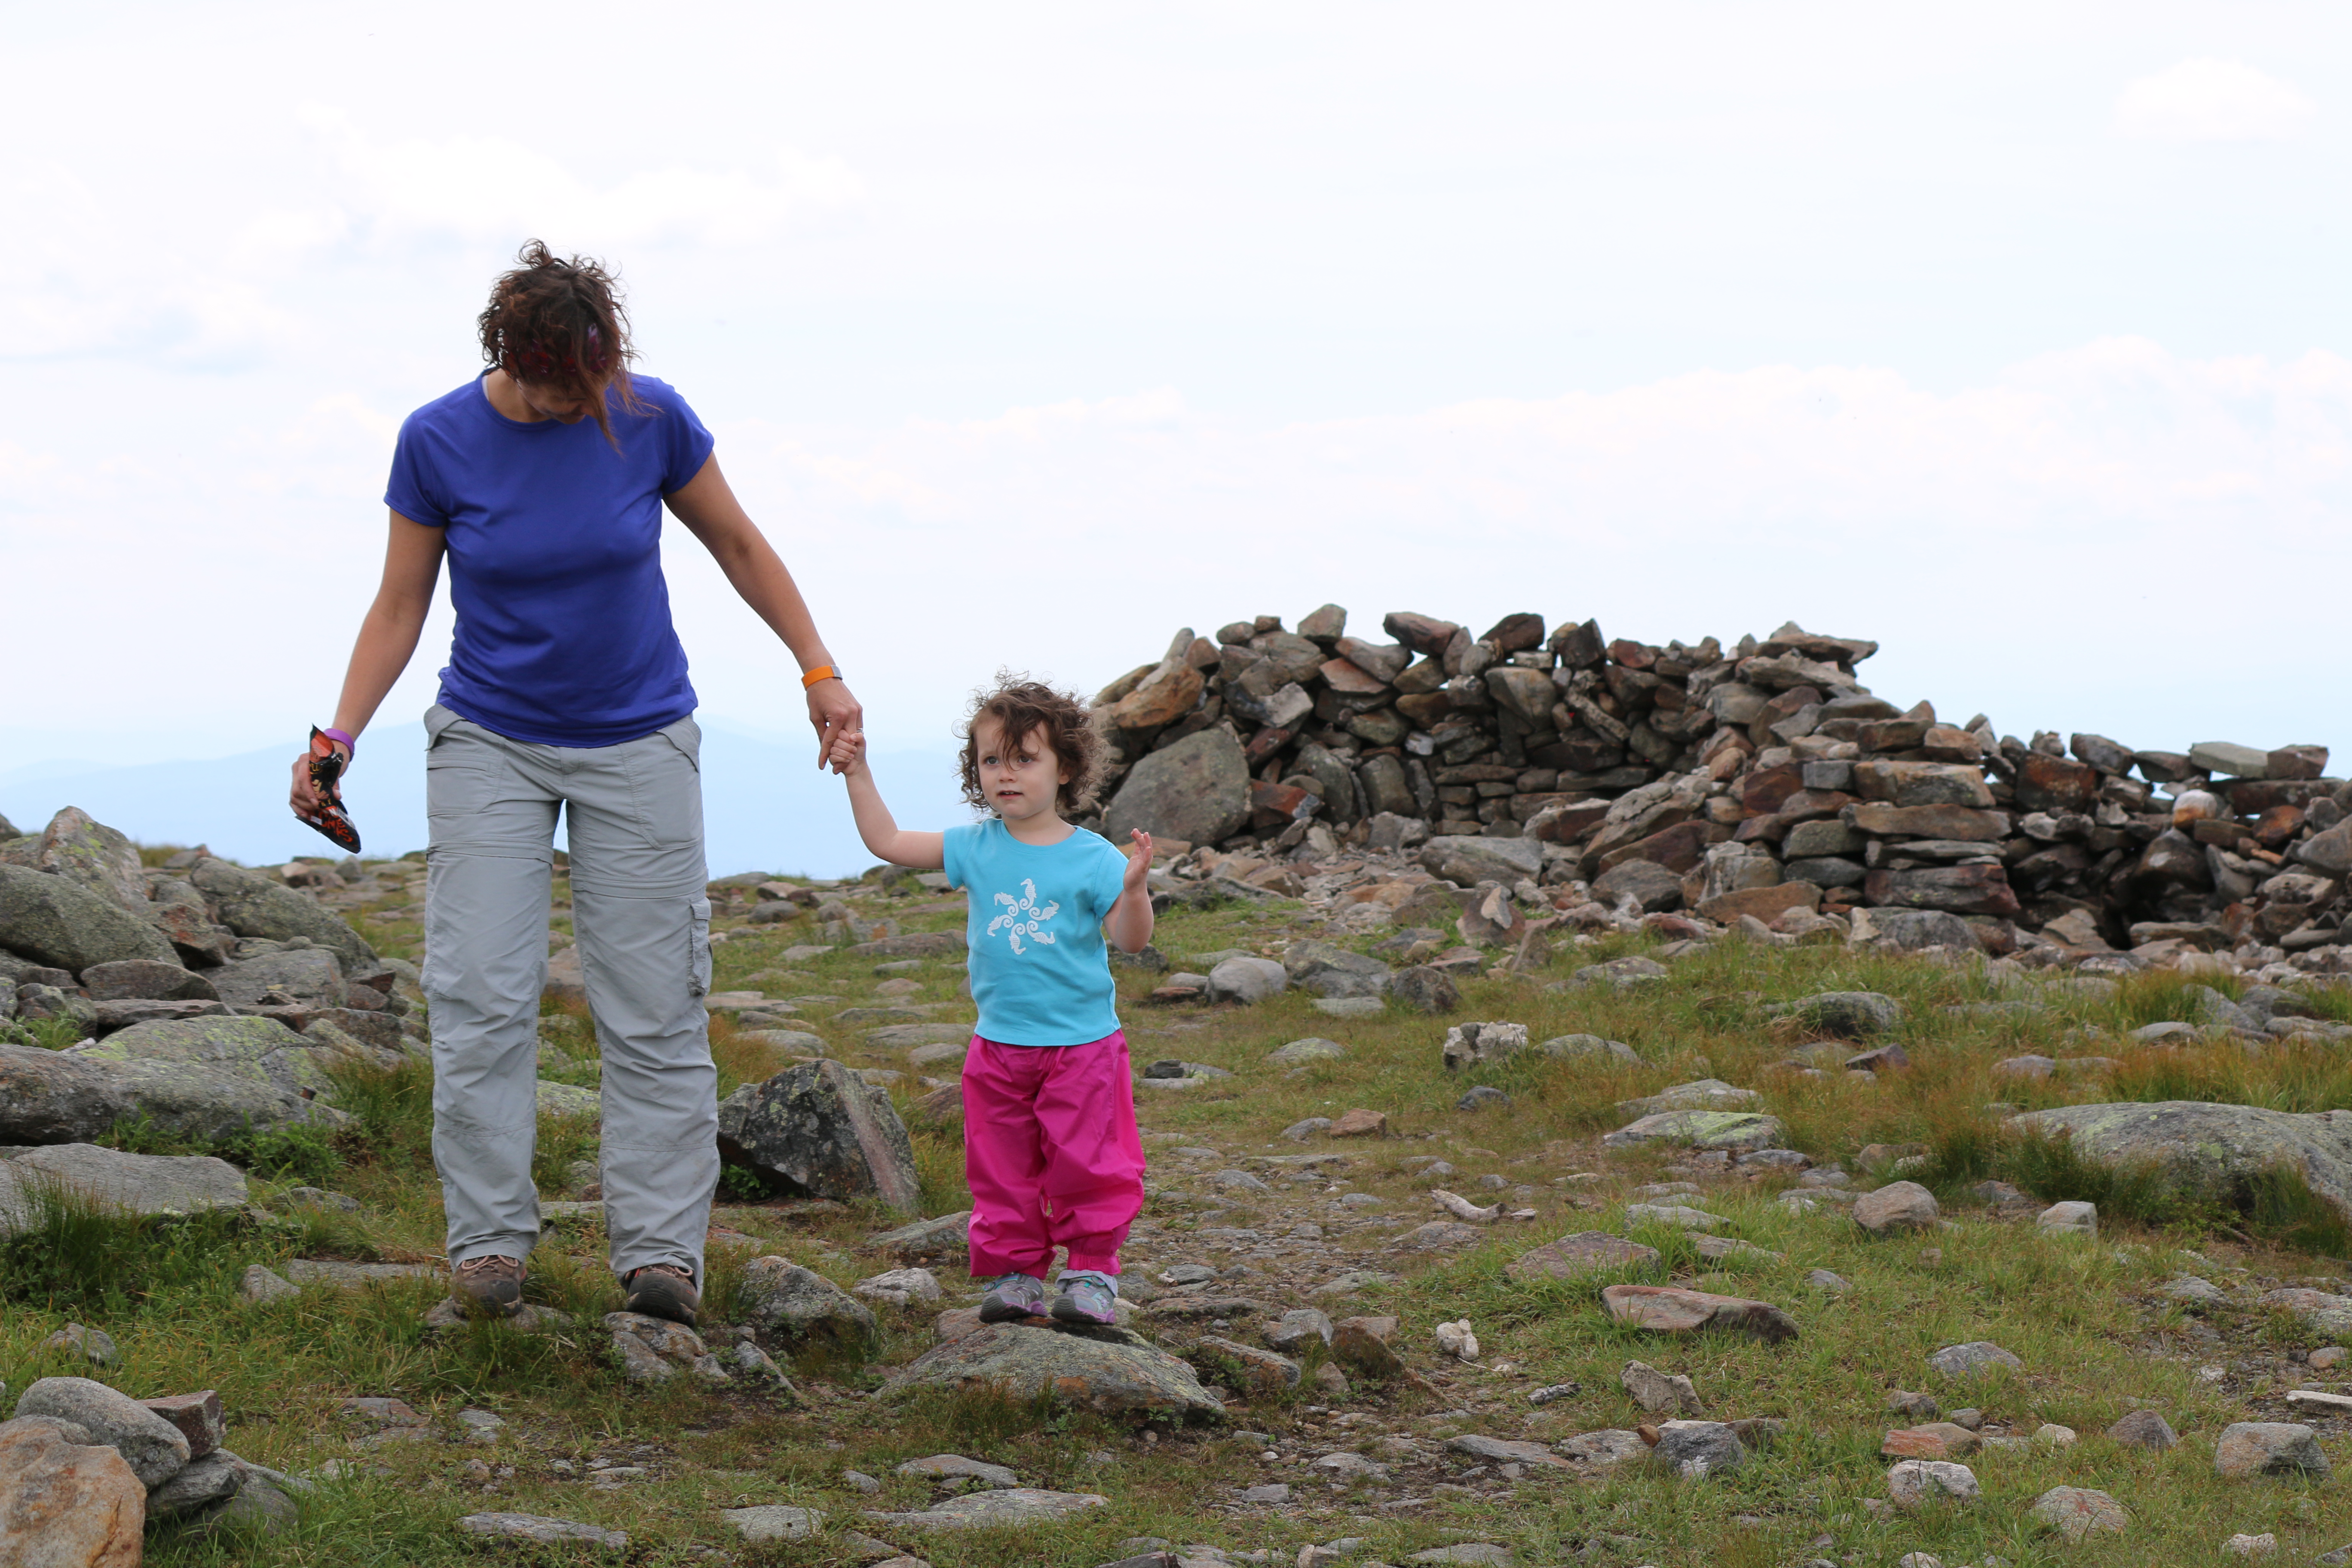
We were glad to reach the summit and feel the nice breeze come across the mountain top. I was even happier to finally get a break and allow our daughter to get out and walk around. Our break and lunch was about 30 or so minutes. Many stayed longer, but we wanted to be starting back down before nap time.  This time the descent was not a nap time filled quiet descent. Instead it was full of two year old talk and noise making. Oh, well… you can’t win the all.

The descent down the carriage path to the south peak is what I would call perfect for tired legs and a first hike of the season. In fact, the descent was one of the easiest I have done since I started hiking several years ago. It is a little longer, but you know the rule you descend faster then you climb. The path down is again a bit rocky, but nothing like the Gorge Path. It’s filled with small rocks and a few step downs from rock to rock, but overall simple.

You will need to keep an eye for the sign to turn left onto the Snapper Trail and back to the Ravine Lodge. The Snapper Trail is pretty much a ‘dirt’ path with roots and some rocks. Again, simple. Before you know it, you will be back to the junction of Gorge Brook Trail crossing the final two log bridges and climbing back up to the trailhead or stopping off at the lodge.

Our hike time was 6 hours from the car up the mountain back to the car that includes our breaks and time on the summit. It’s a beautiful hike, well-kept trails and worth the sweat of climbing up.

Only thing now is to plan our next hike this weekend.

Helping you pick a child carrier for hiking #Deuter Kid Comfort II

This is probably one of the most important pieces of equipment you will purchase for hiking with toddler.

We purchased two types, the Ergo Baby and the Deuter, Kid Comfort II. We used the Ergo Baby for when our little one was 13 months and under. It was the winter, when she was one year old. The comfort of being close was good for her, but we NEVER passed 4 miles in a day. Longer hikes, you need something stronger with more storage and frankly for us hiking with an infant, should be done with caution. Again, that’s my family and my own views.

We will start with the Deuter, Kid Carrier II…. AKA Toddler Carrier (in our view)

My advice is for you and your hiking partner to try on as many carriers as possible and do your research on each.  I suggest going to a specialized retail store for outdoor activities. We found our carrier at Eastern Mountain Store (EMS), in fact, we do ALL of our outdoor purchases through them. (I am not an employee or receive any sort of endorsement from them). We have found their service and knowledge is well above any of their competitors.  We found this out during our first trip into their store. Our first purchase was our Deuter Kid Comfort II.  At the EMS store we went to they have a wonderful and knowledgable sales employee that actually went to a “class” where she was able to bring her child test out the carriers and learn about each of them. This knowledge was extremely helpful when purchasing our carrier.

As a side note, coming from the retail world, I was excited to hear that from her. It’s an another reason we stick with EMS. It benefits so many, not just the gross profit line, but for consumer’s buck, too.  I have always recommend them for any employee interested in a specialized area or just wanting to learn. Overall, it was about passing along knowledge to the consumer to help them make the best purchase for their needs — not what our retail store wanted.  Back on track….

It is really a good idea to have your hiking partner and your toddler with you when trying on packs. Most places have a dummy doll that will simulate your toddler, but there nothing like doing it for real. Seeing how your toddler sits in the pack and moves in the pack is helpful. A dummy just doesn’t seem to make those moves.  Yes, they will react in some manner. Most likely on the scared side. It’s outside their norm, so bare with it. Do it after nap time or well before nap time. It’s definitely a stressful time for them and our little one as been in a carrier since she was brought home.  Two Dogs, a husband that travels and no nanny nor family in the area makes child carrying a must unless you don’t like getting things done. But that’s another story….

We went with the Deuter, Kid Comfort II…. here is why…(the below image is the carrier)

Image

1) The seat where your child will sit is the largest of all carrier. What does this mean for your child? It simple, their legs will not lose circulation as quickly as they would with other carriers. No matter what carrier you choose, you will need to schedule breaks for your child to come out of the carrier and walk around. When doing so, keep in mind, they need a little time to get their legs situated to stand/walk. In the beginning, the process maybe a little out of sync, but you will learn to read your child needs as you take more and more breaks. Just think of your most recent long lecture, boring meeting that would never end, you probably got to adjust yourselves, especially your legs. In a carrier, your toddler doesn’t, so give them a little time. 🙂

2) The carrier has a very large storage pocket under the child. Please, view the picture above to see lower storage.

KidComfortII

I guess it depends on what and how you pack. It’s a big pocket, though. Here is what we can pack inside this pocket; 4 to 6 diapers, a pack of all natural Huggies wipes,  2 adult long sleeve tops, 2 adult pair of socks, 1 pair of child socks, 1 long sleeve shirt, 1 winter/wind pants and 1 jacket to fit a 22 month old, the Deuter KC Rain Cover,  first aid kit for both a child and an adult and a hand towel. I would say that pocket can handle a bit. If you pack smartly you can pack for at least 3 to 6 day trip.

3) There is a location for a 2L water bladder.  We use a camel back model. Deuter does not seem to have a bladder designed for this carrier or at least not that we could have locally. It’s great because you can use it, but so can you child. However, we purchased a 1.5L waist camel back that we attached to the back of the Deuter that is just for our child. Again, we plan for the worse case so the more water the better. We found in the summer, the 2L bladder was empty by the end of a 8 to 10 mile hike. This does not leave room for error. So, we created a way to make it work for us. The design of the Deuter allowed us to make this adaptation without compromising the structural safety of the carrier. It helps that my hiking partner is an engineer.

4) With the purchase of the Deuter Kid Comfort II you receive a sunshade and a rain cover.  Along with a cute little teddy bear for your toddler. The latter was a nice gesture, but the first is what’s important.  Unfortunately, the rain cover given is not the same as the KC Rain cover. The difference is that the KC Rain Cover is a full length cover while the given cover just covers the upper body of your child.

Here is the Deuter KC Rain Cover AKA Full Cover.

Image

This cover we have used as a wind shield, too. During, one of your hikes in the Franconia Notch, NH (up to Little Haystack, to Mt. Lincoln to Mt. Lafayette and down) we found this very help, bc it was windy walking along the ridge.  Here is one picture from the hike…

Image

Little one is napping during a break, which happened to be on the summit of Little Haystack. She slept through us placing on the cover. Here is us on Mt. Lafayette…

Image

The picture below is the sunshade, which you will be given with the purchase of the Kid Comfort II. You will need this attachment whether you use the KC Rain Cover or the given rain cover with purchase. The sun shade is great for those hikes above the tree line during the summer, but do not forget to apply sun screen.  Also, for some light rain.

Image

Below is the rain cover given with purchase. As you can see, the toddler’s upper body is covered, but their legs are exposed.

Image

5) From the pictures above, you can see the amount of extra pockets to carry additional items. You can place all your items you will need readily available. Here is what we have handy snacks, bug repellent, surveying tape, our little ones hat and sunglass and sun screen. Our child has learned to reach the side pockets for her snacks when she is hungry.  In addition, there are numerous areas to place d-links. We use our d-links for our emergency whistle, items for our little one to play with, a compass, my hat, a GPS tracker and other smaller items that are helpful to carry within arms reach.

6) There is a small pocket on your waist belt AKA hip fin pocket.  I place chap stick, a cell phone, an extra set of keys and a mirror. The latter I have found to be extremely helpful. The mirror allows me to check on my child whenever I need, too. Also, it gives my child a chance to see me whenever she wants without having to dismount her. We have had numerous conversation with looking into the mirror. This idea is similar to one you may use your car. Here is a picture from our Bald Face hike with me and our little one talking using the mirror.

Image

7) There is a place for your child to rest their head. This fleece piece can be removed for washing. It’s a quick pull and into the washer machine it goes. To place it back on, just line up the velcro pieces.  It can’t get any easier than that!

8) Its padded! I mean very well padded. I was surprised by the difference when testing out carriers. Deuter took the time to pad it and make it breathable. The EMS employee even got to see the material of the padding, which is one of her reasons for going with this pack, too. This is helpful, because it’s the barrier between you, your child, your water and weight. The weight is more on the weight belt, but there nothing like padding on your hiking pack.

While we are talking about the weight, on the shoulder straps, there is an adjustment, called stabilizer straps, make sure these straps are pulled tightly. We found that is most comfortable for us. It makes the pack closer to your back, but the weight will still be on your waist belt. If its loose, I have found that I feel as though my pack is pulling me backwards. Definitely, not the direction we want to go!

No matter what breathable material and system your pack has to create a movement of air,  you will sweat.  The padding and system made for air flow doesn’t mean you will not get wet from sweat, but without it…. I am not sure I even want to think about what it would be like.

9) It has the 5-point harness strap. The same idea used in your toddler’s car seat is applied here. Connect them all, make them snug on your child. This doesn’t mean he/she will not shift in the pack, but they will be safely in the pack and staying in the pack.

10) The pack can handle up to 48lbs, which 40lbs of a child. This is great because it gives you the chance to hike quite a bit. In other words, you are getting your money’s worth.

Lastly, please, remember if you go with the Deuter. ALWAYS, ALWAYS have the shoulder restraint going through FOUR loops. See, the image below, the red arrow shows you the loops, I am speaking about. This is also where you can adjust the height of the pack. It’s great, because you do not have to dismount your child to make adjustments. I guess that would be reason number 11. This is great for when you switch, who is carrying your toddler. But, no excuses FOUR loops. It’s the safest for the amount of weight of your pack that includes your child.

Image

Up next,  I will review our Ergo Baby carrier, why we went with it for shorter hikes when your little one was younger and other ways we used the carrier. To clarify now, we use only the Deuter Kid Comfort II for all our hikes. Our toddler loves the pack and knows what it means. She gets excited to go in it…… that makes the cost priceless.