Mount Waumbeck via Starr King Trail

Mount Waumbeck is location in Lancaster, Jefferson, Coos County, New Hampshire. Jefferson is a very pretty town. If you can, I highly suggest adding some time here to stop by the museum and statue.

Mount Waumbeck is part of the 48 4,000 footers in New Hampshire.  Learn more about Waumbeck.  There are a few ways to access this peak. We took the shortest route via Starr King Trail. It is direct and to the point, but do not take that lightly, after all you are hiking in the White Mountains.

Starr King Trail is located off of Starr King Road in Jefferson, NH. Starr King Road is off of Cottage Road accessed via Route 2. Map of location.

Starr King Trail to the summit of Starr King is 2.6 miles. The hike is at incline, but gradual with a handful switchbacks.  The terrain is very easy for the White Mountains.  At the 1/4 mile into the ascent or so,  you will pass a well. This is a good land-marker for your descent if you plan to return the same way.

A few images to Starr King Trail:

IMG_3159

IMG_3156

IMG_3164

Summit of Starr King

IMG_3187
IMG_3189

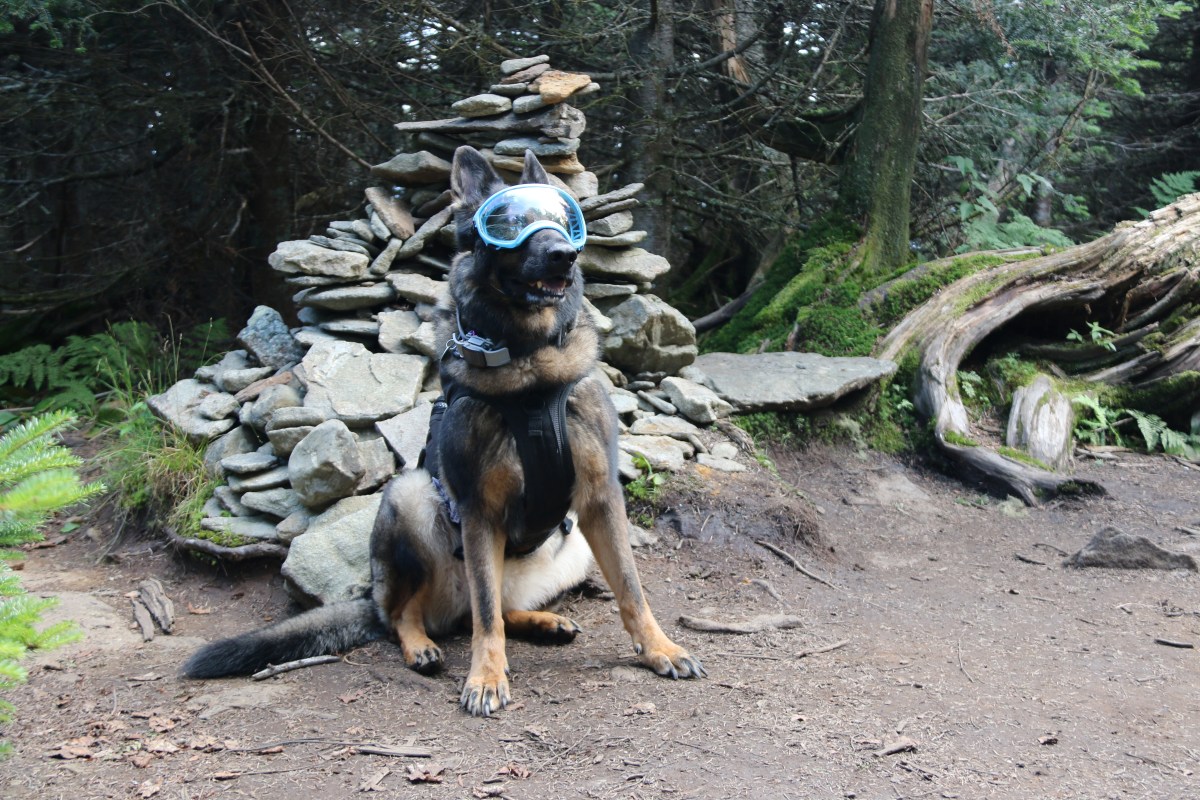
Starr King is a good location to stop, rest and have lunch. Of course, the Admiral chatted through the whole break.

IMG_3173

The trail to Mount Waumbeck from Star King is roughly 1.1 miles. The ridge walk is rather flat and very straight forward.

IMG_8628 2

IMG_8621 2

IMG_8629 2

IMG_8620 2

The summit of Mount Waumbeck is below tree-line, but it a very nice walk on what could be a rainy day. The rain came shortly after our summit of Mount Waumbeck. It made the descent somewhat slippery, but manageable. Though, in a downpour the trail could get really muddy and the moss very slippery rather quickly.

Here are some summit of Mount Waumbeck pictures:

IMG_3204

IMG_3210

\
IMG_3220

Here is the topography map of the trail in 3D

Messages Image(1751594419)

Messages Image(860378885)

Abby’s activity level for the day by Pet Tracker

activitytimeline

Mount Osceola via Tripoli Road

Mount Osceola is a 4,315-foot peak, located in the White Mountain National Forest, New Hampshire. Mount Osceola is named for the early-19th century Seminole leader.

There are two ways to reach the summit of Mount Osceola. One is from Greeley Pond Trail to the northeast of the mountain, which requires crossing the East Peak of Osceola first or from Tripoli Road to the south. We took the southern ascent via the Mount Osceola trail, which is a 3.2 mile/5k  trek to the top, 6.2 mile/10k round trip.

The trailhead is off of Tripoli Road in Waterville Valley, NH. You can access the road off I-93 exit 31. *Note: this road is closed from November to May*  Travel roughly 6.7 miles on Tripoli Rd to the trailhead. The trailhead is located on the left with parking. *There is a fee for parking for those that do not have a yearly parking pass.*.  Tripoli road is paved then becomes a gravel a few miles into the woods. You will pass various camping grounds during the summer it is rather busy so be cautious.

IMG_2858
Trailhead sign

The trail is one of the easiest we have done. There were not many areas that would be problematic for a family hiking with a child. It is a far cry from the ‘death match’ hike of Mount Carrigain, via Signal Ridge Trail. There are a few areas near the summit that you will enjoy a few views and good breezes. In addition, compared to Mount Carrigain the trail path is not so rocky and a good 3 feet wider in certain areas, which is helpful when allowing people to pass.

Here are some images along the trail to the summit.

AbbytrailMtO1
Abby on the trail
AbbytrailMtO2
Abby on the trail
The girls on the trail

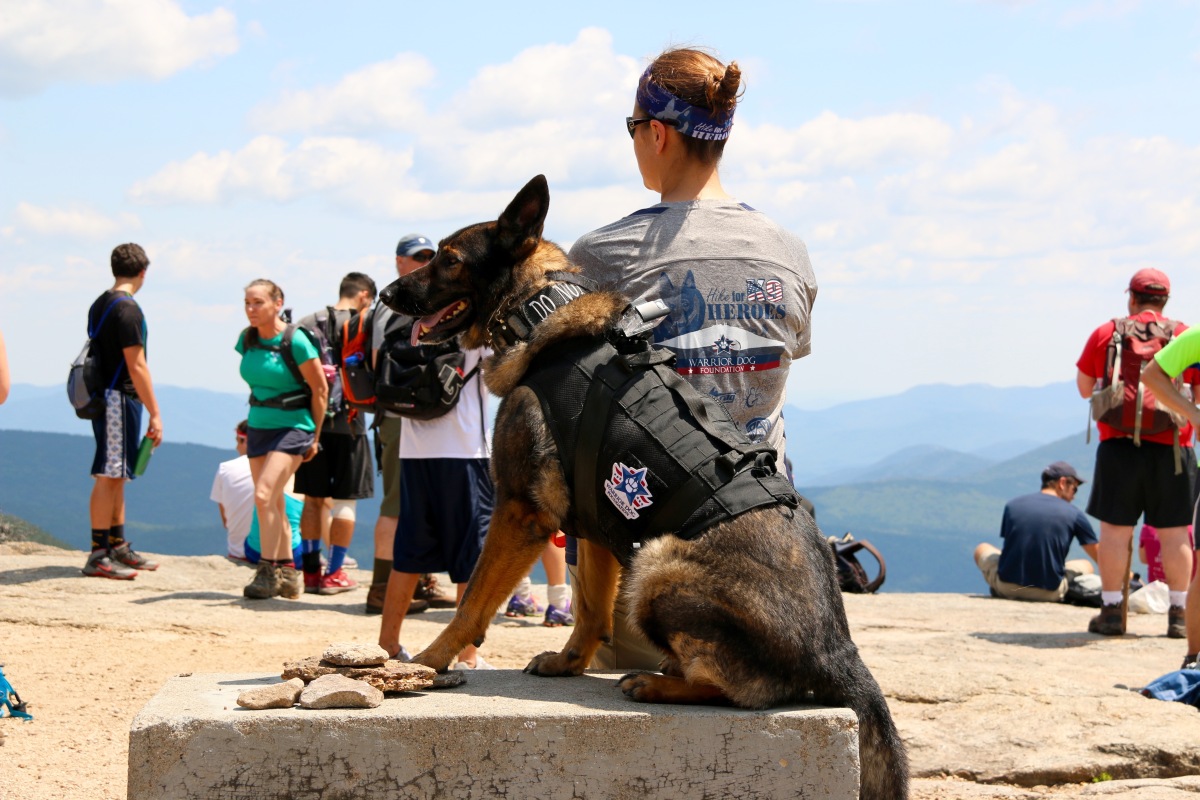
Our objective with this hike was to train Abby, our rescue canine. This trail is busy, very busy with people and dogs. The climb is rather easy but all the traffic of people and dogs is a great way to solidify training. There were “reactive” dogs on the trail, which was very helpful for training and a few people who were terrified of dogs.  As I said, the trail is very busy and wide, which is great for real life training.

The trail is rather straight forward, a basic up and back with a few switch backs to keep the incline easy to handle. Some part of the trail are under reconstruction, but there are no hurdles to worry about.

Sign about 3/4 mile from the summit
Trail reconstruction sign

As you approach the summit, you will face some rock facings. A few of the facings the incline is rather step and can be very hazardous when wet.  You can either go hand over feet or work your way along the side and up. I highly suggest to plan accordingly.

As you approach the summit there is a path to your left, climb up the rock and look out. You will be able to see Mount Washington and the Presidential’s on a clear day. Double back and take the path to the summit.  The path to the right on your approach leads you to summit, too. We suggest skipping that path the approach from the path straight ahead is way better.

We were not able to find the summit marker for this mountain, but normally with fire tower mountains, we have found there are no summit markers.

If you are looking for an easy up and down with beautiful views this is your mountain. If you are hiking with kids it is definitely something you can do as a family and if you are traveling with a child on your back, it’s a walk in the park compared to other White Mountain trails.

Here are some summit images…

IMG_2844

IMG_2847

IMG_2845

IMG_2853

As usual, please remember to leave no trace especially in areas where bears are more prone. Safety first.
IMG_2860

Lastly, here is the 3D map of our hike.

MapMtOsceola


Mt. Willard Trail – Winter Hike

Mt. Willard is a very easy up and down with an amazing view at the summit. The best time to hike this mountain is during the fall to capture the fall foliage.

Mt. Willard Trail is located in the Crawford Notch State Park. The trailhead is located in the same location as that of Avalon Trail, but instead of going straight, you would take a slight left onto Mt. Willard Trail. Since, we hiked Mt. Tom via Avalon Trail it was very easy to locate.

The trailhead for this hike starts at the Crawford Depot/Visitor Center on Rt. 302, just before the AMC Highland Center.  Anytime we hike in this area, we stop off at the Highland Center to get trail reports and if needed to sign in and out of the hiker log.

Here is the trail from the north view. Our total trip was 4.1 miles from our location at the highland center to the summit and back.

Trail
4D Map Trail
Elevation
Elevation

The trail condition for us was packed snow and easy water crossings. If you are hiking this trail during the winter, I suggest running into the Highland Center and speak with the AMC folks at the desk. Depending on what the weather was before your hike day, water crossings can be hard to pass or not passable at all. There are a few areas of the trail where you will have to duck under or walk around some broken or snow pushed branches. These areas of ‘obstacles’ are very easy to walk around.

We used our micro-spikes for this climb. It is an easy hike on packed snow, but with a moving toddler on your back its helpful to have some grip to the earth.  The climb and descent are very straight forward and rather uneventful.

Here are some images from the trail.

At the start 1
Crawford’s Depot


IMG_3034
Trail


Us on the trail
Us on the trail


Pool Area
Centennial Pool


Coming down the trail

Here are some few from the summit…

Mt. Webster


Summit Picture

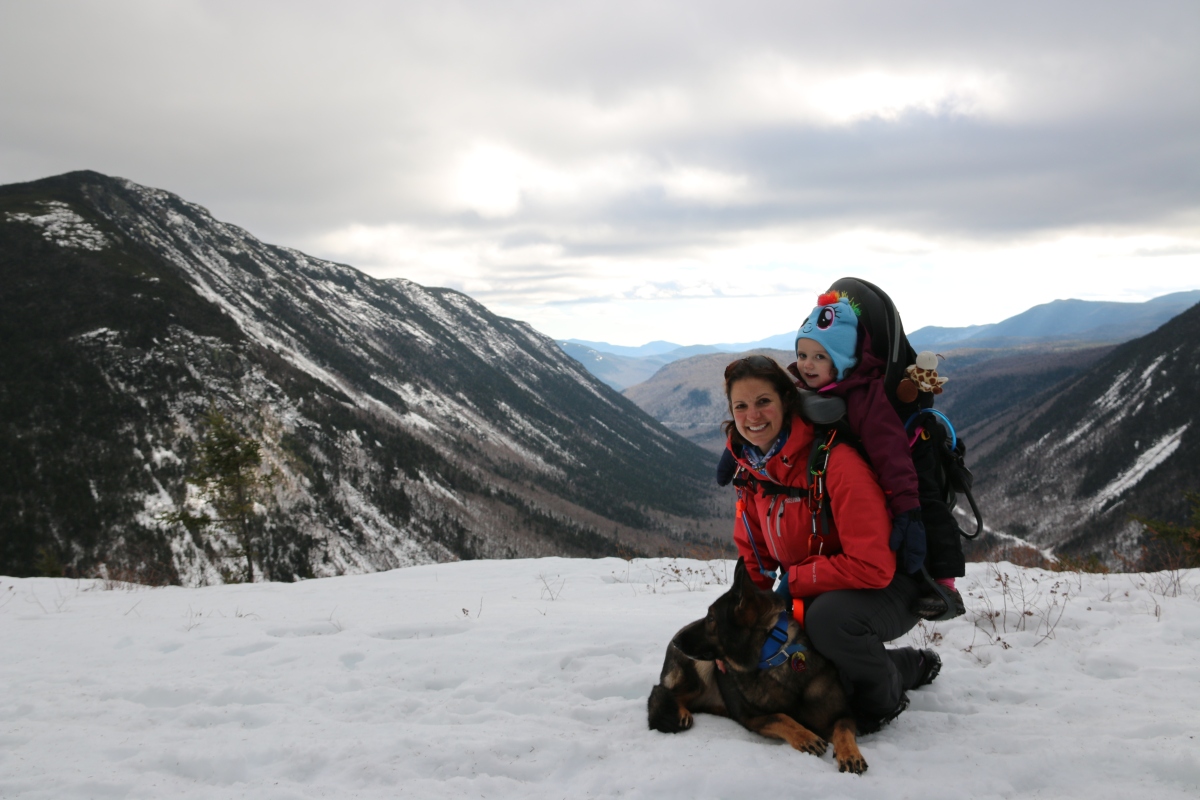
As you can see, we added another family member to our hiking team. This was Abby’s first formal hike and she did very well. It was a little confusing in the beginning since we forgot her gear. The gear is key in helping Abby understand it’s time for ‘work’.  She stayed on her lead the whole trip connected to my pack and loved every moment. Our goal is to have Abby completely condition and trained for longer and harder climbs by this spring where she will join us on each hike.

Week 3 of Training

Put a fork in me, I am done. This was a hard week, not just the workouts, but the solo parenting with a child that is hitting the “terrible threes”. The latter made it more important than ever I get the workouts in. This week was just overly challenging. Great news, next week will be, too. At least, I am prepared and ready for Thanksgiving week. 🙂

This week focused on lifting weight to muscle fatigue with a good amount of cardio (tempo and speed work). So, here we go… week 3 breakdown.

Sunday – 6 miles with 4 at tempo

Monday  –  Easy 6 miles with core & back work, chest, back, triceps and biceps for weight lifting. Remember to work your whole chest then your triceps then to back to biceps. Always work a-posing muscle groups. Hence, the need to work abs then back. Each weight lifting exercise was done 3 times with 12 reps with the last rep being to muscle fatigue. IE, if I did another up and down I would either pull a muscle or not make it. If you have not been there, go an additional 2 to 4 times from the point you think you can’t.

  • Chest workout
    • Flat bench chest press
      • 25 crunches and 25 reverse crunch
      • Superman 25 times.
    • Incline chest press
      • Repeat Ab and Back work
    • Dumbbell Pullovers, I do this move with only my shoulders on a bench, keep your spine inline abs in gauged, knees 90 degrees, feet flat on the floor. After your last set move directly to tricep presses right over your chest as many as you can do.
      • Repeat Ab and Back work
  • Triceps
    • Seated Tricep Extensions
      • Repeat Ab and Back work
    • Tricep Kickbacks
      • Repeat Ab and Back work
  • Back (Thank you to Jack for this workout, he created the workout with dumbbells. Great guy, very helpful and excited to help and even followed up on the workout to make sure it was working).  The fact he is a ‘Bama fan is just an added bonus! 🙂 You can find him on twitter here and his website here, Jack’s website.
    • Single dumbbell bent over row
      • Body weight squats 10
    • Double dumbbell bent over rows (performed standing, no bench involved)
      • Body weight squats 10
    • Bent-over double dumbbell lat fly
      • Body weight squats 10
    • Bent over Dumbbell pull-backs
      • Body weight squats 10
  • Biceps
    • Hammer curls
      • Body weight squats 10
    • Biceps curls
      • Body weight squats 10

Greatest way to know you lifted correctly is move directly into push up position, if you are not shaking during the execution or if you just can’t even perform the push up, you reached your muscle fatigue. Depending on your recovery rate you may be able to do a push up or two. If you are handling this easily, you are stronger than you believe and you need to adjust your lifting to reach the point of muscle fatigue.

Tuesday – Shoot me now, 10 miles on the treadmill followed by 25 8-count body builders. The body builders took me some time, I was a little sore from the day before. Plus, I really really, did I mention really hate body builders. I mean really, who came up with this god forsaken workout, a form of a burpee set to a rhythm count. If I ever met this person, I am not sure I would punch or hug him/her. Either way… another, lovely workout J taught me.  The run on the treadmill was tough mentally. The only thing that got me through this run was “From Paris With Love”. Yes, the weapons fire, explosions, and awesome character playing by John Travolta made 10 miles seems like a walk in the park.

          One of my favorite quotes from the movie is, “Kitchen staff!?! What kitchen staff ?!? Kitchen staff doesn’t shed lead like that.”  Anywhos…..I highly recommend the movie if you have not seen it. Great effects with some awesome movie liners like the one above.

Wednesday – No cardio, just repeat of Mondays weight lifting. Plus, yoga and stretching. I wasn’t overly sore. Weight lifting then cardio helps work out the lactic acid build up. Plus, the more efficient your body becomes the better the recovery.

Thursday –  First off, I am so stoked I completed this. (8.5 miles total) I learned this workout from J. It was a workout he did some many moons ago. Well, half of it. I just repeated the cycle.

  • Block 1
    • Easy warmup one and a half miles. You can make this a mile if you want. I said easy for a reason.
  • Block 2
    • Four quarter-mile sprints with 30 second working recovery* between each set — you can make the rest period up to 45 seconds
    • 45 to one minute working recovery after your last quarter-mile sprint.
    • Two half mile sprints with 60 second working recovery* between each set — you can make the rest period up to 90 seconds
  • Block 3
    • Working recovery* for one mile.
  • Block 4
    • REPEAT Block 2
      • Try and maintain the same pace of your first round of Block 2. By the third half mile repeat or maybe the first half-mile repeat you should be swearing and pushing yourself through the “I want to quit” stage. Just remember, the saying “Pain is inevitable, suffering optional.” You choose suffer through it or push forward. I use a mantra when things get real tough, I find it’s a way to calm my mind and body, it’s rather simple. Be Strong, Be Confident, Believe. Short simple and repeated whenever I need it.
  • Block 5
    • One mile cool down. Add whatever miles you need for cool down. I did 1.5. I have an A-Type personality and the warm up and cool down need to match and the cool down needs to make the total mileage complete or at a half mile. IE after the decimal the number needs to be 0 or 5.

Finished up with core & back work and another 15 8 count body builders **insert sour loving face**.

Friday – Easy 5 mile run.

Saturday – As always family day. I am truly blessed to have a man or maybe a vampire man in my life that when his flight is cancelled on Friday night, he will get a rental car and drive all the way home to arrive Saturday morning for family day. He did this knowing that early Sunday morning like 4AM he was heading back out to the airport and heading back to the location he just left. Saturday’s adventures were very basic, we picked up our fresh turkey from a local family farmer, we did a little more Christmas shopping, of course watched some football, enjoyed building some great architectures, pig piled on the bed for a few Christmas films, made time for J and M to have play time, followed by Abby getting some solo couch time with J and I got 75 minutes of almost uninterrupted peace and not so much quiet time to do adult things. The time flew by, but we will take it. It is about quality over quantity.

*What I mean by working recovery is that you are still moving jogging or at an easy run pace. You are allowing your body to recovery and take in more oxygen at a reduction in intensity, but you are not standing still or allowing your heart rate to drop completely, I stay within 60 – 65% of max heart rate. The Thursday workout is all about working at a high intensity with minor breaks then back to high intensity. You are training you cells to recovery after high intensity and also training your mind to influence your body. Remember, fitness is not how skinny, built, how far you can run/hike/climb/swim or how much you can carry for a certain distance and/or altitude. Fitness is your rate of recovery. The better your fitness rate, the faster you recover, the faster your body returns to homeostasis. The place it wants to be. In times of stress that being fight or flight, work shit, family BS, disagreement with your loved one, you name it, the faster your body and your mind can make the adjustments and return to normal the better for you and your body.