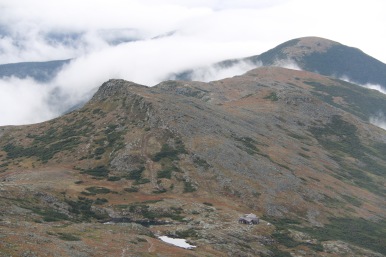
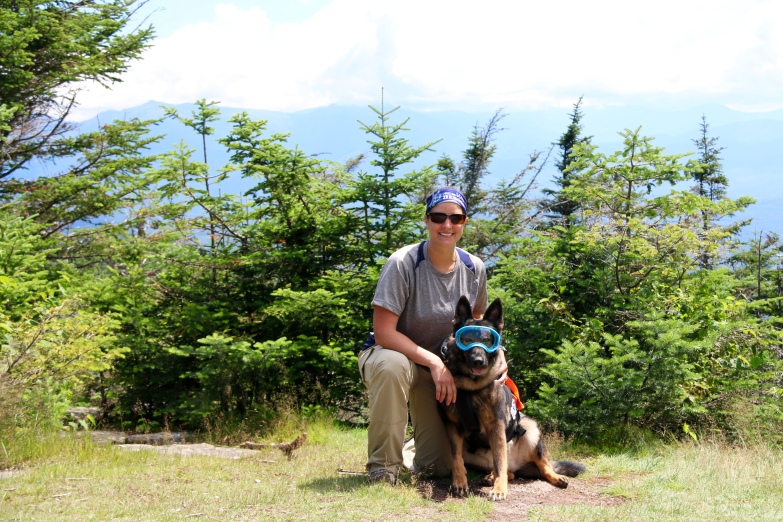
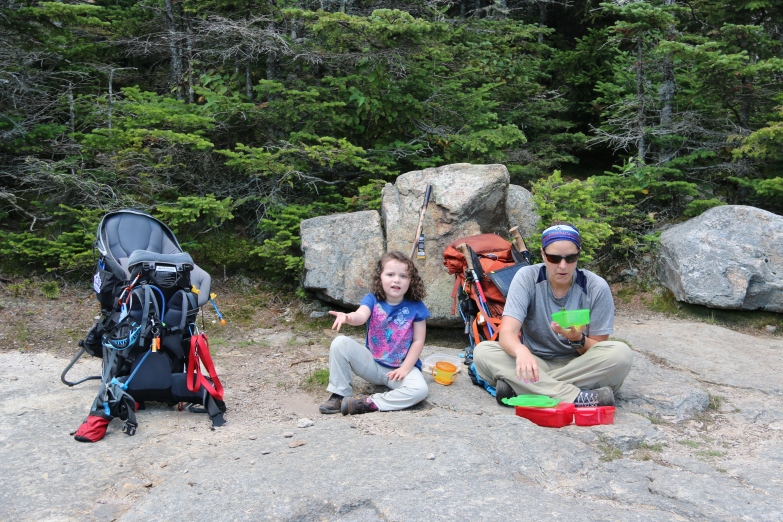
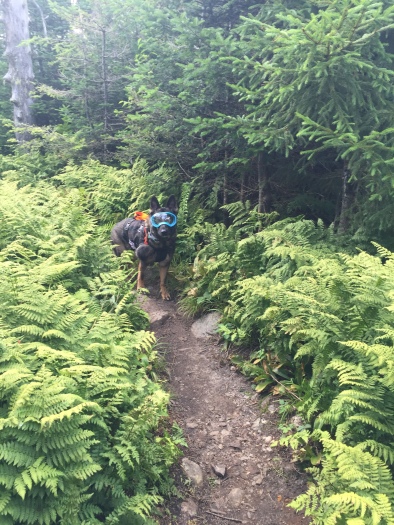
Mount Garfield to Mount Washington

It’s not a hike without some sort of complication either late in the night created by the Admiral’s excitement to “go to the mountain” or the morning phone call to the Navigator asking for help to deal with some networking and WiFi issue. The fact it was a combo of both was not surprising. At least, we got the hiccup of the hike out-of-the-way before we left the house.

We headed out to the start location a bit later than planned, but it was manageable to make the summit and get to campsite one. We would arrive at the campsite at nightfall.

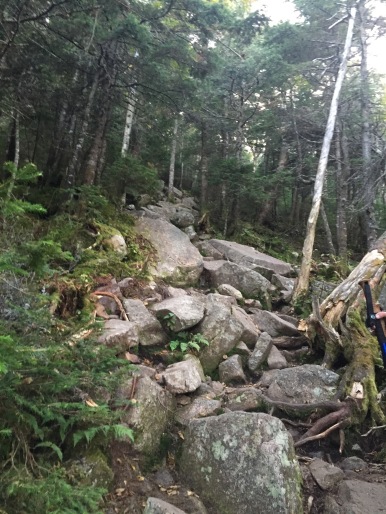
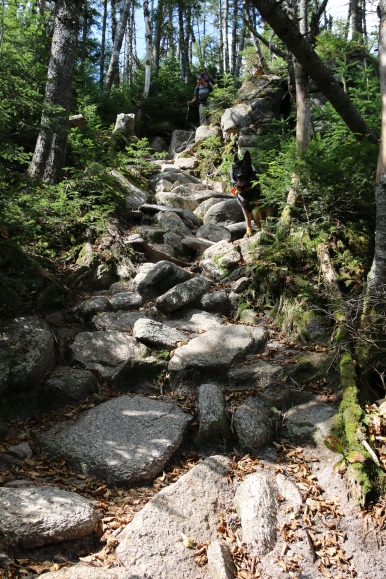
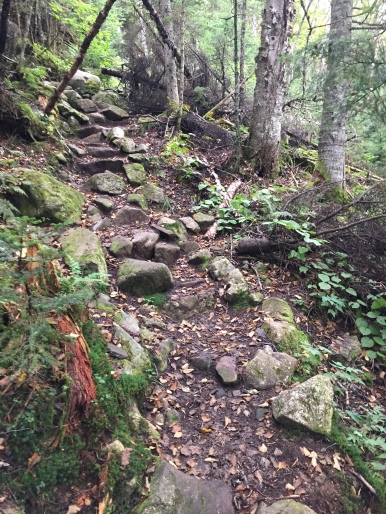
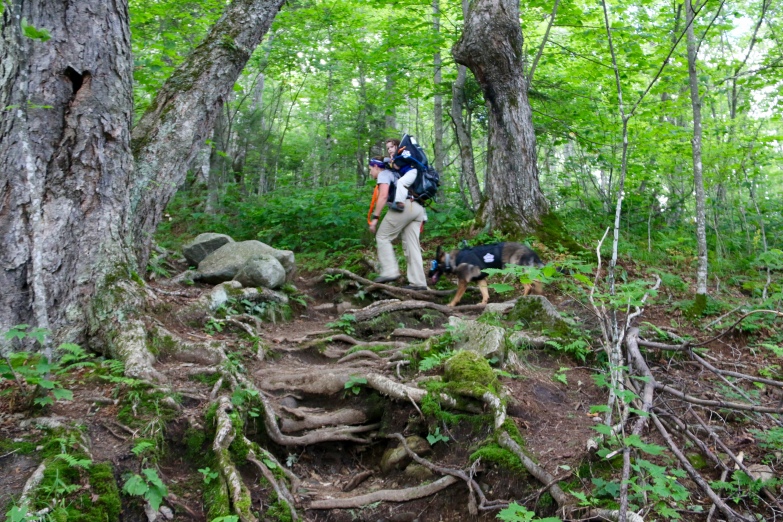
The hike up to the campsite one was rather uneventful and a good warm up to the remaining terrain on the hike. We followed the Garfield Trail to the summit of Mount Garfield and down to Garfield Campsite. The summit approach was a bit of a rock scrabble but nothing difficult. New hikers may find it problematic, just take your time.

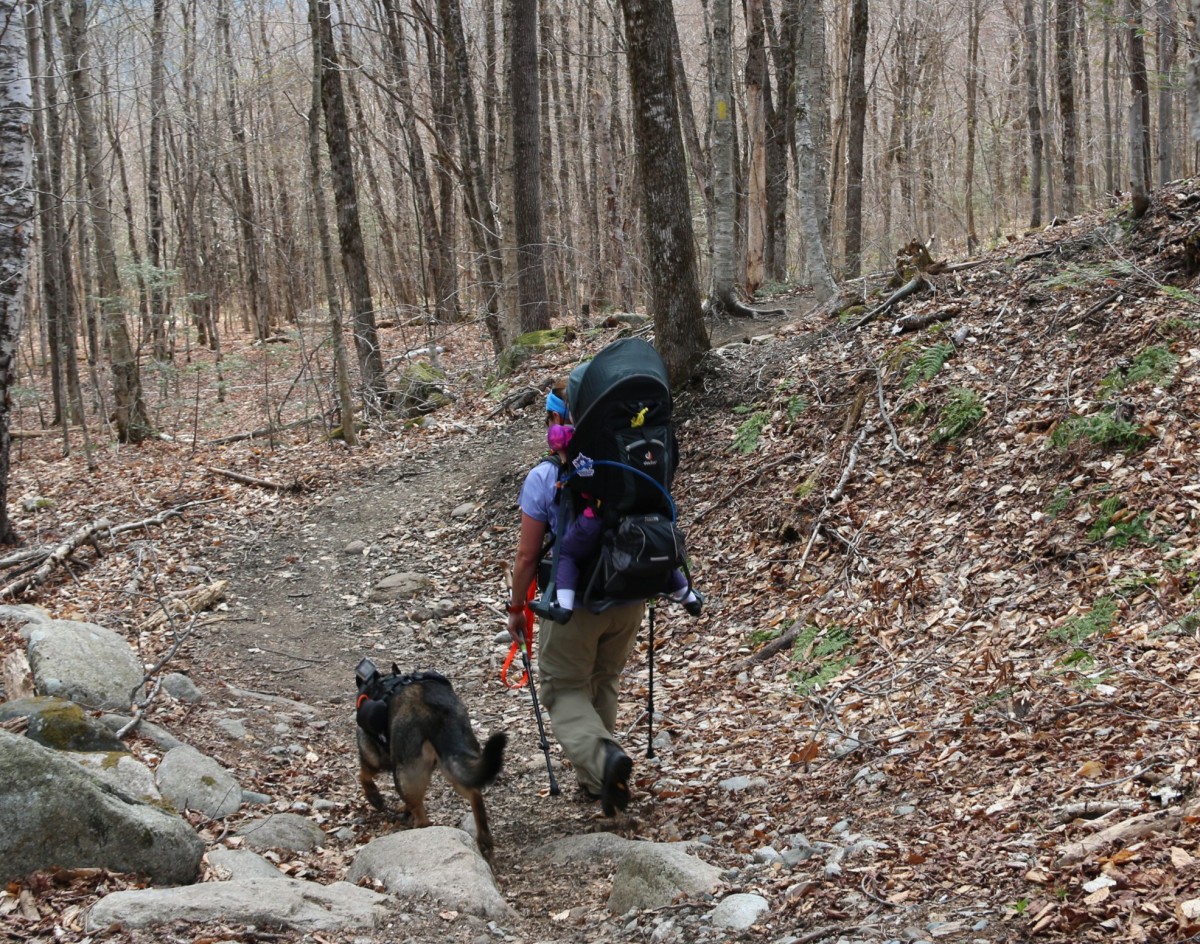
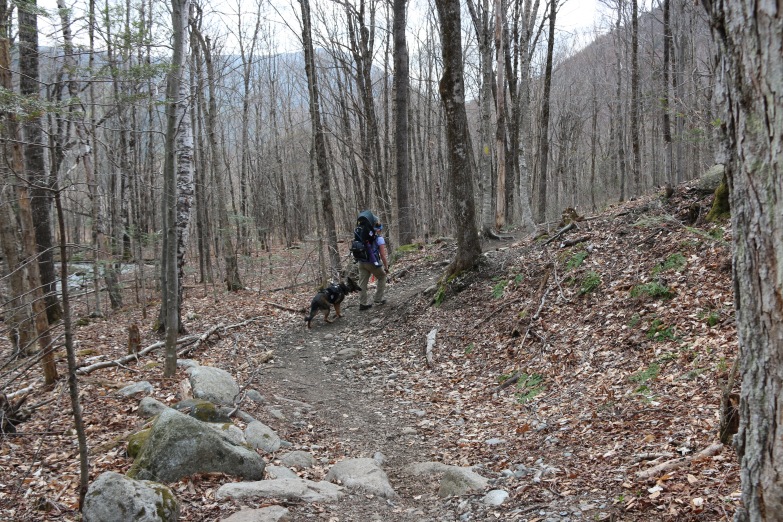
Some images along the way to Garfield

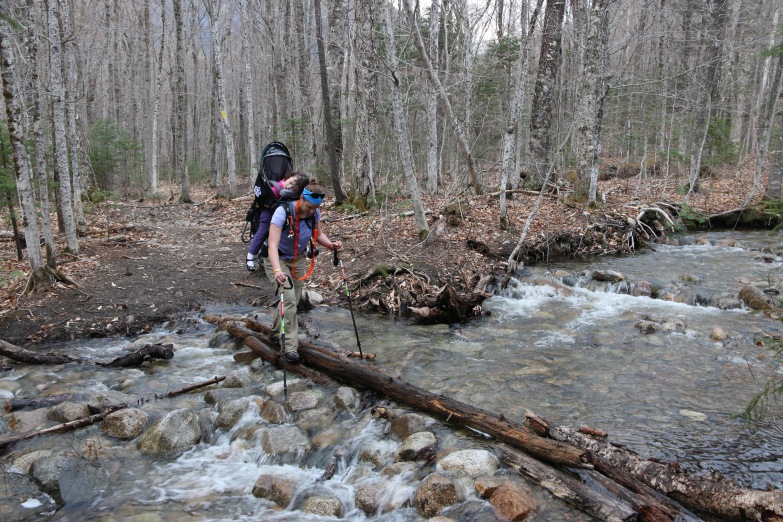
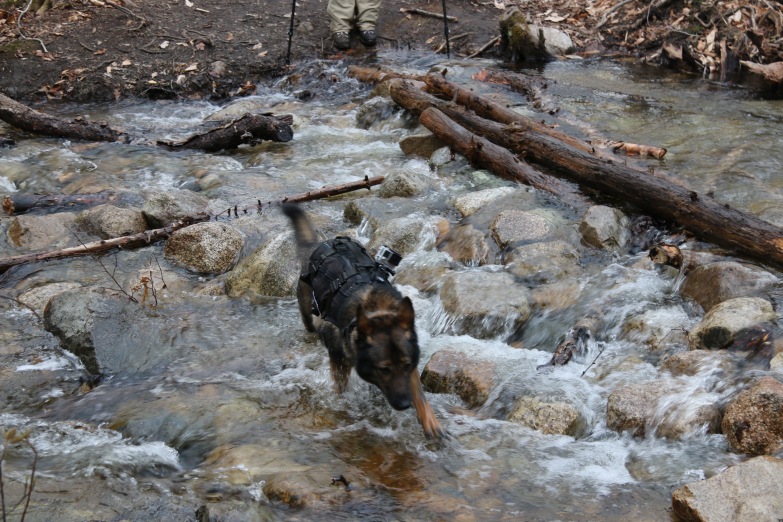
Up to Garfield Water crossing
Water Crossing
Up to Garfield Abby during break time
Break time
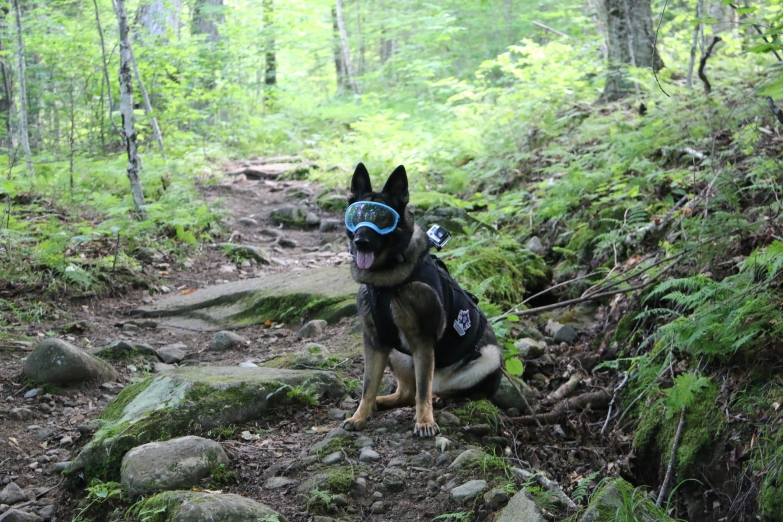
Up to Garfield Abby
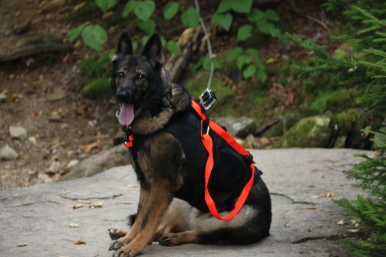
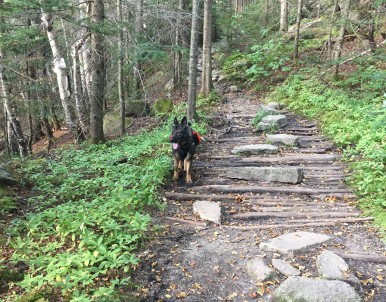
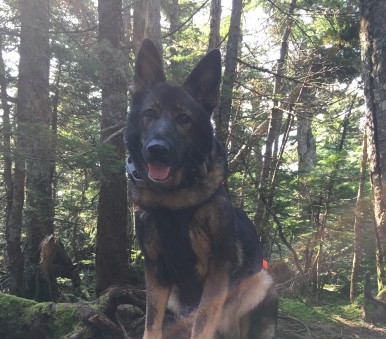
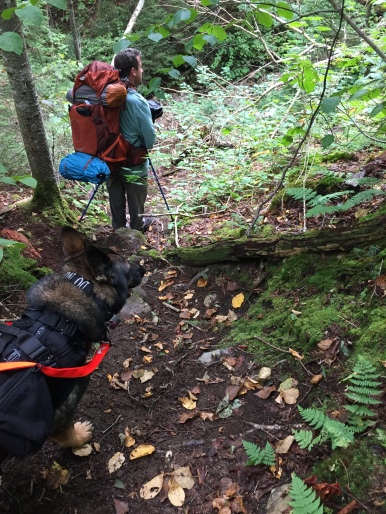
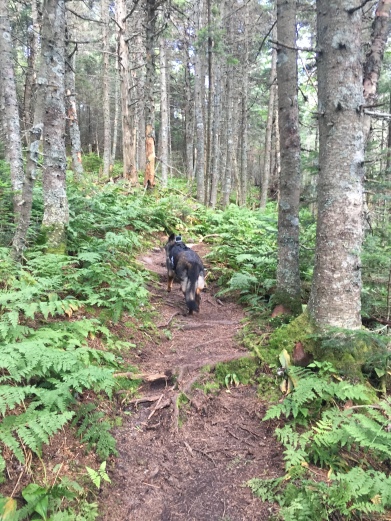
Abby leading the way, she focused on the Navigator

We were surprised to find out that we were able to locate Abby via her pet tracker, Tagg. This is the first hike we have done with being able to receive the update. It was short-lived, though. However, it is about right. Smack in the middle of a few trees on a side of a mountain 🙂
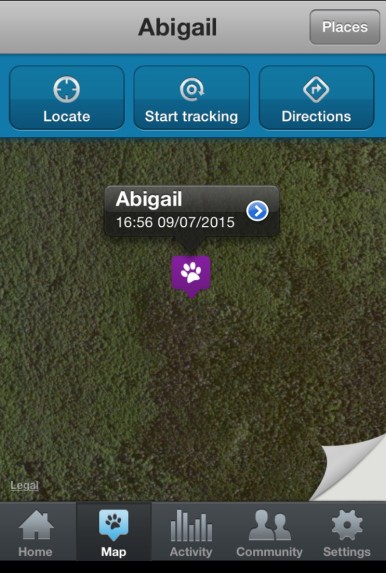
Abby's location about right in the middle of no where
Abby’s location

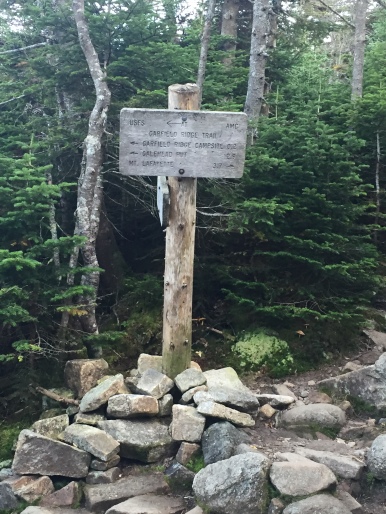
We captured a few images at the path division, one direction leads to Mount Garfield and to the Franconia Ridge, the other direction is a steep rock to rock descent on the Garfield Ridge Trail and to the Garfield Campsite.
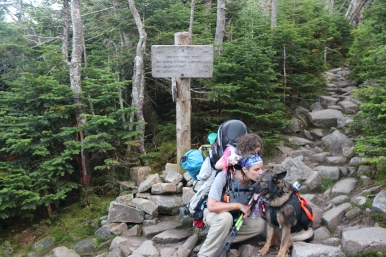
IMG_3317
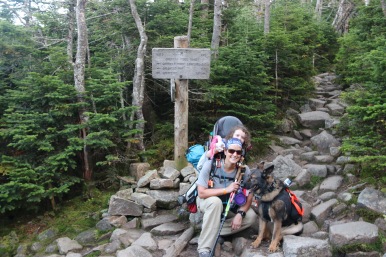
Someone snuck a picture without us knowing
IMG_9005
Trail Sign
Garfield Ridge
Garfield Ridge heading to campsite

When we arrived to the campsite, we met with the Caretaker to receive our site location, unpacked before we needed our headlamps to move around the camp. We were placed at campsite #7, which is located on the right edge of the camp.

As a note to hikers using campsites — All hikers with two legs are $8, four legs are free, but no shelter is offered to four legs during storms. AMC rules so plan accordingly.

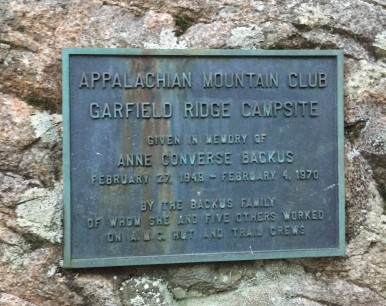
A memory plaque for Anne Converse Backus. You will pass this plaque on your left when you approach the campsite.
IMG_9010
Garfield Campsite

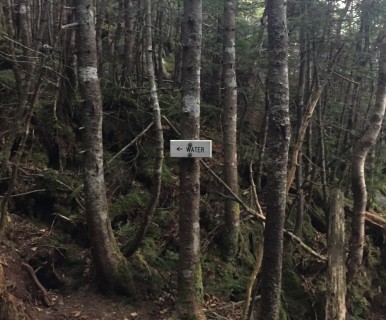
Anyone hiking the Garfield Ridge Trail and happens to need water. This campsite has a water source outside the campgrounds. It is about 8 to 10 steps from the trail junction for the Garfield Campsite & Garfield Ridge Trail.  Just follow the sign below to find the water.

Make sure to read the warning sign, if it’s not there — here is the cliff note version: boil water, use filtration system or take your chances of becoming ill.  (If you need understanding on becoming ill, please watch Naked & Afraid, episode Botswana Breakdown, 2014, season 3 episode 9 there is no medical team moments away on a mountain and well no modern bathrooms.  We are not avid watchers of the show, but during recovery it was on and found it right on spot for how to get yourself sick.)
IMG_9008
Water at junction of Garfield Ridge Trail & Garfield Campsite

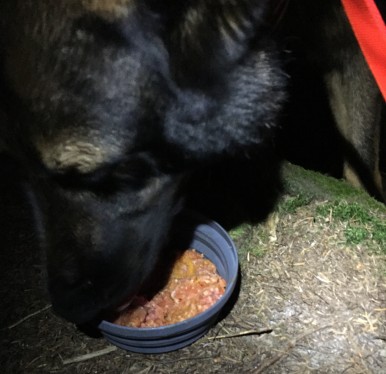
We had our dinner at the campsite assigned “meal grounds”. It’s just in the center of the campsite with a cook pan. Abby enjoyed her raw diet dinner while we had some leftovers. First day meals and second day morning meals on long hikes are always nice. If you plan smartly, you can freeze your meal and by the time you sit to enjoy it — its unfrozen. 🙂 Abby’s dinner was still a bit frozen, but it is helpful for keeping moisture in her diet.
IMG_9013
Yum Yums
Dinner Date
We shared the same side of a rock booth, while the Admiral and Navigator shared the other.
IMG_9018
Moons Out, Goons Out

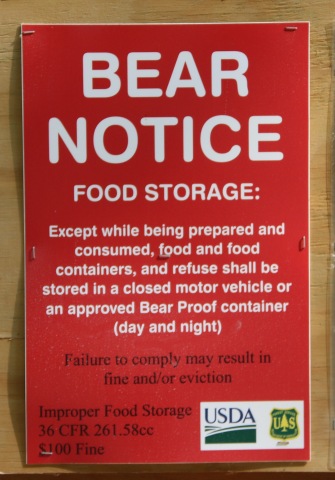
The caretaker notified us of bear activity, we followed all rules with food storage, trash and added in our toiletries for good measure. This meant placing all those items into the bear boxes provided to us.
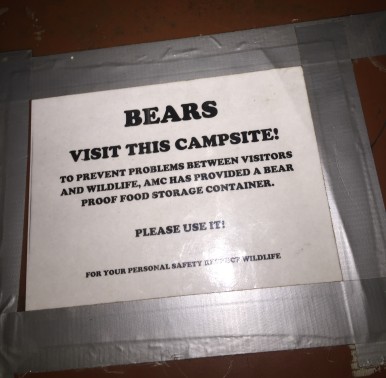
Campsite Bear Box
Campsite Bear Box
IMG_3319
Closing up for the night

Abby’s activity for the day via Tagg, a pet tracker.
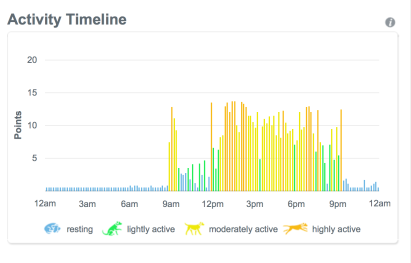
Activity for the day

The night was cool, windy and clear. About 430 in the morning, Abby woke me up. First thing, I thought was, “really you have to use the bathroom this early” and then I heard the activity and felt the impact tremors of a bear or two. I was not up for sticking my head out of the tent to get a firm count on the activity. Since, Abby’s behavior made it clear to us it was not a little raccoon.

We maneuvered into position while Abby went into a low guarded position. Minutes later, Abby let out one hell of a deep growl within moments we could hear the outdoor activity moving farther away, the Navigator exited the tent and all as well. Of course, the Admiral was snoring through it all.
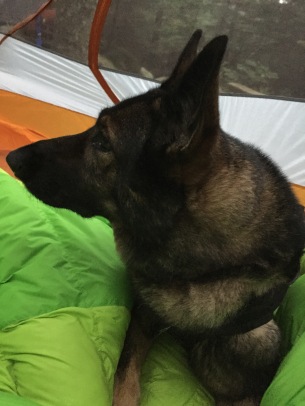
IMG_9021
Abby hanging out in the tent while the Admiral caught a few more minutes of sleep
Ready to leave
All ready to leave

We headed out of the campsite and refilled our water. Though, it was a cold morning the temperature would be in the upper 70s by mid-day with possible severe thunderstorms in the evening and overnight.  This is one reason we love  our AMC huts and campsites, it’s a location to receive our weather updates.

Albeit in the Whites, it is still best guess 🙂  So, plan for the worst and pray like hell for the best.

After refilling our water, we headed down the Garfield Ridge Trail to Galehead Hut. About 1/2 mile into the morning trek, Abby came to a dead stop and looked back with one of her famous WTF looks. When reached her location, we fully understood her look. Our morning plans to leave camp an hour later, so that the clouds were passing over us was worth it.

We came to a point where we needed to travel down a ‘waterfall’. Now, it’s not a gushing waterfall, but the climb down is steep. Of course, Abby being wise and small avoided the rocks by traveling through the trees. The Navigator and I made our way down the wet moss-covered rocks while listening to the Admiral talk about rocks, trees, and made sure we very careful.

This image does not do the climb down justice, but you get an idea of the terrain.
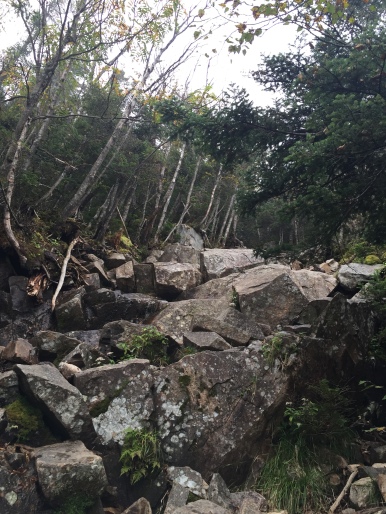
section on the descent
Descent
IMG_9007
Descent

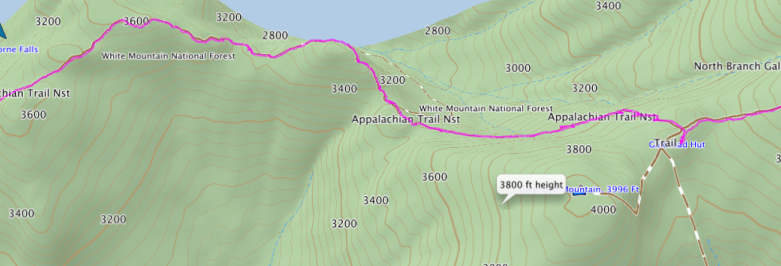
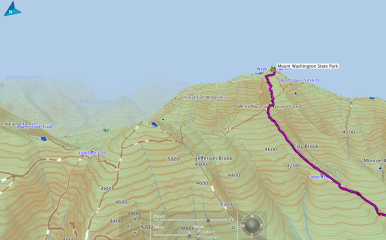
Here is the descent from the campsite to the waterfall and off Garfield.
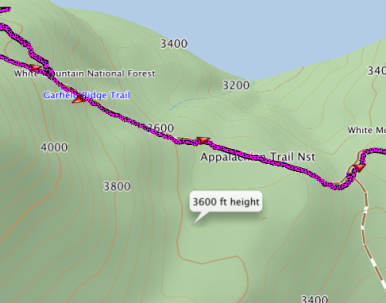
Map of descent
Map of descent

The rest of the trail to Galehead Hut is what we call PUDS, also known as, Pointless Ups and DownS. Most of the ups and downs are on rock facings and some are steep, but not steep enough for a hand over feet climb.
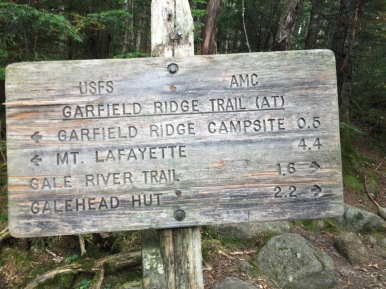
IMG_9038
Trail Sign

Below is one of the easier rock facing climbs, it gives you an idea of the terrain and the puds.  There are some rather steep descents, if you take a moment and look around you may find a well-travelled path to your left or right. The path leads around the rock area, it is safer for people with heavier backpacks and easier on your legs.
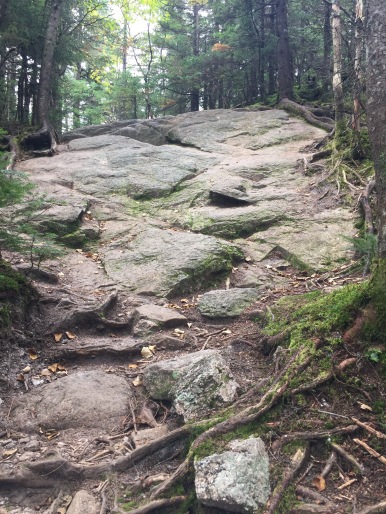
IMG_9048
One of many rock facing climbs

Not all of the trail is rocks. You will stumble across some roots along the way. No pun intended.
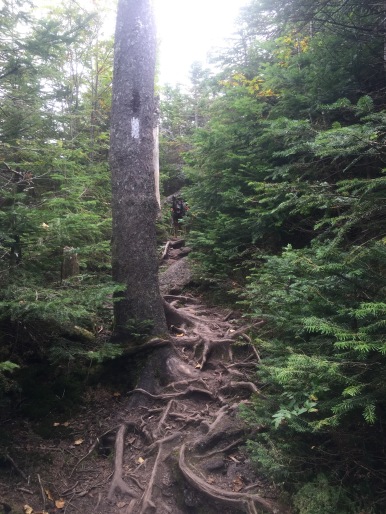
IMG_9043
Abby leading the way

And there are a few short-lived areas of flat.
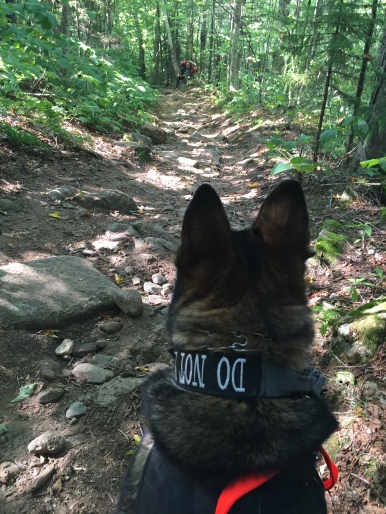
IMG_8982
Always watching – break time.

Here is a section of the PUDS hike.

puds

The last 0.6 miles to Galehead Hut is a rather steep climb. You can see the incline in the image above. Galehead Hut is located to the right in the image above.

Trail Junction
Trail Junction

Galehead Hut is located at the ‘base’ of South Twin and Galehead Mountain. Galehead Mountain is a quick half mile climb from the hut. This is a great location to drop your gear and make the climb. You will take Frost Trail to the summit of Galehead. The summit of Galehead has no great views at the summit. However, there are some views along the way.  So, when you drop your gear, remember to bring the camera. 😉

We hung out at the hut for some time. The trek from Garfield to Galehead was not the easiest nor the worst, but the carrying 54lb pack, 43lbs of it was moving and talking, made a break without the pack feel like heaven. I am pretty sure Abby was happy to disconnect from her saddle bags weighing 5 lbs, too. I did not have to ask the Navigator, who nicely dropped his pack of 56lbs right on arrival. (Remember, we are carrying items for three people’s needs in one and a fourth packs)

As usual, we got the weather updates, refilled our water and made a few friends while hanging out at the hut. Of course, Abby was the center of attention before she just wanted to be left alone and regroup in her corner.

We had an early dinner while a few storm clouds passed over and reviewed our plan. The night forecast was a high probability of serve thunderstorms.  Our next location to camp was Guyot about 3.5 miles away.

A few things about Guyot Campsite. It’s in a rather open area, which means limited tree cover. There are shelters for storms, but dogs are not allowed. From the hut, one will have to summit South Twin, descend South Twin, walk to Mount Guyot, descend part of Mount Guyot and reach the Guyot Campsite. There is a point in the trek where you must commit to the campsite or fall back and camp in the tree line of South Twin. The approach to the campsite is open from Mount Guyot and at times steep. So, plan wisely.

We made our plans to attempt to make it to Guyot campsite. We would make a judgment call at the point of total commitment. We collected our gear and we were off.

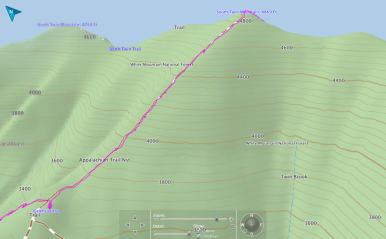
First goal was to tackle the very steep climb of South Twin. It’s a short climb, but very steep. Very steep puts it mildly.  During the climb, Abby needed a few supported jumps. One of the jumps was onto a steep rock facing and then onto a huge bolder. We needed to work together to support her on the second jump so she did not fall backwards and made the jump to the second onto boulder without face planting into the next rock only a few inches from the landing on the boulder. We did have to lift her up twice. I am grateful she had a very supportive harness that made lifting her very easy and comfortable.

It’s a tough climb, but manageable. It’s an easier climb to start a day of hiking rather than end a day of hiking on tried legs. But I am very glad to have climbed up rather than descend it.

Here is the climb in two views.
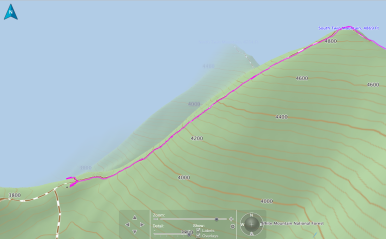
South Twin, North Twin in background
South Twin
South Twin

The climb is a workout. You will know you are getting to the summit when the terrain changes from big boulders to those pesky little loose rocks.
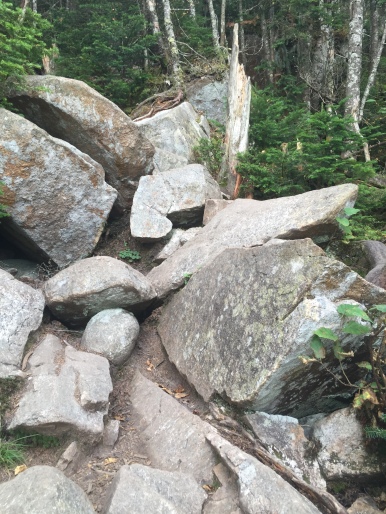
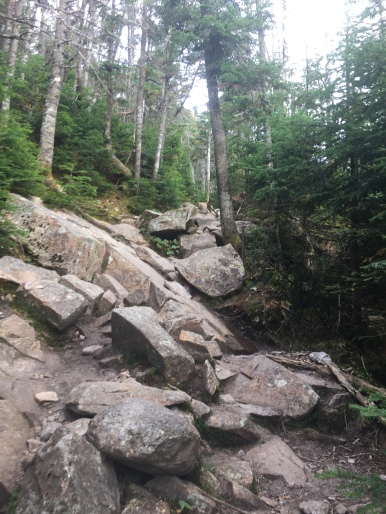
Terrian
Terrain
Terrian
More terrain

Here are some images looking back out during the climb.
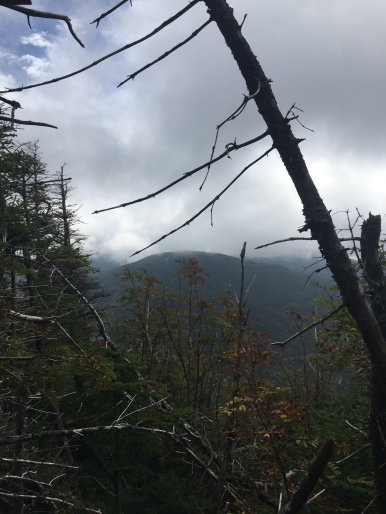
Looking back
Looking back, rain clouds passing by again.
Looking back out climbing S. Twin
Looking back out climbing of South Twin

The views from the summit are absolutely amazing and very worth the climb.
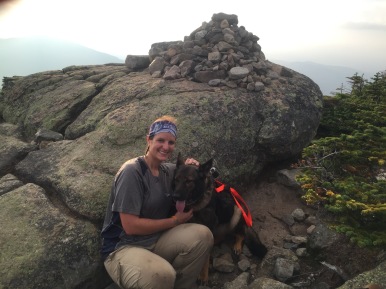
Abby and I are the Summit
Summit of South Twin
At the summit of South Twin
Hanging out at the Summit
Walking around on the summit
About to descend South Twin
About to descend South Twin,  Abby is so over pictures

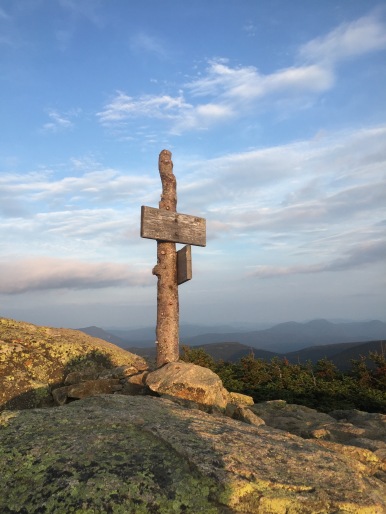
A few notes about South Twin, if you are traveling onto North Twin continue walking straight for roughly 1.2 miles, if you are traveling to Guyot, Bonds, Zealand you need to descend the mountain to the “south by southeast” or from the summit path you just climbed, it is to the right.  The above image is the trail sign where you start to descend. It’s a nice gotcha if you are not paying attention.

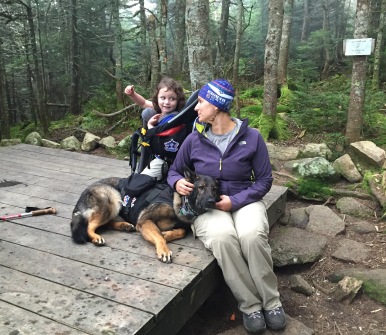
Also, if you are heading up South Twin via Twinway Trail with a child carrier, make sure he/she is secured snugly in the carrier. It will help limit their movement helping you climb without large shifts of weight, especially those going backwards.

The descent from South Twin is quick, but a bit steep. Absolutely nothing like the climb up South Twin. You will descend back into the trees and have a nice flattish walk to Mount Guyot. This is a highly camped area, so if you are looking for a campsite there are various places. While you travel along the path, look for well-travelled paths heading off the main trail, most of them are to campsite, just make sure the one you chose to camp at is 200ft from the trail.

We broke out of the tree line roughly 2 miles passed the descent. This is the point of the commitment. We took a short break looking out over the area we were to camp and climb the next day. It was beautiful. During the break, we saw an awesome multiple lightning strikes in the distance and rain, we made the decision not to make the commitment and went to our back up plan for the remaining of the hike.

We headed back into the tree line to a nice level camp area, we marked as our back up campsite as we walked by it. We made camp, hung our food in case of bears and within 5 minutes of getting settled in the tent we had a nice lighting show and rain for remaining of the night. It was an amazing storm, but I am glad we were fully covered and did not need to retreat to another location. Also, we had no bear visitors that night.

Abby did extremely well throughout the day. It was not just a physical workout for her, but a mental test. She followed every command to wait, climb, jump, rest, go (okay to pass and lead), platz (down), plac (crawl), bot (here) and leave it. The below picture is the result of her hard work. She did not even wait for her blanket or removal of her leash before laying down for the night.
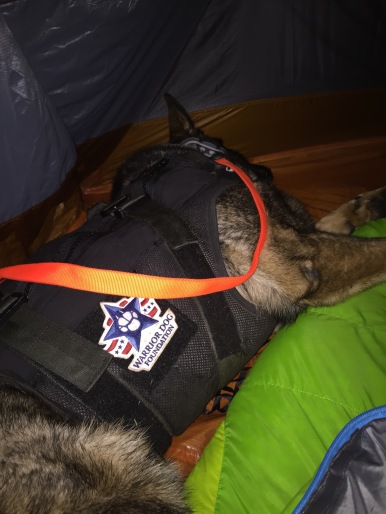
IMG_9075
Result of the day.

Abby activity for the day, 10 hours 26 minutes of movement. (resting hours includes not only sleep, but anytime Abby is not moving, laying down, sitting, standing still, etc)

activitystwinday

By the morning, she was all ready to go. In fact, she became the morning supervisor of taking down camp. We felt like she was grading us on time and method.

IMG_9078
Abby supervising

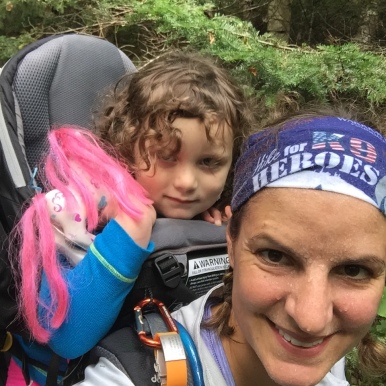
The morning view of campsite two. Abby and I walked the area in the morning to stretch our legs and to allow Abby to enjoy all the smells the woods have to offer before getting ready to work. The Admiral chatted away to her pony. (The Admiral is 3 and half years old)

IMG_9077
Campsite two

Since, we did not commit to Guyot Campsite, we would not be able to make West Bond, Bond and Bondcliff. The decision was made to keep our family together and safe. It did remove about 6 miles from our total. With that being said, we have planned to make the hike to the Guyot and to the Bonds in the near future to keep Abby’s word of making it there. The fall foliage will hopefully be amazing this time of year. So, check back soon for the post, images and videos.

We headed back to Mount Guyot in the morning. The view in the morning was even better with most of the clouds gone and the sun out. It was a good area to take a break. However, the wind was very active. We dealt with 30 mph winds with gusts up 37 mph. A very normal occurrence in the Whites.
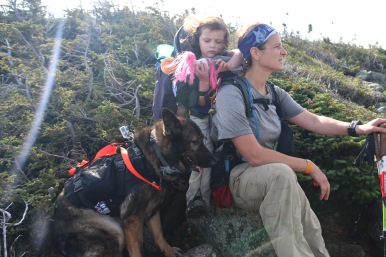
MtGuyotBreak
Enjoying the nice breeze and view
Heading2Mtguyot
View going to Mt. Guyot

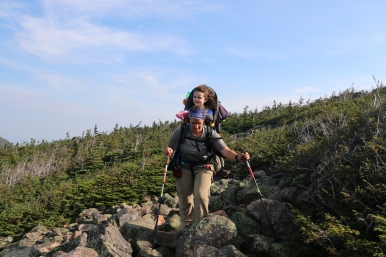
The path up to Mt Guyot or down to Guyot Campsite is open and a rock to rock pathway. Night travel, rain or high winds can make the path little tough to navigate. Though, its probably very nice place for some snowshoeing.
Rock path
Rock path, Admiral loving the wind

Follow the path until you get to the junction one path goes to Guyot Campsite, the path up heads to the summit of Mt. Guyot

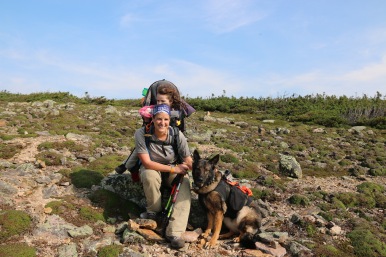
Some images from the summit of Mount Guyot
summitmtguyot
Mt. Guyot Summit
Abby and Dad hanging out
Abby and Navigator hanging out
Abby on Mount Guyot
Abby on Mount Guyot

Continue on the path to descend Mt. Guyot and follow the Twinway Trail. It’s a nice trail with some huge boulders that you will need to climb over or work around.  Twinway Trail will bring you to the summit of Mount Zealand.

Yes, you will descend Mount Guyot then climb up Mount Zealand only to descend Mount Zealand to get the Zealand Falls Hut. Though, it is ups and downs, but far from pointless. 😉

Heading from Mount Guyot
Descending Mount Guyot

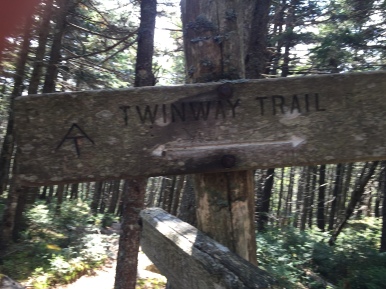
Just follow the path and signs along Twinway Trail
Twinway Trail Sign
Twinway Trail Sign
ATwinwayTrail
Abby on the Twinway Trail

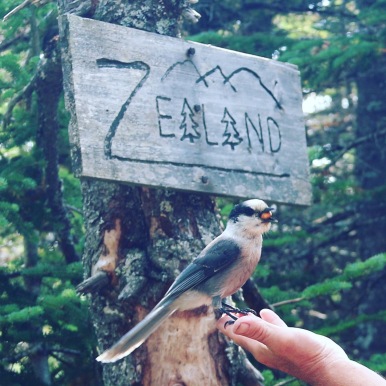
The summit to Zealand is a little tricky for about 25 feet, if that. The summit of Zealand is 0.1 miles off the Twinway Trail. There is no views at the summit, but along the cliff there are 360 views. At the summit, you will find numerous Gray Jays/Canadian Jays or Camp Robbers. The latter is a nickname well-earned.
Canadian Jay, Gray Jay, Camp Robber,
Canadian Jay, Gray Jay, Camp Robber

Abby was not assumed at all with the summit of Mount Zealand
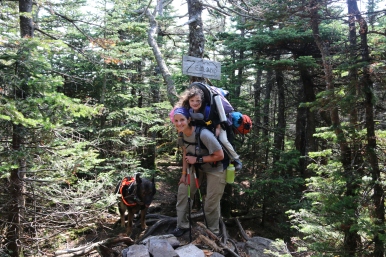
Summit of Zealand
Summit of Zealand

The descent of Mount Zealand is quick and easy. First, part is a steep rock facing descent, which is also a great location to take a break and enjoy a snack. Here is where all the views are located.
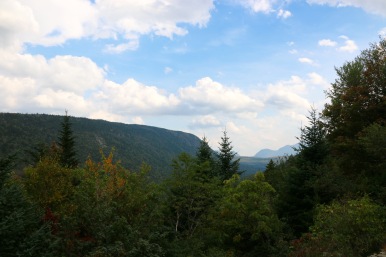
View from Zealand Cliff
View from Zealand Ridge

The second part of the descent is a ladder. Nothing like the ladder at Cannon Mountain via Hi-Cannon Trail. It’s just five steps and not so steep.
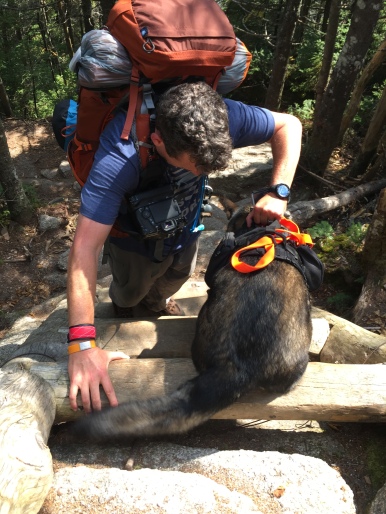
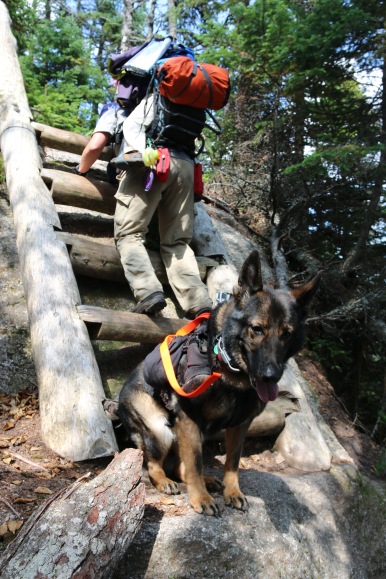
ladderzealand
Abby being guided down the ladder

I will train Abby to at least look while spotting.
I will train Abby to at least look while spotting.  However, she is waiting for the command to move.
descentzealand
Descent from Zealand

The rest of the trek to Zealand Falls Hut is rather uneventful. Most of the hike is downhill with some areas of rock facing climbs. You will pass over a few bog bridges. Though, Abby decided to entertain us with skipping the bog bridges and plow through the mud. :/ At least, she wasn’t headed into the car or home for a few days. 🙂

After the descent of Zealand, you will remain dropping elevation until you reach the Zealand Falls Hut.
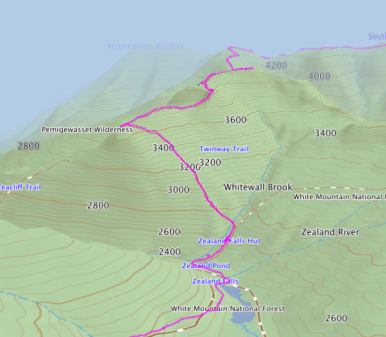
Heading down Zealand

You will know when you are close to the hut when you start hearing the Zealand Falls. It’s a beautiful little area and during the summer months packed with people. There are a few pools water. Abby went to cool off. Though, I was glad she went to clean off the mud. It is also, a great location to give your feet a quick spa treatment.  Though, I suggest first removing your boots and socks.
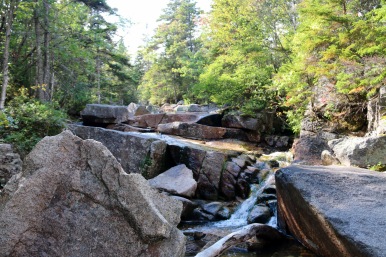
Zealand Falls
Zealand Falls
Zealand Falls Hut
Zealand Falls Hut

The Zealand Falls Hut is rather popular because of its easy hike to the Hut and has easy water access. We enjoyed some nice hot beef and barley soup and instant coffee while we relaxed a bit before heading on to our next campsite.

Of course, we got the weather report before we left. Again, the forecast was thunderstorms at night. The storms seemed to be following us and a theme song to the nights during this hike.

We climbed down a short descent, roughly 750 feet, from Zealand Falls Hut. There is a nice water spot for lunch, break or to avoid some of the hut traffic.
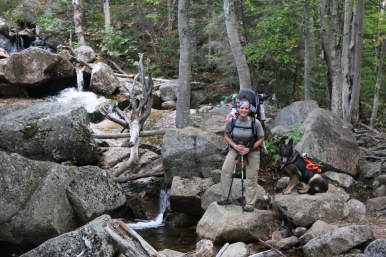
IMG_9222
At the base of Zeland Falls Hut

We continued to follow the Zealand Trail. The Zealand pond is very beautiful and a great location to maybe see a moose or two during the off-season of the hut.

HikeK9 0
Bridge Crossing (click for larger image)
HikeK9 -3
Zealand Pond (click for larger image)

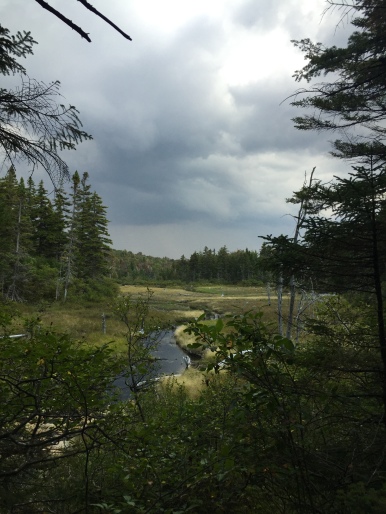
Here is my view from the bridge and pond images above.
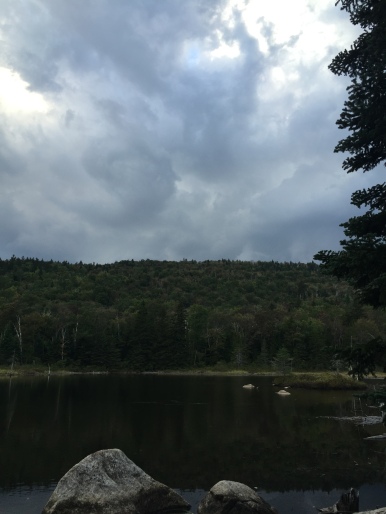
 

IMG_9109
Storm clouds

We hiked to the A-Z Trail junction and took the trail leading up to Mount Tom Spur. It is a 2.8 miles trek easy with a moderate areas.
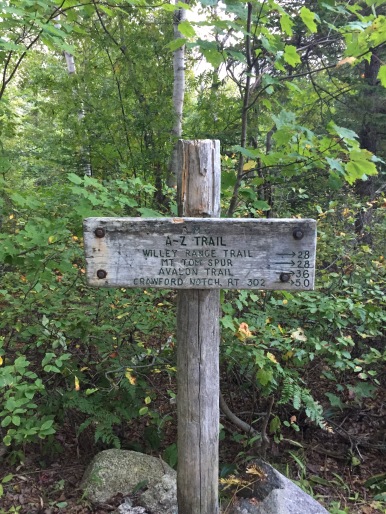
IMG_9111
Trail sign
IMG_9112
View along the A-Z Trail
A-Z Trail Abby & Navigator
A-Z Trail
A-Z Trail

Our goal was to make it to the campsite location before the storm hit. Unfortunately, we made it about a mile before we felt the first few raindrops.  We managed to get the Admiral covered, rain covers on the packs and electronics safely stored out of the rain before it started pouring.

When I say pouring, I mean it. It was the type of rain that causes puddles in a few minutes and when you are traveling up hill, there is a small river of water traveling down. Your quick dry pants are just soaked in minutes. That type of pouring rain, the deluge type.

The storm ended up cutting our day light short, which meant we were rocking headlamps up to Mount Tom Spur area.

The A-Z Trail is truly a hike in the woods. You will face different terrain in a heavily dense trees and bushes. Not many people travel the path even though it is a cut over to the Presidential Range. Most people travel via the Ethan Pond Trail. That being said, keep you eye out for yellow trail markers it easy to lose the trail if you are not paying attention and you will see numerous trees with bear markings. No worries, no attacks have occurred. It’s normal you are in their territory after all.

You will know you hit your ascent to Mount Tom Spur, because the path will just start to ascend with rocks. Its steep at a moderate rate. Passing through this area in the dark in the rain was a bit tricky. I remember a large amount of swearing coming from somewhere behind me, thankfully the Admiral was taking a nap. 😛

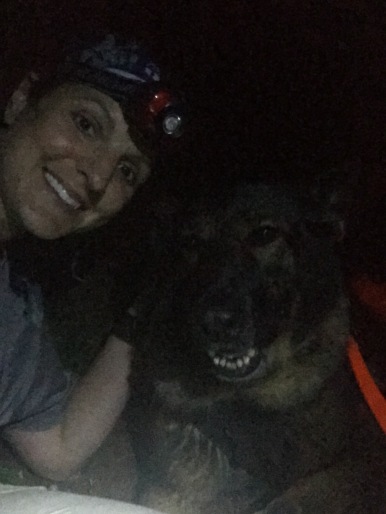
Abby enjoyed the rain as a way to cool off.  She led the way last the 0.2 miles to the campsite. The red lights attached to Abby’s harness were extremely helpful this evening and night. We removed her packs and placed them into our packs to protect them from getting wet.
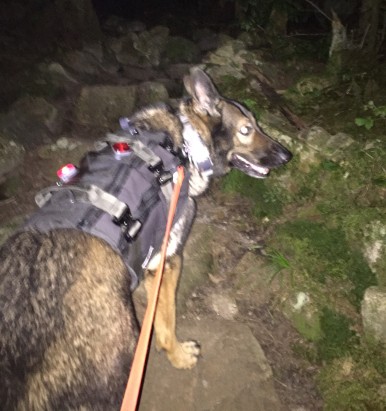
Abby leading the way at night

By the grace of the Mountain Gods, the rain stopped for roughly the last half mile to the campsite location and throughout camp set up. With all the bear markings, we hung our food and other items a little farther than usual. We got all settled in before the rain restarted and the thunder came.

In the morning, we pack up camp while our supervisor decided we could manage without the watchful eye.
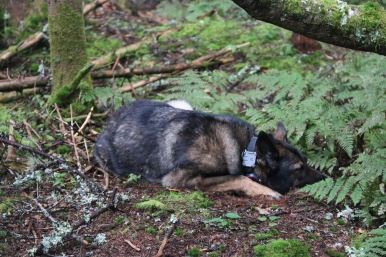
Our Napping Supervisor

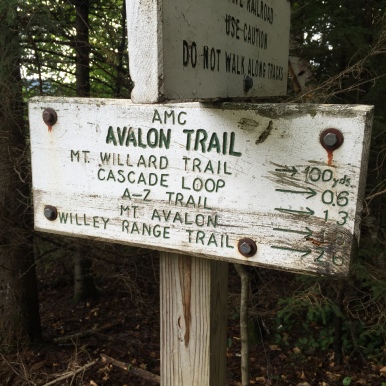
We followed the A-Z Trail to the Avalon Trail and out to Crawford’s Depot.
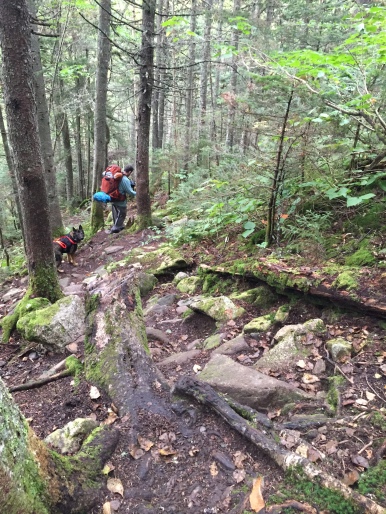
Navigator and Abby
Navigator and Abby
Admiral and I on the Avalon Trail
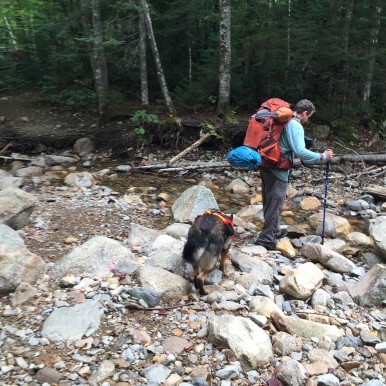
Water Crossing heading to Crawford's Depot
Water Crossing via Avalon Trail heading to Crawford’s Depot
Trail sign
Trail sign
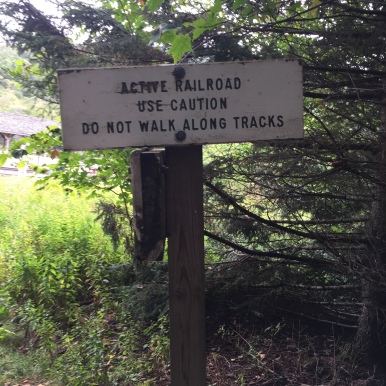
Look both ways
Look both ways before crossing
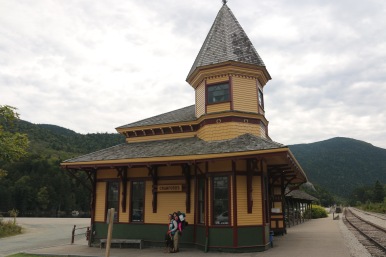
Crawford's Depot
Crawford’s Depot
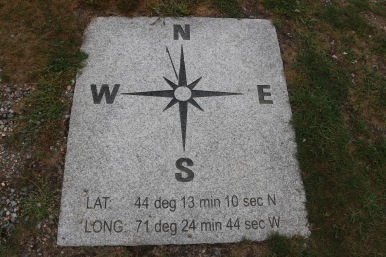
In case you what google it
In case you what to find the location

We could not have been more happy to see the Highland Center. For a few reasons, first and most important real bathrooms, cooked food, cold drinks and a chance to do a wash down. There is nothing like a good hand and face wash after a few days in the woods. Plus, our car was close by with a stash of goodies, clean clothes and a chance to unload items we no longer needed.

We lived a lavish life for a few hours before making our way to our final campsite in a light rain. Our final campsite was off the Jewell Trail. A trail we have travelled numerous times to the summit of Mount Washington. Our original plan was to camp at the Mizpah tentsite. The weather report of rain throughout the night and morning, we decided to travel on a trail that was covered for half the hike up to Mount Washington.

We did this for a few reasons. Once, we left the Mizpah tentsite we would have to travel about 7 miles above tree line in what was projected to be in the clouds and rain. Shelters nor huts allow dogs. Lake in the Clouds Hut would be available for water and some food, but no shelter, if needed. Basically, there was no areas for safety.

The morning of September 11th, we were in the clouds with light rain. The visibility was limited but manageable.

We made it to the summit in the latter morning, of course the summit was usual in the clouds.
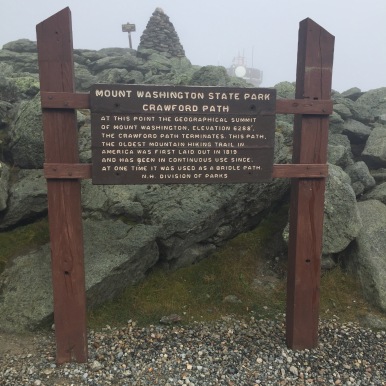
IMG_9136
Oldest mountain hiking trail in America
IMG_9152
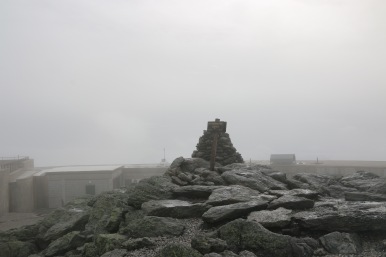
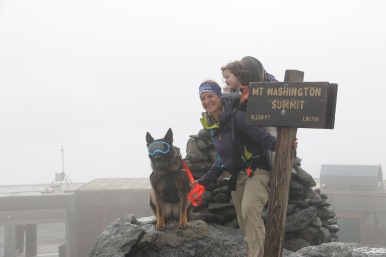
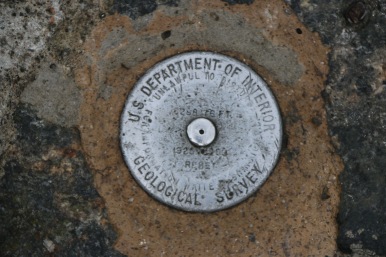
Summit Marker

IMG_3451

IMG_3474
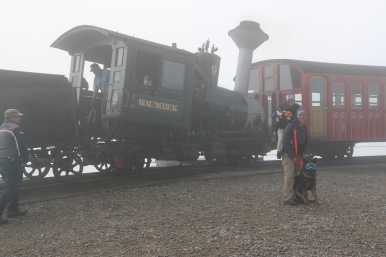
The Cog Railroad, sorry no dogs allowed.
IMG_3447
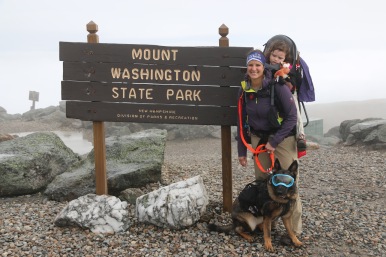
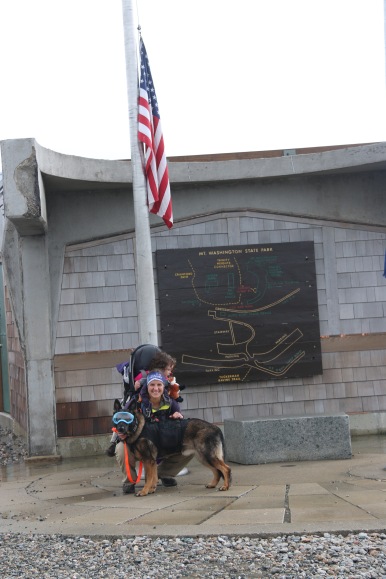
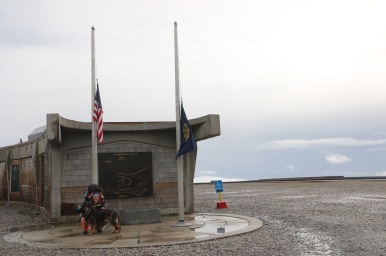
Mount Washington State Park
IMG_3456
At the Summit
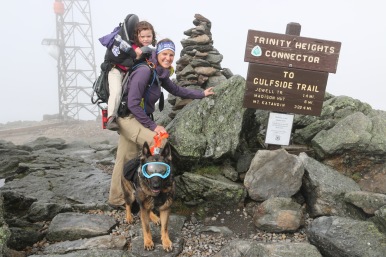
Trinity Height Connector
IMG_3433
Lake in the Clouds Hut
IMG_3462
Summit Marker
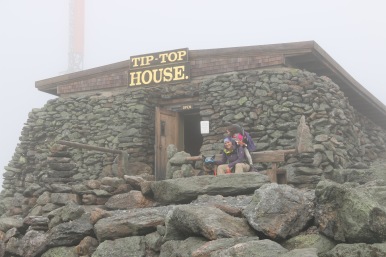
Tip Top House, old hotel at the summit
Tip Top House, old shelter for hikers at the summit
Summit
Summit, 9/11
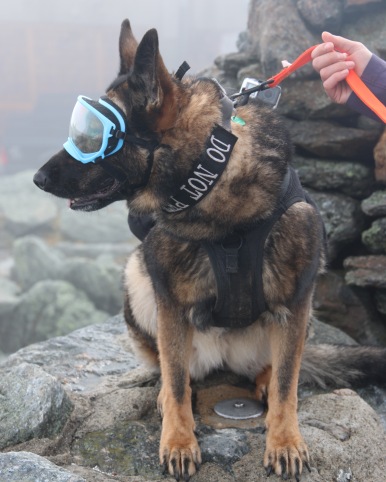
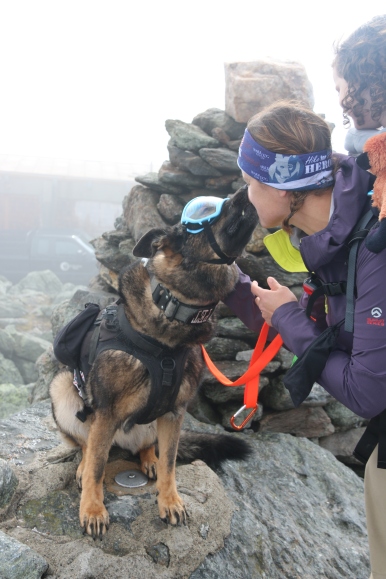
Abby sitting on the summit marker
IMG_3461
I said “home” Abby totally agreed
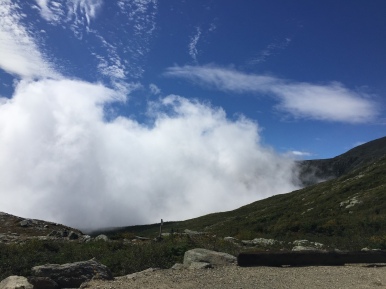
Where the cloud meets the Mountain
View
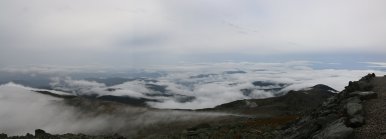
Click for panoramic photo
View
Click for Panoramic photo
View
Click for panoramic photo
Hike to Mount Washington

Overall, it was a great hike. We enjoyed our time on the trails and all the hikers we met along the way. We made tough calls to make sure we were all kept safe. Our original plans had to be modified, but it happens. We worked together as a team to get through some tough areas. We had numerous laughs along the way. And made memories that will be carried with us for a lifetime. We did it all while supporting a great organization, Warrior Dog Foundation.

It doesn’t get much better than that!

Please, visit our store to purchase the Hike for K9 Heroes Hoo-Rag Bandana. 100% of the proceeds to directly to the Warrior Dog Foundation. To learn more about the Warrior Dog Foundation, visit their site, here.

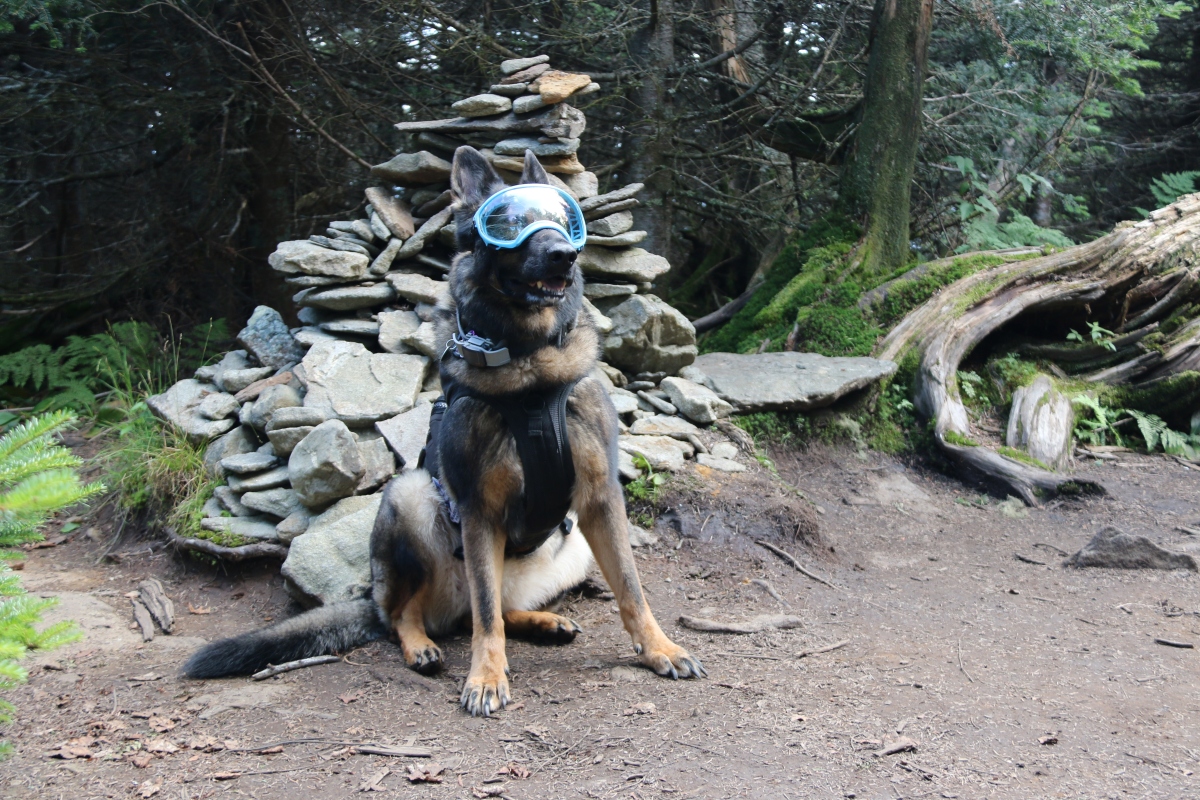
Mount Waumbeck via Starr King Trail

Mount Waumbeck is location in Lancaster, Jefferson, Coos County, New Hampshire. Jefferson is a very pretty town. If you can, I highly suggest adding some time here to stop by the museum and statue.

Mount Waumbeck is part of the 48 4,000 footers in New Hampshire.  Learn more about Waumbeck.  There are a few ways to access this peak. We took the shortest route via Starr King Trail. It is direct and to the point, but do not take that lightly, after all you are hiking in the White Mountains.

Starr King Trail is located off of Starr King Road in Jefferson, NH. Starr King Road is off of Cottage Road accessed via Route 2. Map of location.

Starr King Trail to the summit of Starr King is 2.6 miles. The hike is at incline, but gradual with a handful switchbacks.  The terrain is very easy for the White Mountains.  At the 1/4 mile into the ascent or so,  you will pass a well. This is a good land-marker for your descent if you plan to return the same way.

A few images to Starr King Trail:

IMG_3159

IMG_3156

IMG_3164

Summit of Starr King

IMG_3187
IMG_3189

Starr King is a good location to stop, rest and have lunch. Of course, the Admiral chatted through the whole break.

IMG_3173

The trail to Mount Waumbeck from Star King is roughly 1.1 miles. The ridge walk is rather flat and very straight forward.

IMG_8628 2

IMG_8621 2

IMG_8629 2

IMG_8620 2

The summit of Mount Waumbeck is below tree-line, but it a very nice walk on what could be a rainy day. The rain came shortly after our summit of Mount Waumbeck. It made the descent somewhat slippery, but manageable. Though, in a downpour the trail could get really muddy and the moss very slippery rather quickly.

Here are some summit of Mount Waumbeck pictures:

IMG_3204

IMG_3210

\
IMG_3220

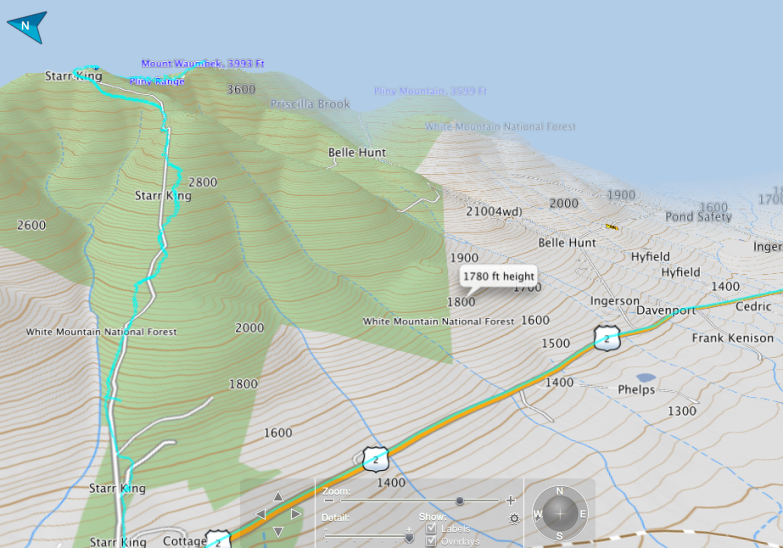
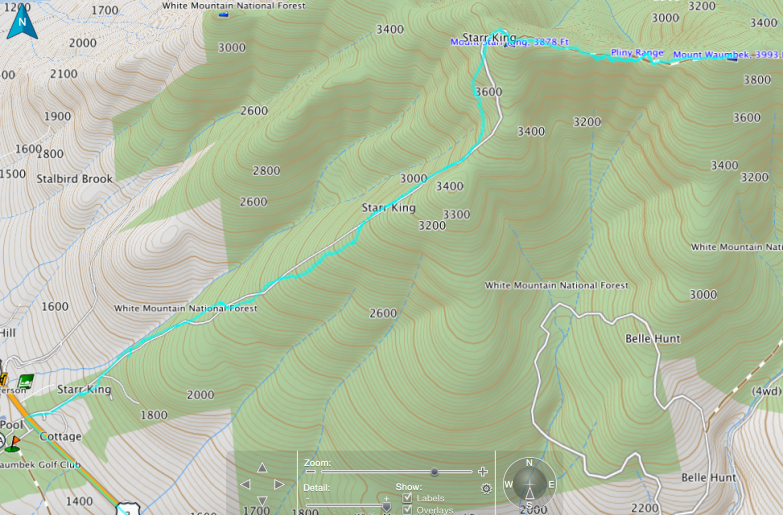
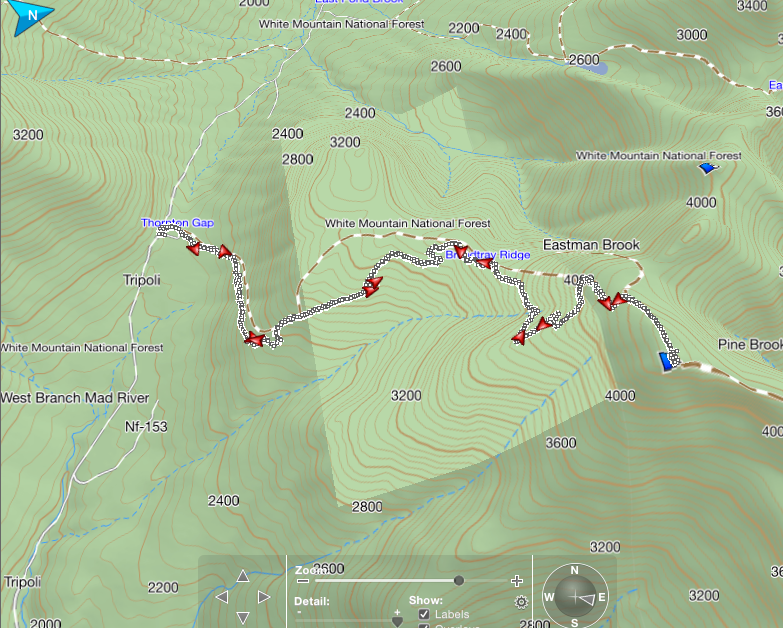
Here is the topography map of the trail in 3D

Messages Image(1751594419)

Messages Image(860378885)

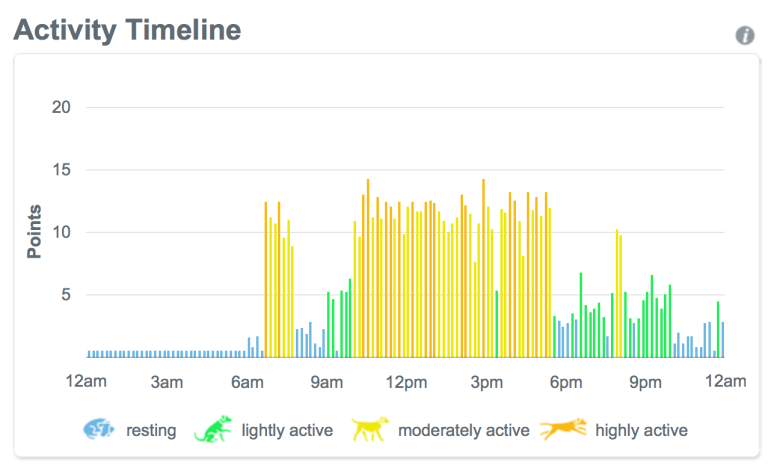
Abby’s activity level for the day by Pet Tracker

activitytimeline

Mount Osceola via Tripoli Road

Mount Osceola is a 4,315-foot peak, located in the White Mountain National Forest, New Hampshire. Mount Osceola is named for the early-19th century Seminole leader.

There are two ways to reach the summit of Mount Osceola. One is from Greeley Pond Trail to the northeast of the mountain, which requires crossing the East Peak of Osceola first or from Tripoli Road to the south. We took the southern ascent via the Mount Osceola trail, which is a 3.2 mile/5k  trek to the top, 6.2 mile/10k round trip.

The trailhead is off of Tripoli Road in Waterville Valley, NH. You can access the road off I-93 exit 31. *Note: this road is closed from November to May*  Travel roughly 6.7 miles on Tripoli Rd to the trailhead. The trailhead is located on the left with parking. *There is a fee for parking for those that do not have a yearly parking pass.*.  Tripoli road is paved then becomes a gravel a few miles into the woods. You will pass various camping grounds during the summer it is rather busy so be cautious.

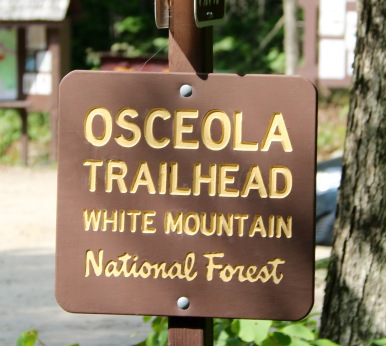
IMG_2858
Trailhead sign

The trail is one of the easiest we have done. There were not many areas that would be problematic for a family hiking with a child. It is a far cry from the ‘death match’ hike of Mount Carrigain, via Signal Ridge Trail. There are a few areas near the summit that you will enjoy a few views and good breezes. In addition, compared to Mount Carrigain the trail path is not so rocky and a good 3 feet wider in certain areas, which is helpful when allowing people to pass.

Here are some images along the trail to the summit.

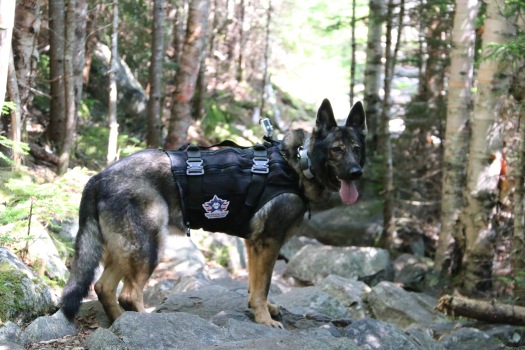
AbbytrailMtO1
Abby on the trail
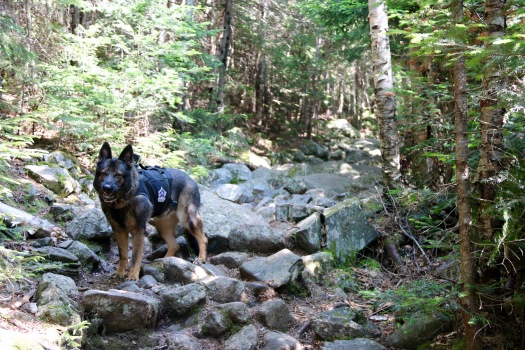
AbbytrailMtO2
Abby on the trail
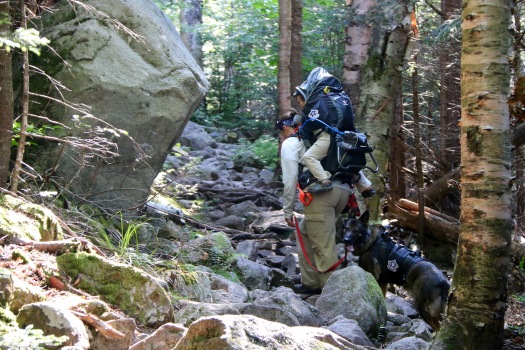
The girls on the trail

Our objective with this hike was to train Abby, our rescue canine. This trail is busy, very busy with people and dogs. The climb is rather easy but all the traffic of people and dogs is a great way to solidify training. There were “reactive” dogs on the trail, which was very helpful for training and a few people who were terrified of dogs.  As I said, the trail is very busy and wide, which is great for real life training.

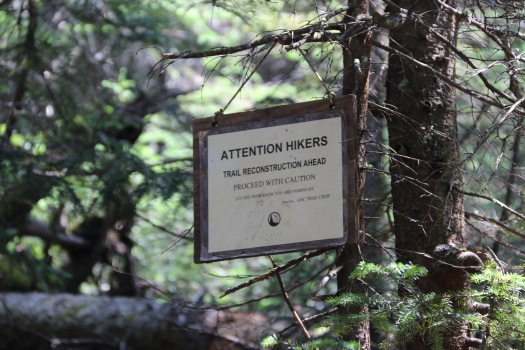
The trail is rather straight forward, a basic up and back with a few switch backs to keep the incline easy to handle. Some part of the trail are under reconstruction, but there are no hurdles to worry about.

Sign about 3/4 mile from the summit
Trail reconstruction sign

As you approach the summit, you will face some rock facings. A few of the facings the incline is rather step and can be very hazardous when wet.  You can either go hand over feet or work your way along the side and up. I highly suggest to plan accordingly.

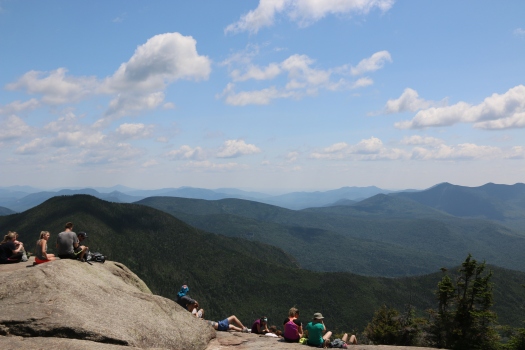
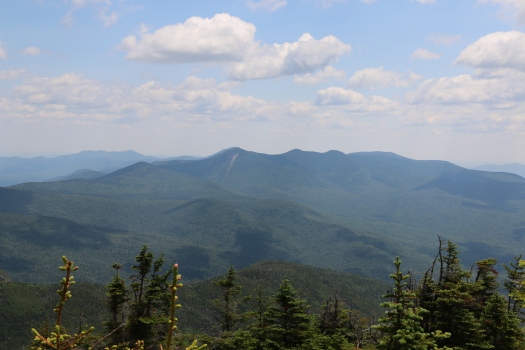
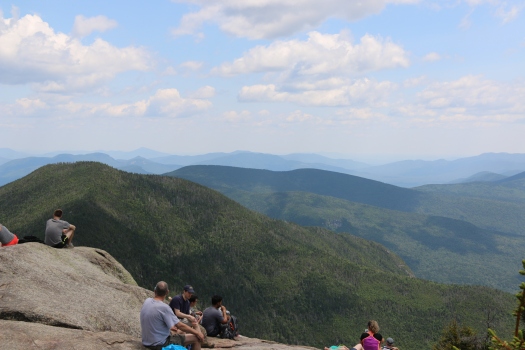
As you approach the summit there is a path to your left, climb up the rock and look out. You will be able to see Mount Washington and the Presidential’s on a clear day. Double back and take the path to the summit.  The path to the right on your approach leads you to summit, too. We suggest skipping that path the approach from the path straight ahead is way better.

We were not able to find the summit marker for this mountain, but normally with fire tower mountains, we have found there are no summit markers.

If you are looking for an easy up and down with beautiful views this is your mountain. If you are hiking with kids it is definitely something you can do as a family and if you are traveling with a child on your back, it’s a walk in the park compared to other White Mountain trails.

Here are some summit images…

IMG_2844

IMG_2847

IMG_2845

IMG_2853

As usual, please remember to leave no trace especially in areas where bears are more prone. Safety first.
IMG_2860

Lastly, here is the 3D map of our hike.

MapMtOsceola


Mount Carrigain, Signal Ridge Trail

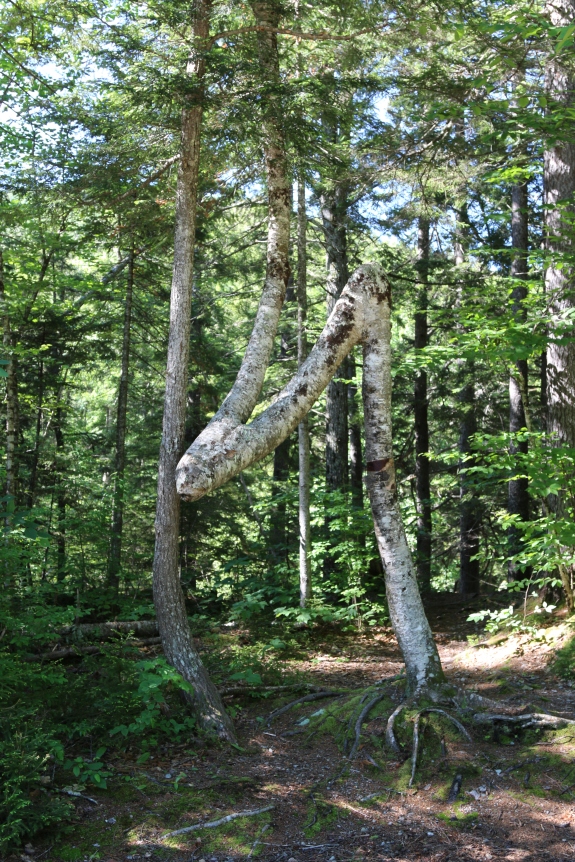
Mount Carrigain is part of the 4,000 footers in New Hampshire. Mount Carrigain is located Grafton County, NH. The mountain is named after Phillip Carrigain, NH Secretary of State (1805–10), and is on the south side of the Pemigewasset Wilderness. There are two main paths to the summit. Desolation trail, which is steeper can be accessed by Carrigain Notch Trail, Nancy Pond Trail and a few other trails. The other option is Signal Ridge Trail, not as steep but still a rough terrain with a steep incline. Signal Ridge Trail can be accessed by Sawyer River Road off of Route 302. *Note: Sawyer River Road is closed during the winter months* We took Signal Ridge Trail, which can be found two miles from turning onto Sawyer River Road from Route 302. The trail is on the right just after a bridge with the parking on the left.  In the parking lot area you will see this gem of a tree.

IMG_2446
Tree in parking lot.

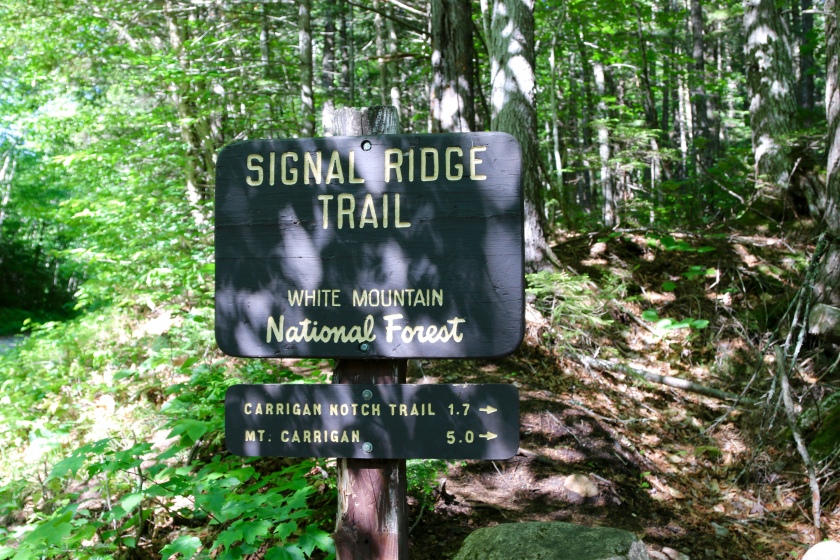
The trailhead…

Trailhead for Signal Ridge Trail

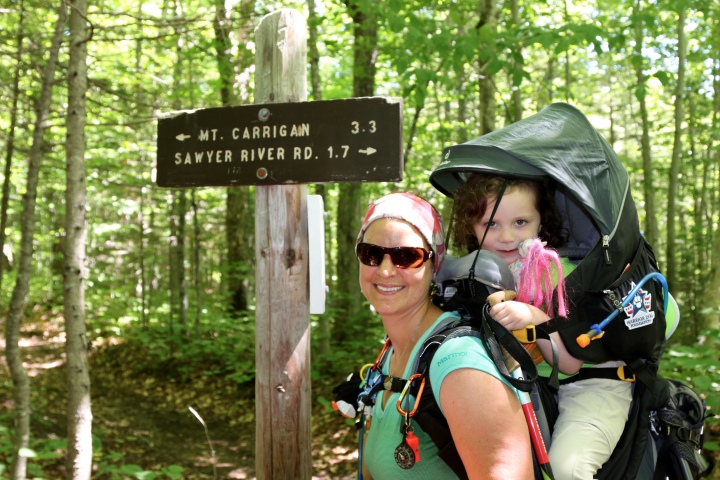
Note: The trailhead sign misspells “Carrigan”. AMC Link From the trailhead to the junction the trail is rather easy and a pleasant walk minus the mosquitoes. I suggest bringing some repellent. We allowed M to walk some of trail at the beginning because it was that easy.

M on the trail
M on the trail

About 1.5 miles into the hike you will have to cross the river. At the beginning of the spring season this crossing could be extremely difficult or impassable. After the river crossing, you have about  0.2 miles to the junction. You will cross some log bog bridges heading to the junction.

IMG_2466

At this junction you can either head left to continue Signal Ridge trail or head straight on Carrigain Notch trail. We went left, on Signal Ridge trail and shortly into trail is where the terrain became harder. From the junction, it is 3.3 miles to the summit of Mount Carrigain. The trail offers nothing exciting other than incline and rocks. In some ways, it feels like you are on a ‘death march’ to the summit. But, do not worry the views at the top are amazing and even more amazing on a clear day.

If you hike this trail during rain or after take your time with the climb some careful footing is needed especially when the rocks are wet. There is a section of this hike that is pure rock; not large rocks, but those pesky little rocks. Watch your footing, especially on descend.

Here is a small ‘rock climb’ you will face. It’s rather easy, but with larger backpacks or a small child on your back it will take some maneuvering.

signalrdigetrailrock

IMG_2495

Though, there is really no views or excitement to the summit. There are locations were you get what our family “sarcasm” calls “outdoor a/c”. In other words, you will hit areas, where a nice breeze with come through. Of course, that is more towards the ridge line and summit, but on hot days like our hike, we are thankful for what we are given.

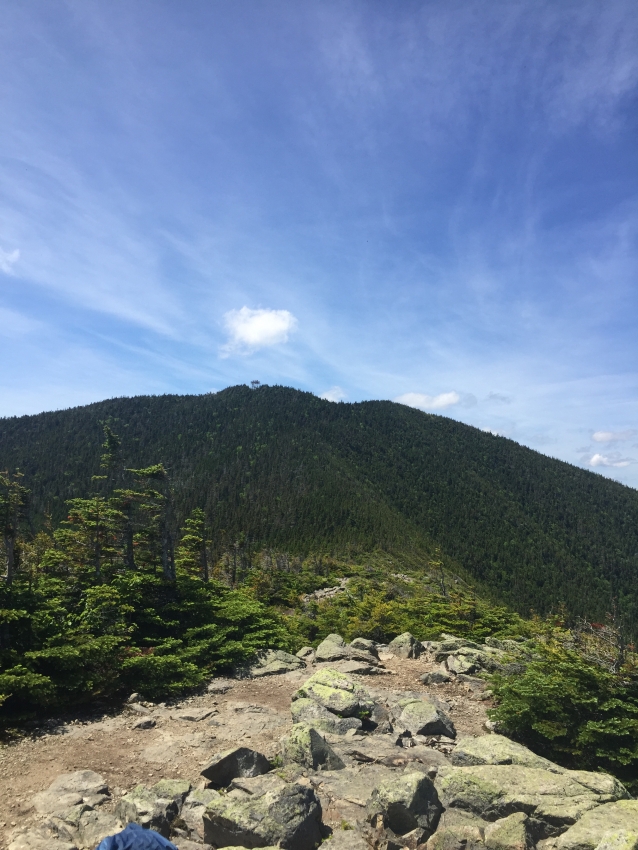
You will reach the Signal Ridge at the 4.5 mile marker. You will know its the ridge because straight ahead of you about a half mile away is the summit of Mount Carrigain and the fire tower, to your left you will be some shrubs and trees and  to your right you will see the Presidential Range, Attitash Mountain and on a clear day into Maine.

Mt. Cardigan fire tower
From the Signal Ridge to the summit of Mt. Carrigain fire tower

**Note: Fire towers or lookout towers provides housing and protection for a person known as a “fire lookout “. It provides housing for those on duty searching for fires. Now a days, it is done by airplane. So, when you climb up, think about those that lived and did their job to keep the forests and wildlife safe in the early 1900s. **

The ridge is a great place to take a moment, rest and regroup. The trip up to the summit is short and after your ‘death march’ climb, its really nothing. But remember what goes up must go down. Here are some images from the ridge and summit.

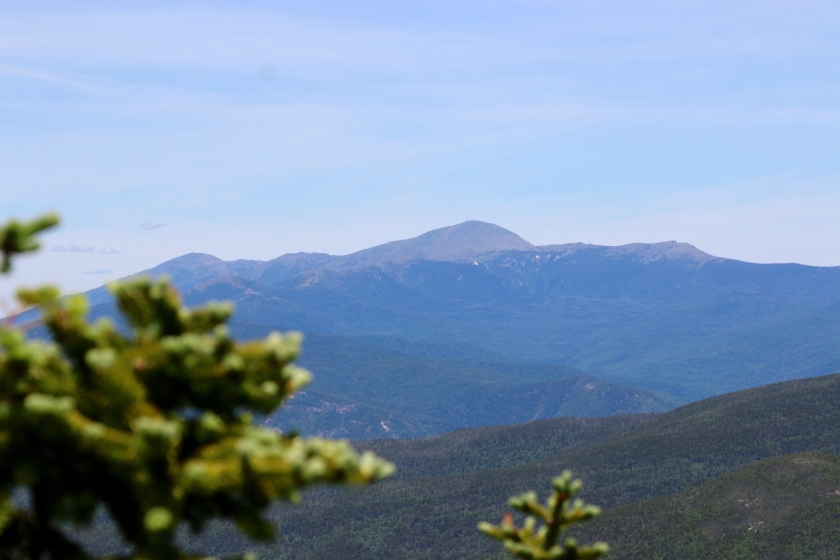
Mount Washington from Carrigain

Mt Carrigan Hike-Pic1

Mt Carrigan Hike-Pic2

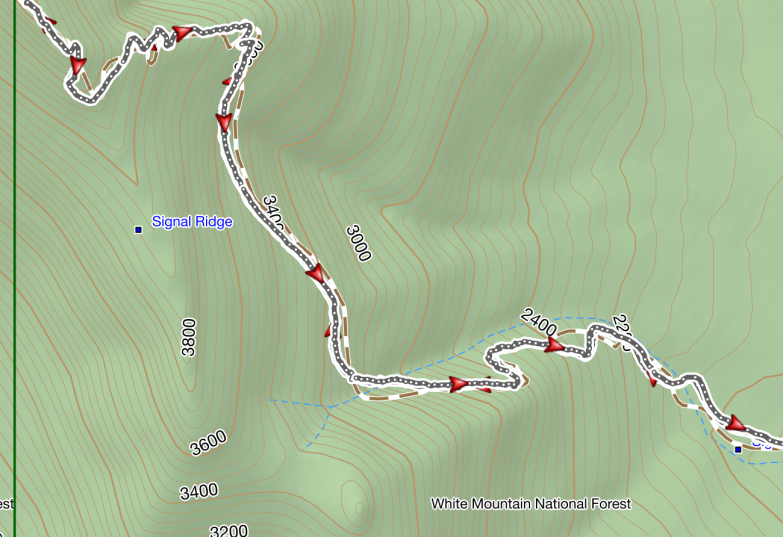
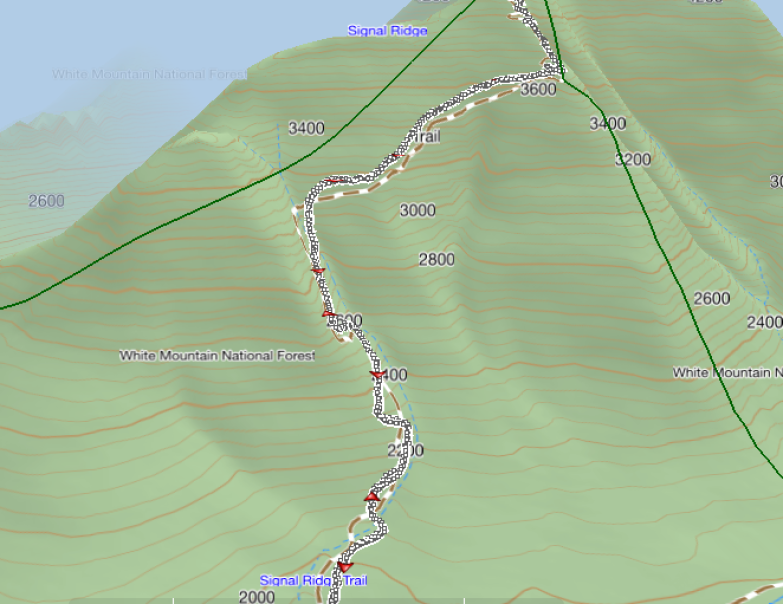
Here are some terrain images by our GPS device. These are after the junction post approaching the ridge and summit.

incline
Basic Map
3D Map
3D Map

Over all this is a great hike. It is a workout, but well worth all of it.

Mount Carrigain in our books, lives up to its name of one of the most un- respected climbs and views of the White Mountains.

Happy Trails!

Mt. Willard – Spring Hike

Hiking season has officially begun! And we are excited to finally hit the trails.

We decided to start with an easy hike and get back into the swing of things. We did a repeat hike, Mt. Willard. We know the terrain and what to expect.

Instead of repeating myself, you can find more about Mt. Willard, here, and the trail details.

However, for those hiking the trails, the current conditions range from dry, wet, mud, snow and ice. You get them all on this hike. So, be careful. You could use micro-spikes, if you want, towards the summit.  We didn’t have them. We walked on the side of the trail and avoided the ice.

If it stays warm, all the snow and ice should be gone in about two weeks. Of course, that means mud and tons of it. Also, the water crossing may be a little tricky.

Here are some images from our hike.

IMG_1999
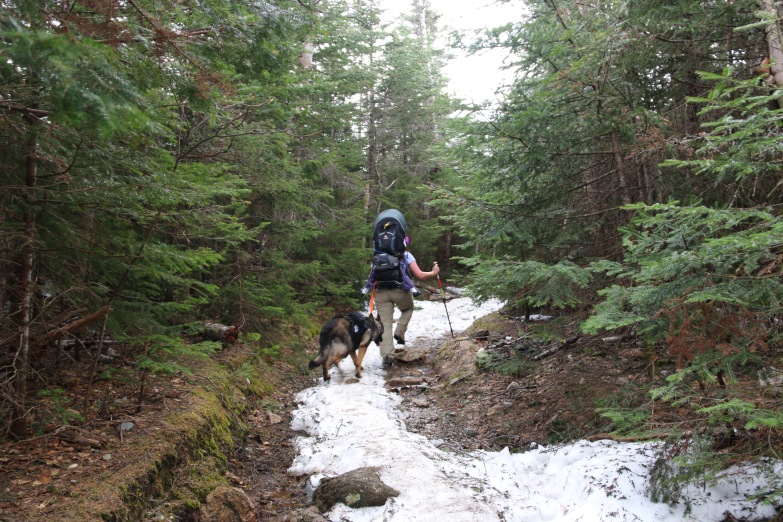
Heading to the summit
Water crossing
Water crossing while M took a nap.
Crossing the stream
Abby’s way of crossing the stream.
Getting close to the summit, snow and ice conditions
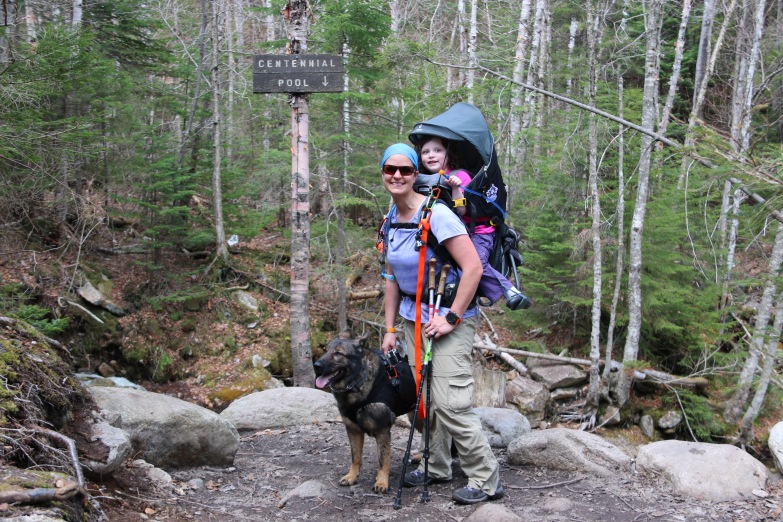
Centennial Pool, a little break
IMG_2019
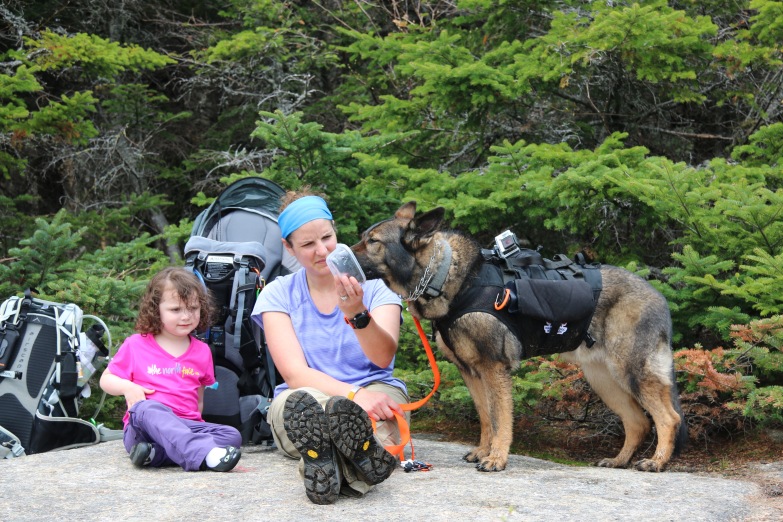
At the summit, staying hydrated and taking a break.
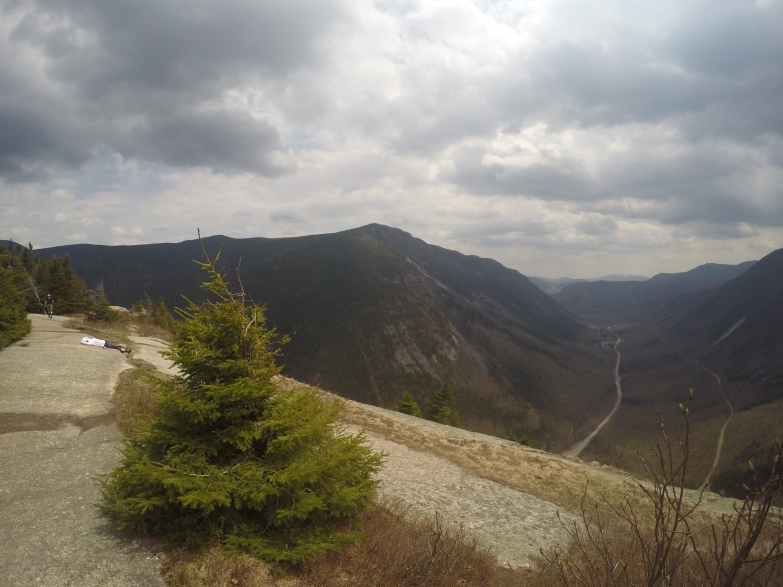
View from the summit
IMG_2022
Summit photo before heading down.

For the first hike of the season this is a great trail. It was rather busy, if you want more solitude, I suggest skipping this trail.

A short clip from Abby, her view during the submit approach… 


Mt. Willard Trail – Winter Hike

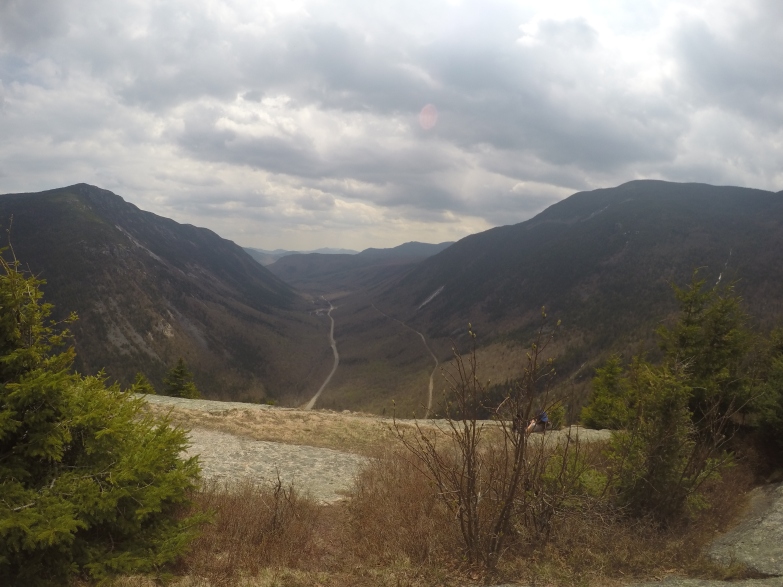
Mt. Willard is a very easy up and down with an amazing view at the summit. The best time to hike this mountain is during the fall to capture the fall foliage.

Mt. Willard Trail is located in the Crawford Notch State Park. The trailhead is located in the same location as that of Avalon Trail, but instead of going straight, you would take a slight left onto Mt. Willard Trail. Since, we hiked Mt. Tom via Avalon Trail it was very easy to locate.

The trailhead for this hike starts at the Crawford Depot/Visitor Center on Rt. 302, just before the AMC Highland Center.  Anytime we hike in this area, we stop off at the Highland Center to get trail reports and if needed to sign in and out of the hiker log.

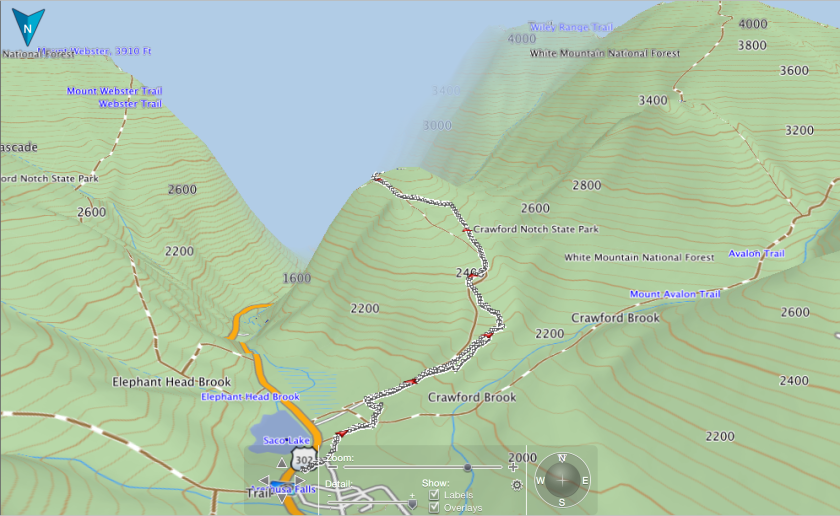
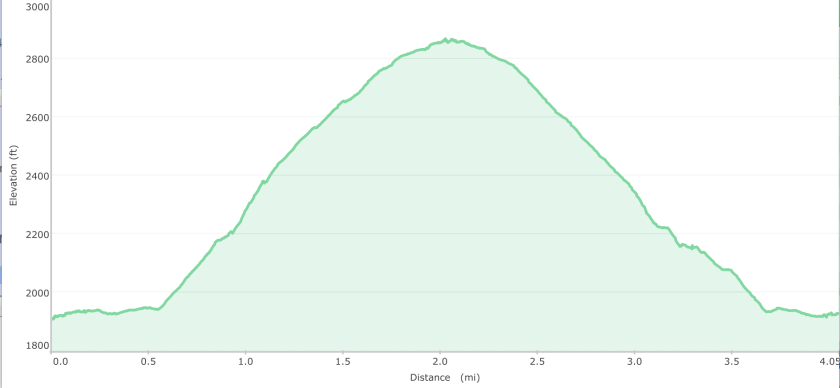
Here is the trail from the north view. Our total trip was 4.1 miles from our location at the highland center to the summit and back.

Trail
4D Map Trail
Elevation
Elevation

The trail condition for us was packed snow and easy water crossings. If you are hiking this trail during the winter, I suggest running into the Highland Center and speak with the AMC folks at the desk. Depending on what the weather was before your hike day, water crossings can be hard to pass or not passable at all. There are a few areas of the trail where you will have to duck under or walk around some broken or snow pushed branches. These areas of ‘obstacles’ are very easy to walk around.

We used our micro-spikes for this climb. It is an easy hike on packed snow, but with a moving toddler on your back its helpful to have some grip to the earth.  The climb and descent are very straight forward and rather uneventful.

Here are some images from the trail.

At the start 1
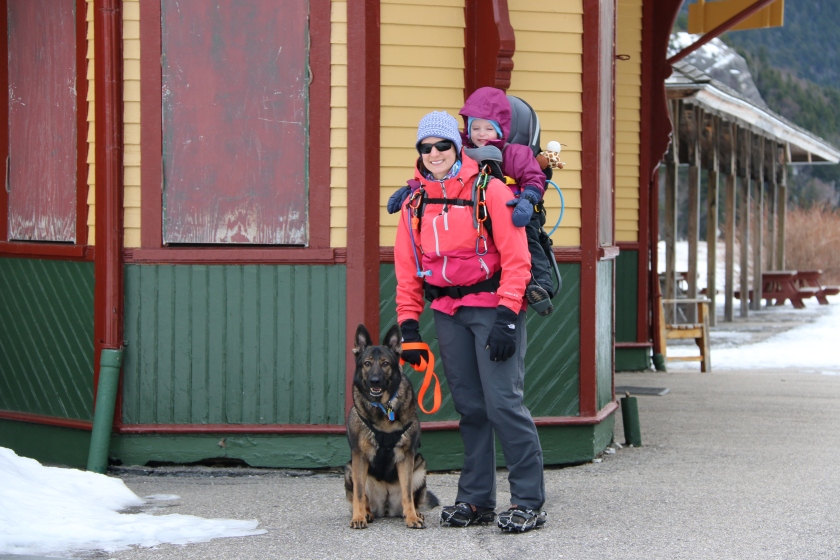
Crawford’s Depot


IMG_3034
Trail


Us on the trail
Us on the trail


Pool Area
Centennial Pool


Coming down the trail

Here are some few from the summit…

Mt. Webster


Summit Picture

As you can see, we added another family member to our hiking team. This was Abby’s first formal hike and she did very well. It was a little confusing in the beginning since we forgot her gear. The gear is key in helping Abby understand it’s time for ‘work’.  She stayed on her lead the whole trip connected to my pack and loved every moment. Our goal is to have Abby completely condition and trained for longer and harder climbs by this spring where she will join us on each hike.

Week 3 of Training

Put a fork in me, I am done. This was a hard week, not just the workouts, but the solo parenting with a child that is hitting the “terrible threes”. The latter made it more important than ever I get the workouts in. This week was just overly challenging. Great news, next week will be, too. At least, I am prepared and ready for Thanksgiving week. 🙂

This week focused on lifting weight to muscle fatigue with a good amount of cardio (tempo and speed work). So, here we go… week 3 breakdown.

Sunday – 6 miles with 4 at tempo

Monday  –  Easy 6 miles with core & back work, chest, back, triceps and biceps for weight lifting. Remember to work your whole chest then your triceps then to back to biceps. Always work a-posing muscle groups. Hence, the need to work abs then back. Each weight lifting exercise was done 3 times with 12 reps with the last rep being to muscle fatigue. IE, if I did another up and down I would either pull a muscle or not make it. If you have not been there, go an additional 2 to 4 times from the point you think you can’t.

  • Chest workout
    • Flat bench chest press
      • 25 crunches and 25 reverse crunch
      • Superman 25 times.
    • Incline chest press
      • Repeat Ab and Back work
    • Dumbbell Pullovers, I do this move with only my shoulders on a bench, keep your spine inline abs in gauged, knees 90 degrees, feet flat on the floor. After your last set move directly to tricep presses right over your chest as many as you can do.
      • Repeat Ab and Back work
  • Triceps
    • Seated Tricep Extensions
      • Repeat Ab and Back work
    • Tricep Kickbacks
      • Repeat Ab and Back work
  • Back (Thank you to Jack for this workout, he created the workout with dumbbells. Great guy, very helpful and excited to help and even followed up on the workout to make sure it was working).  The fact he is a ‘Bama fan is just an added bonus! 🙂 You can find him on twitter here and his website here, Jack’s website.
    • Single dumbbell bent over row
      • Body weight squats 10
    • Double dumbbell bent over rows (performed standing, no bench involved)
      • Body weight squats 10
    • Bent-over double dumbbell lat fly
      • Body weight squats 10
    • Bent over Dumbbell pull-backs
      • Body weight squats 10
  • Biceps
    • Hammer curls
      • Body weight squats 10
    • Biceps curls
      • Body weight squats 10

Greatest way to know you lifted correctly is move directly into push up position, if you are not shaking during the execution or if you just can’t even perform the push up, you reached your muscle fatigue. Depending on your recovery rate you may be able to do a push up or two. If you are handling this easily, you are stronger than you believe and you need to adjust your lifting to reach the point of muscle fatigue.

Tuesday – Shoot me now, 10 miles on the treadmill followed by 25 8-count body builders. The body builders took me some time, I was a little sore from the day before. Plus, I really really, did I mention really hate body builders. I mean really, who came up with this god forsaken workout, a form of a burpee set to a rhythm count. If I ever met this person, I am not sure I would punch or hug him/her. Either way… another, lovely workout J taught me.  The run on the treadmill was tough mentally. The only thing that got me through this run was “From Paris With Love”. Yes, the weapons fire, explosions, and awesome character playing by John Travolta made 10 miles seems like a walk in the park.

          One of my favorite quotes from the movie is, “Kitchen staff!?! What kitchen staff ?!? Kitchen staff doesn’t shed lead like that.”  Anywhos…..I highly recommend the movie if you have not seen it. Great effects with some awesome movie liners like the one above.

Wednesday – No cardio, just repeat of Mondays weight lifting. Plus, yoga and stretching. I wasn’t overly sore. Weight lifting then cardio helps work out the lactic acid build up. Plus, the more efficient your body becomes the better the recovery.

Thursday –  First off, I am so stoked I completed this. (8.5 miles total) I learned this workout from J. It was a workout he did some many moons ago. Well, half of it. I just repeated the cycle.

  • Block 1
    • Easy warmup one and a half miles. You can make this a mile if you want. I said easy for a reason.
  • Block 2
    • Four quarter-mile sprints with 30 second working recovery* between each set — you can make the rest period up to 45 seconds
    • 45 to one minute working recovery after your last quarter-mile sprint.
    • Two half mile sprints with 60 second working recovery* between each set — you can make the rest period up to 90 seconds
  • Block 3
    • Working recovery* for one mile.
  • Block 4
    • REPEAT Block 2
      • Try and maintain the same pace of your first round of Block 2. By the third half mile repeat or maybe the first half-mile repeat you should be swearing and pushing yourself through the “I want to quit” stage. Just remember, the saying “Pain is inevitable, suffering optional.” You choose suffer through it or push forward. I use a mantra when things get real tough, I find it’s a way to calm my mind and body, it’s rather simple. Be Strong, Be Confident, Believe. Short simple and repeated whenever I need it.
  • Block 5
    • One mile cool down. Add whatever miles you need for cool down. I did 1.5. I have an A-Type personality and the warm up and cool down need to match and the cool down needs to make the total mileage complete or at a half mile. IE after the decimal the number needs to be 0 or 5.

Finished up with core & back work and another 15 8 count body builders **insert sour loving face**.

Friday – Easy 5 mile run.

Saturday – As always family day. I am truly blessed to have a man or maybe a vampire man in my life that when his flight is cancelled on Friday night, he will get a rental car and drive all the way home to arrive Saturday morning for family day. He did this knowing that early Sunday morning like 4AM he was heading back out to the airport and heading back to the location he just left. Saturday’s adventures were very basic, we picked up our fresh turkey from a local family farmer, we did a little more Christmas shopping, of course watched some football, enjoyed building some great architectures, pig piled on the bed for a few Christmas films, made time for J and M to have play time, followed by Abby getting some solo couch time with J and I got 75 minutes of almost uninterrupted peace and not so much quiet time to do adult things. The time flew by, but we will take it. It is about quality over quantity.

*What I mean by working recovery is that you are still moving jogging or at an easy run pace. You are allowing your body to recovery and take in more oxygen at a reduction in intensity, but you are not standing still or allowing your heart rate to drop completely, I stay within 60 – 65% of max heart rate. The Thursday workout is all about working at a high intensity with minor breaks then back to high intensity. You are training you cells to recovery after high intensity and also training your mind to influence your body. Remember, fitness is not how skinny, built, how far you can run/hike/climb/swim or how much you can carry for a certain distance and/or altitude. Fitness is your rate of recovery. The better your fitness rate, the faster you recover, the faster your body returns to homeostasis. The place it wants to be. In times of stress that being fight or flight, work shit, family BS, disagreement with your loved one, you name it, the faster your body and your mind can make the adjustments and return to normal the better for you and your body.

My Pack Loadout

There is one major question, I get asked all the time when hiking with M. In fact, I get asked it so much I have a standardized the answer to encumber answers to the next several questions that are highly likely to be asked. The most asked question is **drum roll**

How much does your pack weigh?

My answer – My pack weighs between 40 to 45 pounds. It depends on length of the hike, the season, the weather and the weight of M.  M weighs between 30 to 32 pounds.

So, how did I come up with 40 to 45 pounds. Well, as stated M weighs between 30 to 32 pounds. Yes, I weigh her, bi-weekly during hiking season. My only purpose for this to make help make sure my pack states under 45 pounds (per the specs requirement for my pack). By knowing her weight and the weight of water I’m carrying makes it rather easy to pack everything else.

I carry two sources of water. One is a 2 liter Camelbak, which weighs approximately 4.4 pounds. The second is a 1.5 liter Camelbak, which weighs approximately 3.3 lbs that is for M. The great thing about water is that it will be used and my pack gets a wee-bit lighter as I go. But, if needed at huts the water will be partially or completely refilled.  This means at maximum I carry about 7.7 lbs of water.

Let’s calculate that, so you don’t have to break out the calculator, break out the pen and paper or think too hard. I know its been a rough week. 🙂  The weight of M and the weight of water means I carry 37.7 to 39.7 lbs. That leaves me with a remaining weight of 5.3 to 7.3 lbs.

The inside my pack are the items below:

  • 2 to 3 diapers and wipes
  • Plastic bag for dirty diapers
  • long sleeve shirt for M
  • Rain/wind jacket for M
  • Long hiking pants for M (used as backup)
  • Cold weather hat for M (used when its windy)
  • Extra Socks for M (used as backup or if needed as gloves for unexpected weather change)
  • Toddler Medkit
  • Snacks for M and I (homemade trail-mix & bars which is normally carried in my cargo or front pocket)
  • Snack cup
  • Long sleeve shirt for me
  • Rain/wind jacket for me
  • Extra socks for me
  • Medkit for myself
  • Rain/Wind cover for pack
  • Orange Trail Marking Tape
  • Waterproof matches

That is the standard items that HAVE TO come along. The only items that may which to J’s pack is my long sleeve shirt, rain/wind jacket and extra socks.  Again, during the colder season, which for M since she is not moving most of the time really starts towards the end of August/beginning of September. And that is subject to change when hiking the White Mountains. Why, simply because it snowed this year in June. As I always say, being prepared is what is most important and half the battle.

The accessory items (i.e. connected to my pack in a handy location) are as follows:

  • Chap stick (which is 99% of the time is in my front zip pocket)
  • Sunblock
  • Special Ops 6″ tactical knife with pouch (Thank you to J for the lessons in uses and how to use)
  • Emergency whistle
  • Mirror for M
  • Old Fashion compass
  • Map (which is 99% of the time is in my cargo pocket in a waterproof protector)
  • Flashlight

And that folks sums it up. Surprisingly, your clothes and items do not add that much extra weight, but it still counts towards the total weight.

No matter what my pack always always carries emergencies items for M and I. That’s for injuries, unexpected people or animal attack and separation from J. We never want anything to happen, but we rather be prepared for it then be “up sh*ts creek without a paddle”.

And if you are wondering, we have taken a well-used hiking trail in Virginia that we played a real game of “hide and get moving” from a Black Bear. We actually could feel the impact tremors from the Bear’s paw striking the ground and hear the bear growl which means “Exit, stage left or be lunch”. No matter where you go for hiking, remember you are on their land, their territory and its best to respect that, but be prepared.


Cannon Mountain & Lonesome Lake

What can I say about this hike? I think one word sums it up, beautiful!

Lonesome Lake is a wonderful location for families or anyone who wants to spend some quality time in the mountains. The views are incredible. Basically, it’s a small slice of heaven in the Franconia Notch State Park.  You can find out more about Lonesome Lake, here.

The lake has an AMC Hut about 400 ft from the lake.  For more information about the hut, you can find it — here. This is a popular hut during the summer time, so plan ahead.

We planned to stop by this hut for our normal break routine. ie.. water refill, bathroom, snack time, let M out and run around. During, our short visit, I heard the same question asked several times by different hikers. I have heard this question asked at other hut locations. So, I am going to take a moment and answer it. And for anyone that needs this question answered. I am sure the staff is sick of answering it. So, what’s the question, you wonder…..

“How do you guys get the food up here?”

The answer is simple the staff carries it up. There is no special helicopter delivery system, no ATV, no dirt bike and no green men from Mars who beam the food in.  It’s that simple, the staff carries it up and cooks it for you. These are the same people, who answer your questions regarding your stay, trail details, clean up after you leave and brings down the trash they created and the trash that you forgot about or purposely left behind.

So, remember to thank them. Even when we are just passing through using the bathroom, siting at the table and refilling our water,  we thank them. They are always preparing, planning and answering questions. Yes, they love their job, but a little appreciation goes along way.

And remember it’s not their job to carry down your trash. They carry up all the items to make sure stay at the hut is one of your best stays ever. They carry down the trash, so help them out by carrying down your own trash. We carry all our trash down, which includes M’s dirty diapers. Just do your part, even if it’s just a few tissues.

And please, do not ask this question again… 🙂

Okay, off he soapbox and onto our hike…

We parked at the Basin and walked the Pemi Trail to the Cascade Brook Trail. If you do not like water crossings this is NOT a hike for you. Your first major water crossing is tough. We ended up back tracking about 250 feet to find a location to cross. Your second major water crossing is at the junction of Basin – Cascade Trail and Cascade Brooke Trail. This bridge was washed out a few years ago and still has not been replaced. In high waters, there is no way to cross this with a child hiking or on your back.

There are other paths you can take to get to Lonesome Lake, such as, Lonesome Lake Trail. Pretty straight forward trail name on the map.

Here are some pictures from getting ready to go and the Basin area…

IMG_0888
Ready to go with Miss M looking at Cannon Mt.
IMG_0893
Mom and M at the Basin
IMG_0895
The Basin


The Pemi Trail follows the brook and connects with the Cascade Brook Trail. You will literally walk into this sign.

IMG_0898
Pemi Trail & Cascade Brook Trail

Yes, as of 2014 the bridge is still out. And do not get all upset about it. There are only so many volunteers to help rebuild and maintain trails and only so much funding.

Heavy rain, smelting snow and just good ol’ White Mountain weather can cause the water to run high. If you are unsure about crossing water then skip this trail and head up the Lonesome Lake Trail. If you are hiking during the early Spring and don’t want to carry a canoe for about 1.5 miles to Cascade Brook to cross then re-plan your route. All jokes aside, we travelled up and down the Cascade Brook to find the best place to cross. What is easy for a regular hiker with a 5 lb pack is not the same for one with a 42 lb pack with a moving child. It is a bit of a challenge.

Once you are on the Cascade-Brook Trail the climb is very easy. I use “very easy” since we have hiked the Jewel Trail, Webster-Jackson Trail, 19 Brook & 19 Mile Trail, Baldface and many others. The Cascade-Brook Trail is a great beginner trail up to Lonesome Lake minus the water crossing. The climb is gradual and the terrain is very basic. You will deal with some rocks but nothing too strenuous. Even though, it is a basic/easy trail, during or after a good rain, some of the terrain a bit more challenging. So, use a bit of caution.

During our hike up to the crossing… Miss M decided it was time for a nap.

Nap Time heading up
Loving the new chin pad by Deuter… M is happily napping

Here is the junction of the Cascade Brook Trail and the Basin-Cascade Trail. Along with a few other trails.

IMG_0904
Junction… Yes and M is napping again…

This water crossing was a bit tricky, not as much, as the one we faced following the Pemi Trail before meeting up with the Cascade Brook Trail. We were about to cross when another hiker coming down the Cascade Brook Trail and gave us a hand. And no, that’s not the ’round of applause’ hand. He took the time to help me and M across the water. He stood in the middle and helped to guide me along to J. We could have done it alone, but this hiker took the time to show us generosity. Not many do, and we give him many thanks.

This crossing is not made for first timers or amateurs hiking with a toddler, one miss step or slip, you and yours will be mid-leg or laying in rapidly moving water and will hit every rock in the immediate area on your way down.

From this crossing, we ran into a group of hikers at another junction. This junction is for the Kinsman Trail or Kinsman Shelter and the Lonesome Lake Hut and Cascade Brook Trail. They were on their way to the Kinsman Pond, which you can access the from the Cascade Brook Trail, just turn left at this junction. We ended up taking some time to help their group decide what path was best for them based on time, water needs and their strength. We used our good old fashion AMC White Mountain Guide Map to give them a better visual of the trails, inclines and locations of huts.

I know shocking we are a high-tech family, but our go to item is a paper map that is secured in a waterproof plastic zip lock bag. In fact, we didn’t just use this map for this one instance, but we pulled it out at the junction point of Hi-Cannon Trail, Kinsman Trail Ridge and Cannon Mountain and Lonesome Lake Hut.

Once, you get to this junction for the Kinsman Trail & Shelter and Lonesome Lake Hut, you have 0.8 miles to Lonesome Lake then another about 500ft to the hut. The 0.8 miles is filled with bog bridge crossings and rocks. The rock trail is basic, but take note of the moss on the rocks. If you do not know what moss looks like it’s the green stuff on the rocks. The moss makes your footing troublesome. Just be wary of the moss. No need to slip and get an injury.

The whole hike up to Lonesome Lake is absolutely worth every view. I mean it, do a 360 and take in it the beauty. Since, we hiked Little Haystack to Mt. Lincoln to Mt. Lafayette to the Greenfield Hut and down the view of the that range was incredible. We took a moment and reminisced about our last summer hike of 2013 before carrying on up to the hut.

IMG_0907
At Lonesome Lake on the way to the hut
IMG_0929
Marker along the way to the hut

View across the lake

Lonesome Lake
Across Lonesome Lake Hut to Franconia Range

We spent some time at the hut. With helping the hikers at the junction and our normal scheduled hut time. We fell behind our time-table by an hour. An hour, is not much, but when facing some serious climbing the added time is very important BUT we cannot skip our rest time. Rest is so important during long hikes. We made the decision to head up to Cannon Mountain and two additional back up plans during our rest at the hut.  All the while, M was snacking on your sandwich and talking to whoever or whatever would listen.

There are numerous trails up to Cannon Mountain. We took Hi-Cannon Trail. This is NOT a trail for those starting out nor a trail for the lone hiker with a toddler. This trail is tough and you will face many obstacles along the way including but not limited to stepping up on rocks, climbing over rock facings, climbing up rock facings, climbing rocks with views straight out and down and lastly a ladder. Yup, a ladder. To help you again, a  l-a-d-d-e-r that is nailed to the rock facing.  And the climbing is steep, some would say very steep and arduous.

The ladder part of the climb has two problematic areas. 1) You slip, you better recover really quickly. With a toddler on your back there is not room for error. So, take your time. 2) At the top of the climb, you do not have room to step up and off the ladder. You will need to step to left along a wood plank to step off the ladder then push yourself up to a standing position.  You know, those ridiculous side squats or side lunges you either hate or ask yourself why someone is doing them. This would be where that training comes in pretty handy.

Climbing up the ladder...
Climbing up the ladder…
Almost to the top of the ladder


IMG_0947
Looking down from the top of the ladder

After this stressful point of the climb, you will deal with more rock facings and more climbing. It is rather basic to what you just faced, but it can still cause some trouble especially if you are fatigued. The best thing about making it up this far are the views.

Of course, I just pointed to the lookout areas and J took the photos. This means my daredevil husband was hanging off a ledge to capture a few images.

Lonesome Lake 2
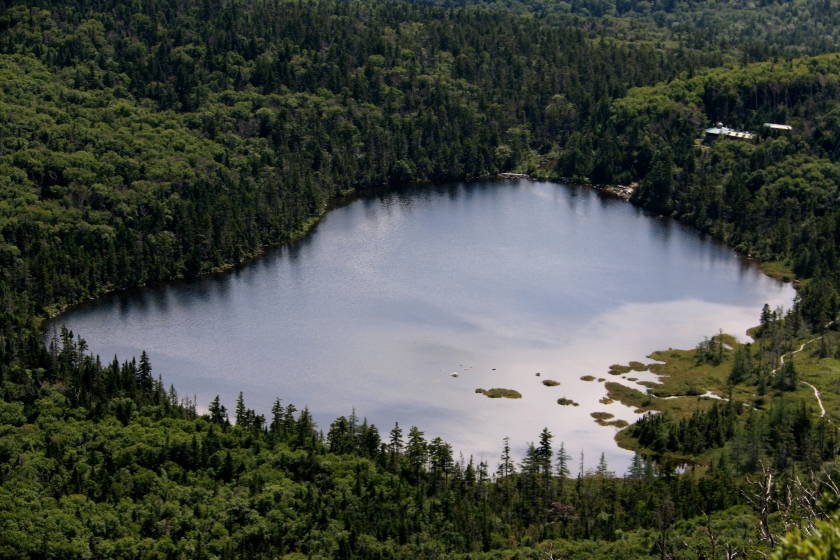
Lonesome Lake from Hi-Cannon Trail

This is a panoramic photo that has been “stitched together” from multiple shots taken higher up from two different clearings.

Cannon MT Pano
Panoramic View from a hanging cliff on Cannon Mountain to right is Lonesome Lake

After the ladder and the great views, you come to another junction, which is Kinsman Ridge Trail and Cannon Mt. Trail. This junction is the location where I suggest you rest and check your time. From here the summit of Cannon Mountain is a half mile. The views from the observation tower are amazing, but it is not worth putting yourself or hiking group in endanger due to weather or limited sunlight.

Your descent back to the hut will first be either Kinsman Trail Ridge or Hi-Cannon Trail are both challenging ascents and just as challenging if not more challenging descents because of fatigue.  The Jimmy-Fishing trail is not as hard, but you will first have to make it to it.

With that said, J and I revisited our plan and pulled out the good ol’ map. We revisited our back-up plans and looked at all the trails down and decided the best route was for us to take the Tram down. Yeah, I know hiking up and not hiking down may not qualify as a true hike for some. But we made the best decision for us given the time and the fact that we hike with a toddler.

So, we hiked the half mile up to Cannon Mountain.

Getting there
On the way to the summit

Ironically, we saw this sign posted. Be safe out there. Going up is only half the battle you still have to make it back down.

Ironically, this is what we came across
Hiker Code

We climbed up the tower enjoyed the view, captured the moment and thought about the hike up. All what we accomplished, as a team and as a family to get to enjoy the fantastic view in perfect weather.

A view from the tower

We climbed back down the stairs. J and I discussed how much we both really really wanted to hike down, but we kept to our back-up plan. We knew it was best and safety thing to do.

The Tram is located about 500 ft from the tower. It costs 26.00 for our family and you pay it at the bottom. The Tram ride is under 10 minutes. At the bottom, there is a gift shop and locations to sit and enjoy some food and drinks. The views from the Tram are wonderful. We met some really wonderful people on the Tram and another group of hikers that made the same decision we did after their climb up Cannon via the Kinsman Ridge Trail.

Now, don’t get your panties in a twist, we still had to walk four miles along the bike trail and Pemi Trail to get back to our vehicle. That my friends is the hardest part four miles full gear and nothing exciting to climb or to distract you. Honestly, it is like walking full gear in formation in boot camp the only thing missing was the drill sergeant.

We did stop along the trail to see the ‘Old Man of the Mountain’ Memorial.

IMG_0972
Daniel Webster
IMG_0973
Old Man of the Mountain


IMG_0975

The fall of Old Man of the Mountain….

How Old Man of the Mountain fell

In all honesty, the walk back to the car is a pleasant walk.  But I can say I was extremely happy to make it to the car. My Garmin Fenix clocked our hike as 13 miles with a moving time of 7 hours and 30 minutes. We got back to the car at 530PM with an hour and half drive back to our home. If we hiked down the mountain we were looking at arriving at the car between 730 and 8PM with the travel ride home. We definitely made the right decision for our family. I would say from how Miss M looked like she was ready for a dinner, bath and her bed.

IMG_0976
End of a long day

Here is the map of your hike….

Trail up to Lonesome Lake and Summit Cannon Mt.
Hike Map


Deuter Kid Comfort III

As mentioned, a few blogs ago,  M and I received an ‘upgrade’ on our backpack/kid carrier. We were using the Deuter Kid Comfort II, which you can read about it in a post I wrote, here.  That post goes into some important items to think about, I will re-address some of them during this post, because they are worth repeating a few times.
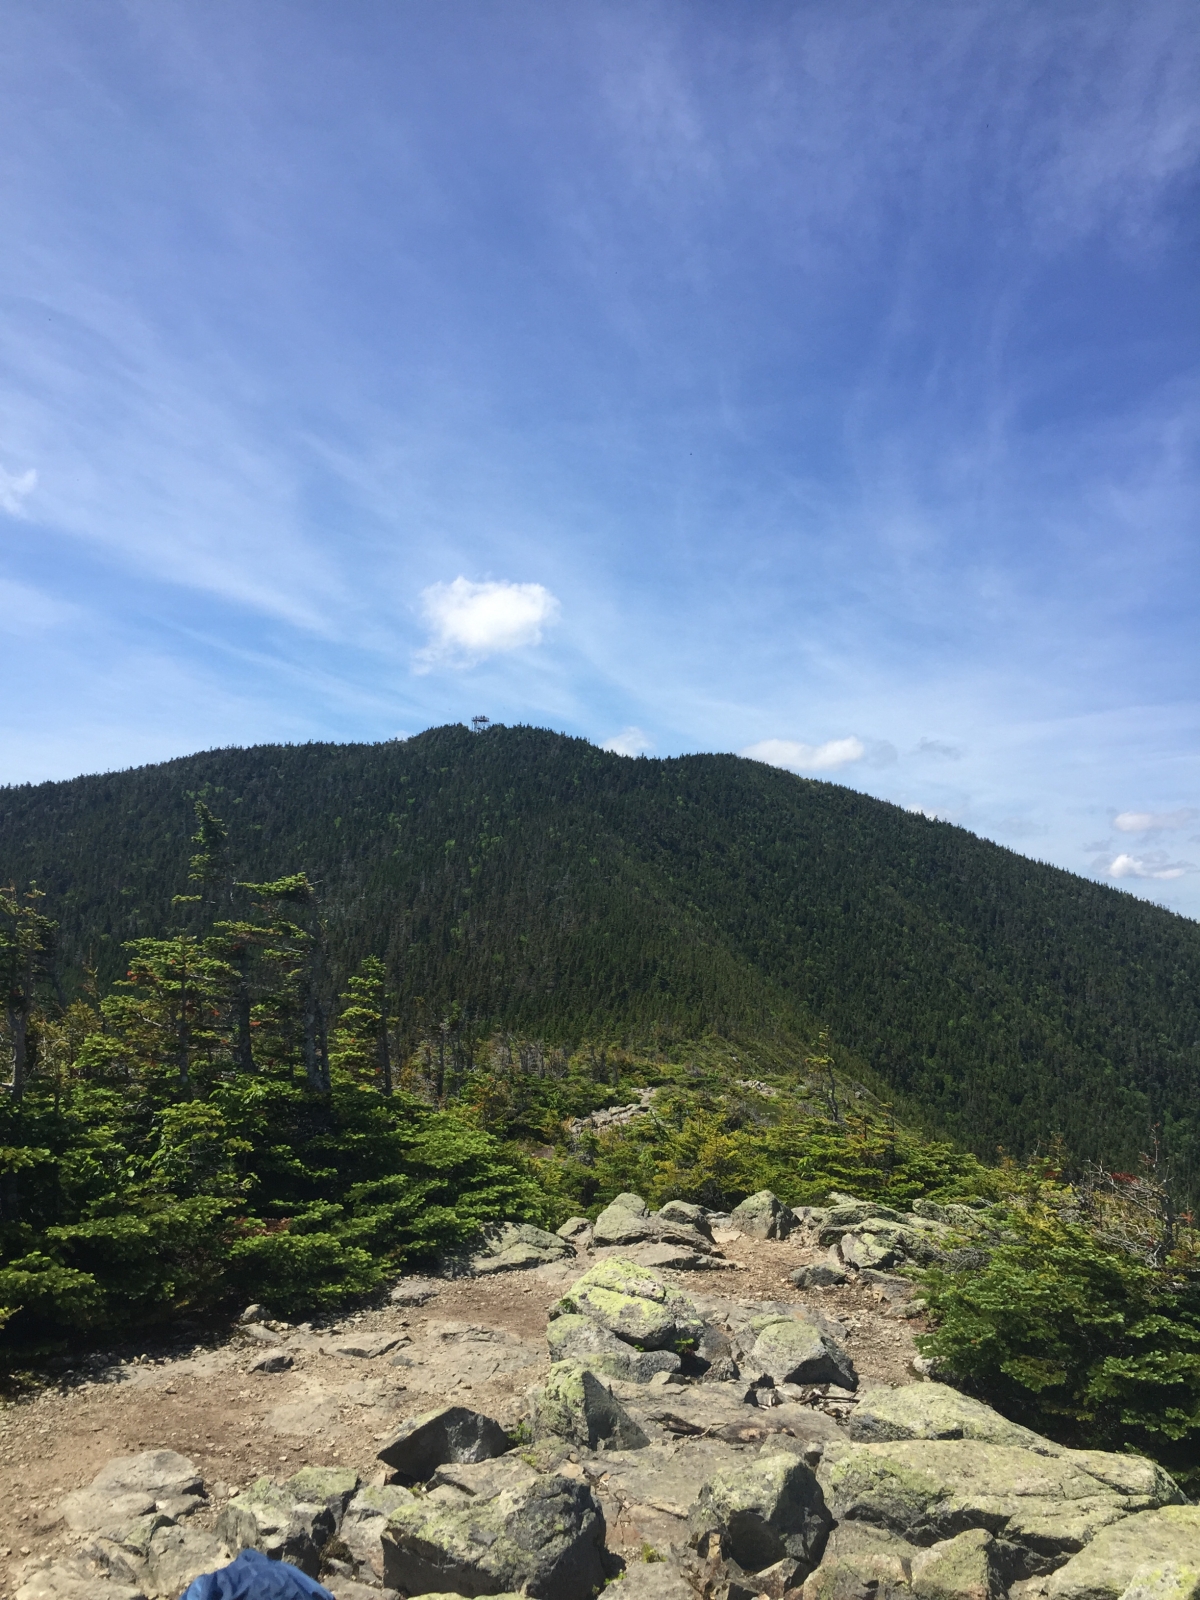
*Note; Toddler is interchangeable with Infant*

First off, my suggestion to anyone trying to find a toddler backpack for hiking is to go to your local hiking/outdoor retail store and try every single one on with your toddler in the seat.  Some store examples are Eastern Mountain Sports (EMS), REI, Gander Mnt, etc. I suggest calling ahead to make sure they have kid carriers at their location.

Also, make sure you have receive help from the store’s staff, they will know about the how to properly adjust the carrier for your toddler and fit the pack on you. What works for me, may not work for you. After trying several types on with M, again this year, we went with the Deuter Kid Comfort III. I have read some poor reviews over the pack. Most of the reviews, deal with not having the pack properly fitted for your child and/or you.

Lastly, I suggest thinking about what you will be hiking, how long and where. This will help you find the correct carrier and also help the store’s staff give you options.
I have absolutely no complaints with our Kid Comfort III (KC3). I have tried to find errors and things, I would want replaced or changed, but I can’t find have anything to complain about. For what we want, this pack is perfect. Every small issue, we had with the Kid Comfort II (KC2) has been improved. I am picky, very picky about things I purchase.  With this pack, I have no buyer’s remorse…. none at all and that is definitely saying something.
Here is the link to Deuter’s site to show the pack — link. You can get all the information from them, but I am going to take you through the changes and why we love this carrier.

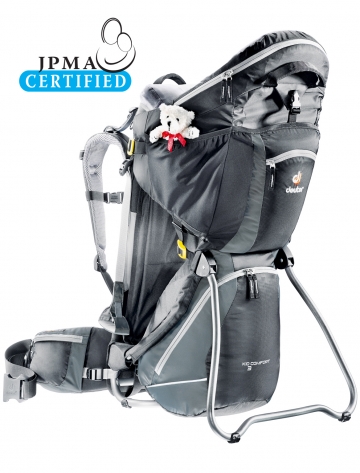
I am borrowing Deuter’s image of the Kid Comfort III. My pack is loaded out for hiking and I don’t want to get you confused on what is part of the pack and what is not. And yes, you get the teddy bear shown, red bow and all.

Kid Comfort III
Kid Comfort III

Okay, let’s get down to business. Here are the changes from the Kid Comfort II to the Kid Comfort III

1) The adjustment for fitting your back, sizing your torso.

Here is the old, from the KC2. The 4 loop adjustment…. A.K.A  — A big PIA, if you have to change the pack between people and one is shorter or taller.OldAdjustment

With the new,  Kid Comfort III the adjustment is now found under the back padding and is a simple pull to shorten or loosen to lengthen. In addition, there is an easy sizing chart on the pack itself. When looking at the back of the pack, it is located behind the right side strap where your shoulder area would be if the pack was on your back. You can also find the location for your water bladder by finding the H2O marker on the pack and you will see the sizing chart. The sizing is done by L, M,S and on the arm strap is a line to help you line up to the correct fitting. Depending on your load, elevation gain or loss, and as your child grows you may need to adjust it.  So, don’t get stuck on a setting.

Here is the back padding on the KC3


Back padding (excuse the whistle and water tube)
Back padding (excuse the whistle , water tube and carabiner clips)

Right below the “VariFit” is the location of the strap. You flip out the padding  and find the orange strap that you will loosen or tighten. The padding is connected to the pack with velcro. 

IMG_5336


Here is the sizing marker. As you can see the shoulder strap has the marker (white line on the left) and the sizing chart is on the right.

IMG_5338


Another view of the sizing. As you can see, it is located near your water bladder.

IMG_5337


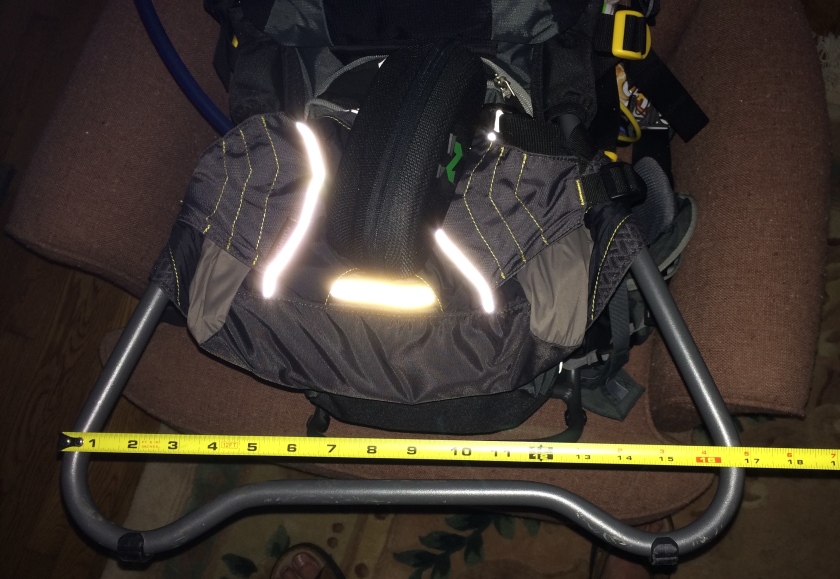
Next up, the kick stand. The Kid Comfort II (KC2) is more square and does not have as wide of a base as the Kid Comfort III (KC3). This is important just for stabilizing the pack on the ground. With our Kid Comfort II, we always had to help stabilize the pack for M to get in. Now, with the Kid Comfort III, M can easily get in and out without trouble.
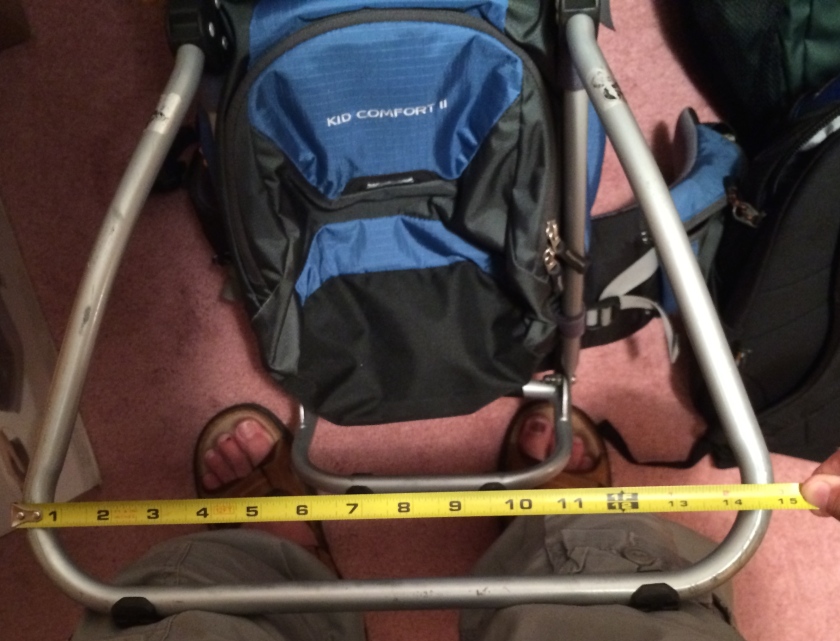
The images below show you the distance between the KC2 and KC3. The KC3 is about 2 inches wider.

IMG_5365
Kid Comfort III 16.5 inches wide.. Please, note their is an addition pack in this picture connected to the KC3 that does not come with the carrier)
Kid Comfort II 14.5 inches wide


Some other differences…

*Note: These are not in any order*

  • The front pocket of the KC3, which is located underneath your child’s seat is larger than the KC2. This is helpful in many ways, but mostly for weather changes preparedness and/or longer hikes.  Do note this does depend on how well you pack.
  • KC2 had only one pocket on your waist bucket.  With the new KC3, there is one on each side and you get a mirror in one pocket. We still use our own. Simply because I can connect the mirror to my carabiner clips for easy access or quick ‘put-away’.  It is a nice function to have. You can pack snacks, iPhone, mirror and other items you want on hand into these two waist pockets.
  • The Sun Shade on the KC2 was detachable. This I hated!! We ended up either packing with J’s gear or placing it on the carrier even when we were not using it. Below is the picture to help you understand the old way. In the KC3, it is part of the carrier, it is located in a zip pocket right behind the child. Unzip the location and pull it out then when you are done with it tuck it way. No swing strings, no child trying to pull it.
Bridge Crossing
Old way, you can see the shade cover hooked up, but not being used
Zip pocket - Location of Sun Shade
Zip pocket – Location of Sun Shade
  • The KC3 comes with foot stirrups for your child, the KC2 did not. This is wonderful! Your child will have their feet secured and stable. This makes them feel more comfortable. No more swing feet, no more getting kicked.  I have received many comments on this one key thing on the Kid Comfort III. It’s purely a blessing!
  • The KC3 allows you to adjust the child resistant straps at the shoulder. As your child grows you can move up the straps. In addition, you can lower the seat of your child for growth or comfort. There are two locations to do this. First, is on the side of the seat and the other is in the front of the child’s seat. The adjustments are very simple, normal loop system.
  • The upgraded chin-pad, you can see it here at this, link.  This pad can be is easily removed for washing. There are two snap buttons in the front and two loops to connect it to the pack in the back.  We love this upgrade. It has helped keep our daughter’s head more stable when she sleeps.
IMG_5056
Sleeping on the chin pad

The below image shows you the sun shade, foot stirrups, chin pad. Please, note, the sun shade is not in place, this was during our lunch break and M fell asleep. We did not want to wake her.

IMG_0679
Napping on Carter Dome

One major point, I give to the Deuter Kid Comfort is the side buckle, which allows for side entry. It is a small, but important item that all Deuter Kid Comforts offer. Our daughter loves hiking with us, this side buckle allows her to climb in when we are ready to go and out when its time to walk around.  Yes, there are times we have to ‘put her in’, but that is only about 5% of the time, the rest she goes willing. Other carries, do not have this option. This buckle is not easily opened by a toddler. It locks in similar to a seatbelt clip.

Miss M has been known to climb in the pack when I am cleaning it or packing for a hike.

Sneak in her pack to play

As we did with the Kid Comfort II,  we connected a camel back waist pack to the back, so M has her own water source. This does add the weight to the pack, so be wary when doing this. This is the only issue I have will ALL child carriers used for hiking. There is no location for your child to have their own water source. Yes, most packs have a  2 Liter area for a bladder. But this means you and your child will need to spilt it. Two liters of water can go quick on a hot, humid, or harder trail.

In addition, we place Nuun in our water for electrolyte replenishment. Since, M isn’t doing much work, she doesn’t need them. Nuun is another recommended item for hydration. Unlike, Powerade, Gatorade, and other sugar filled hydration fluids, Nuun uses no sugar, no carbs it’s a great hydration source. Oh, as a suggestion, don’t use the Strawberry lemonade, it’s the only type so far we do not like. And my husband loves Strawberry lemonade.

If you have any questions or areas you would like clarification on. Please, don’t hesitate to reach out to me.